When my garden comes to the end of the season, there is always produce that you don't want to waste but can't eat right away. This has forced me into the wonderful world of preservation. Bread and Butter pickles are the crunchy pickles you put on your hamburgers. This recipe comes from American's Test Kitchen, I have modified it a bit and added some heat with the addition of hot peppers. You can omit them if you like, it's up to you.
TIPS FOR CRISPY PICKLES
TIPS FOR CRISPY PICKLES
- Freshly picked - use them as soon as you pick them.
- Smaller is always better - use the larger pickles for relish or refrigerator pickles. This recipe is good for larger pickles since you are slicing them.
- Trim off the blossom end of your cucumbers. This may seem wasteful, but there’s an enzyme (pectinase) that will cause your pickles to become soft. Trim about 1/16 -1/4 inch from that blossom end before pickling. Some people have seen improvements with adding a grape leaf which contains tannins – a substance which is thought to inhibit the pectinase.
- Use Pint Jars – the larger jars will require longer processing which results in a softer end product.
- Try Low Temperature Pasteurization Treatment as described by the National Center for Home Food Preservation. Please note that you can only use this method if the recipe indicates that it is appropriate and be sure to monitor temperature carefully!
Equipment:
Pint Canning Jars (4-5)
Large Pan - tall enough for the jars plus 1 inch of water.
Digital Candy Thermometer - A great tool if you make candies or fry often.
Food Processor - This makes the slicing a breeze
Makes: 4 pint Jars of Pickles
Time: Sliced vegetables must sit 3 hours in fridge before processing.
Recipe:
2 pounds of pickling cucumbers, ends trimmed, sliced 1/4 inch thick
1 onion, quartered and sliced thin
1 red bell pepper, stemmed, seeded and cut into 1 1/2- inch matchsticks
2 T. canning and pickling salt
3 c. apple cider vinegar
2 c. sugar
1 c. water
1 T. yellow mustard seeds
3/4 tsp. ground turmeric
1/2 tsp. celery seeds
1/4 tsp. ground cloves
1/2 tsp. Ball Pickle Crisp
Options: I added 3 hot peppers for a little kick
Directions:
- Toss cucumbers, onion, peppers with salt in a large bowl and refrigerate for 3 hours. Drain the vegetables in a colander (do not rinse). Pat dry with paper towels or what I did is used my salad spinner and gave them a quick couple of spins to get the liquid off.
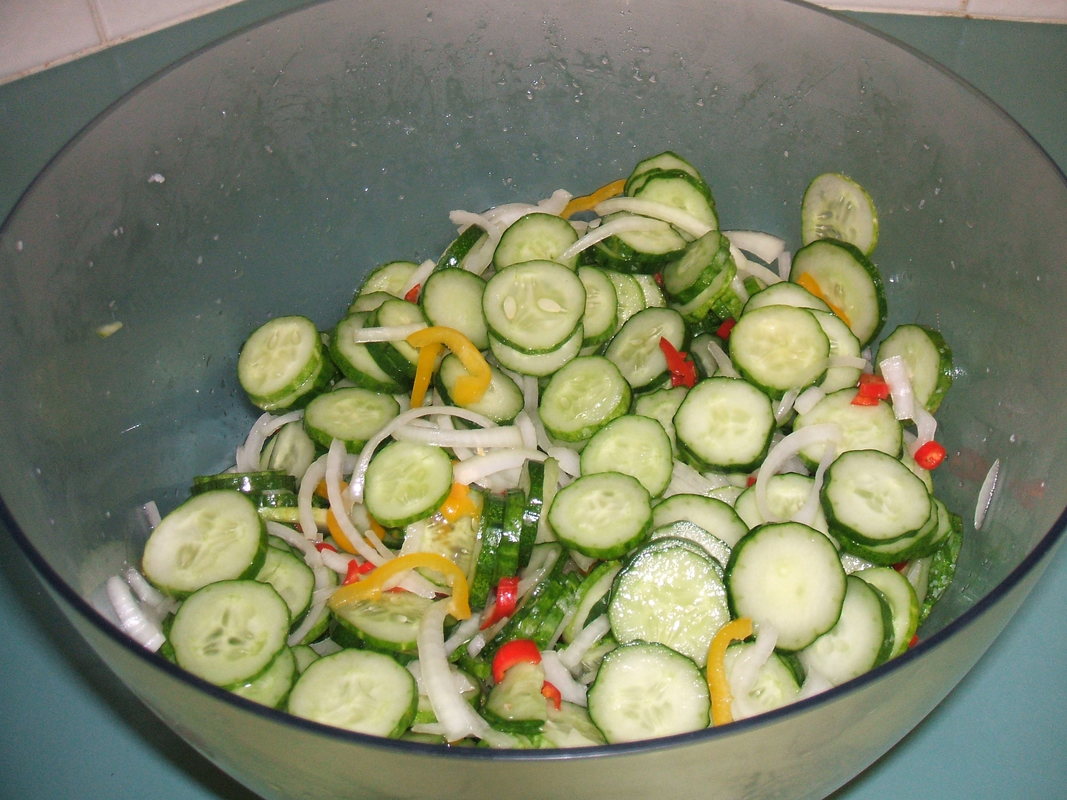
Cucumbers sliced, with onions & peppers
- Meanwhile, set your canning rack in a large pot, place four or five 1-pint jars in rack, and add water to cover by 1 inch. Bring to a boil and boil for 10 minutes to sterilize the jars. Turn the water off and leave the hot jars in the water until you need them. I always sterilize an extra one just in case I have extra it's ready to go.
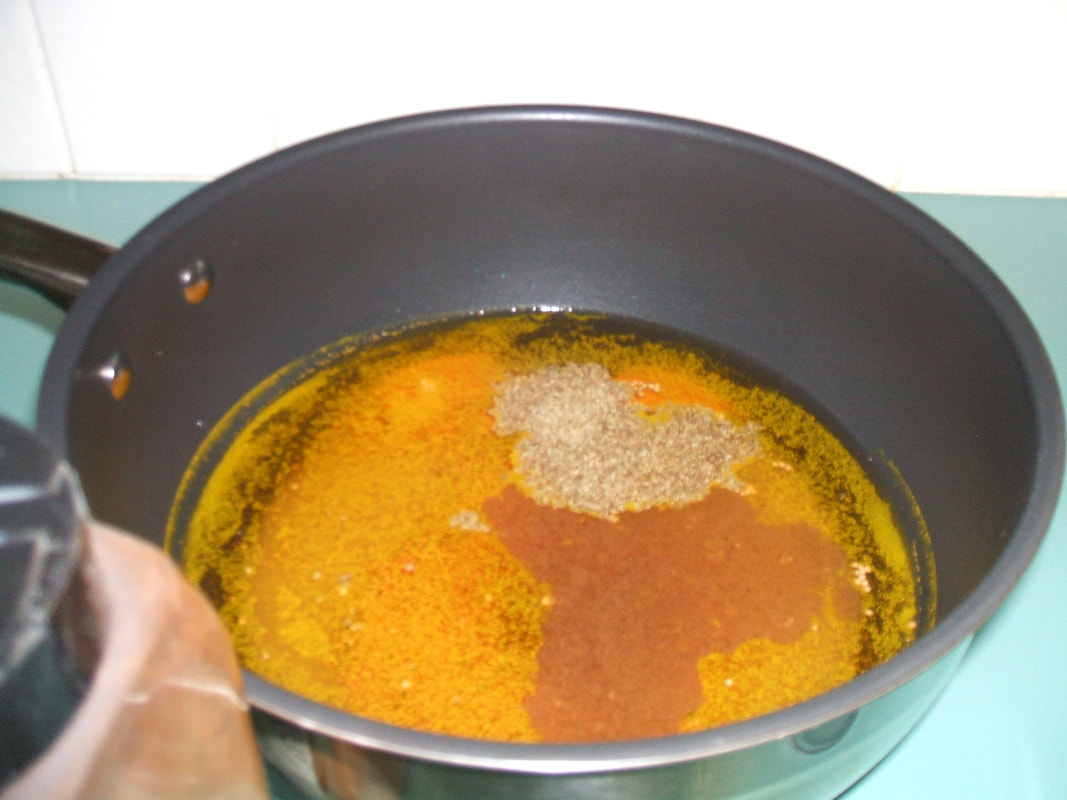
- In another large pan bring the vinegar, sugar, water, mustard seeds, turmeric, celery seeds, and cloves to a boil, cover and remove from the heat.

- Place a dish towel flat on the counter. Using a jar lifter, remove the hot jars, draining the water back into the pot. Place the jars upside down on the towel and let dry for a minute.
- Turn the jars over and add 1/8 tsp. Pickle Crisp to each hot jar, then pack tightly with the vegetable mix.
- Return the brine to a brief boil. Using a funnel and ladle, pour the hot brine over the cucumber to cover, distributing spices evenly and leaving 1/2 inch head space.
- Remove the air bubbles by sliding a wooden skewer along the inside of each jar, pressing on the vegetables. Add extra brine if need to bring the brine with in 1/2 inch from the top.

FOR SHORT TERM STORAGE:
Using Low Temperature Pasteurization
- Let the jars cool to room temperature, cover with lids, and refrigerate for 1 day before serving. The pickles can be refrigerated for up to 3 months and the flavor will continue to mature.
Using Low Temperature Pasteurization
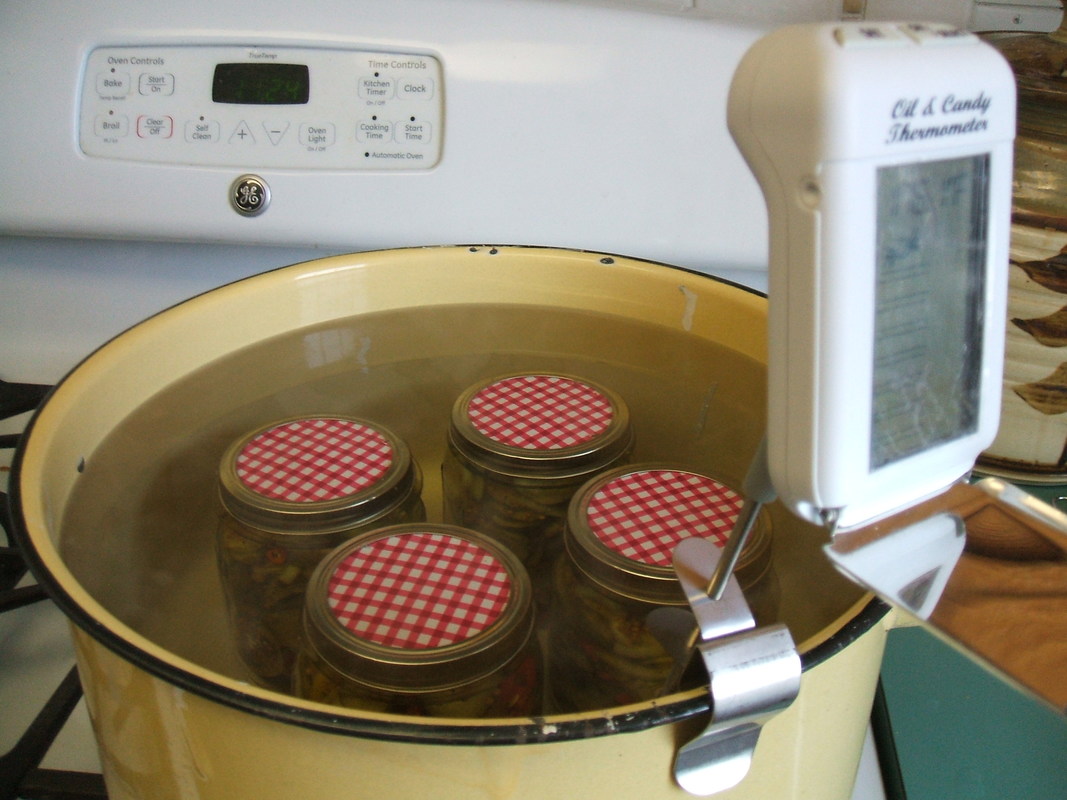
- While the jars are warm wipe the rims clean, put on the lids and screw on the rings until fingertip tight, (do not over tighten). Before processing the jars, heat the water in the canning pot to between 120 to 140 degrees.
- Lower the jars into the water, and bring the water to 180-185 degrees Cook for 30 minutes maintaining the water between 180-185 degrees. Adjust the heat as needed to maintain the water temperature.
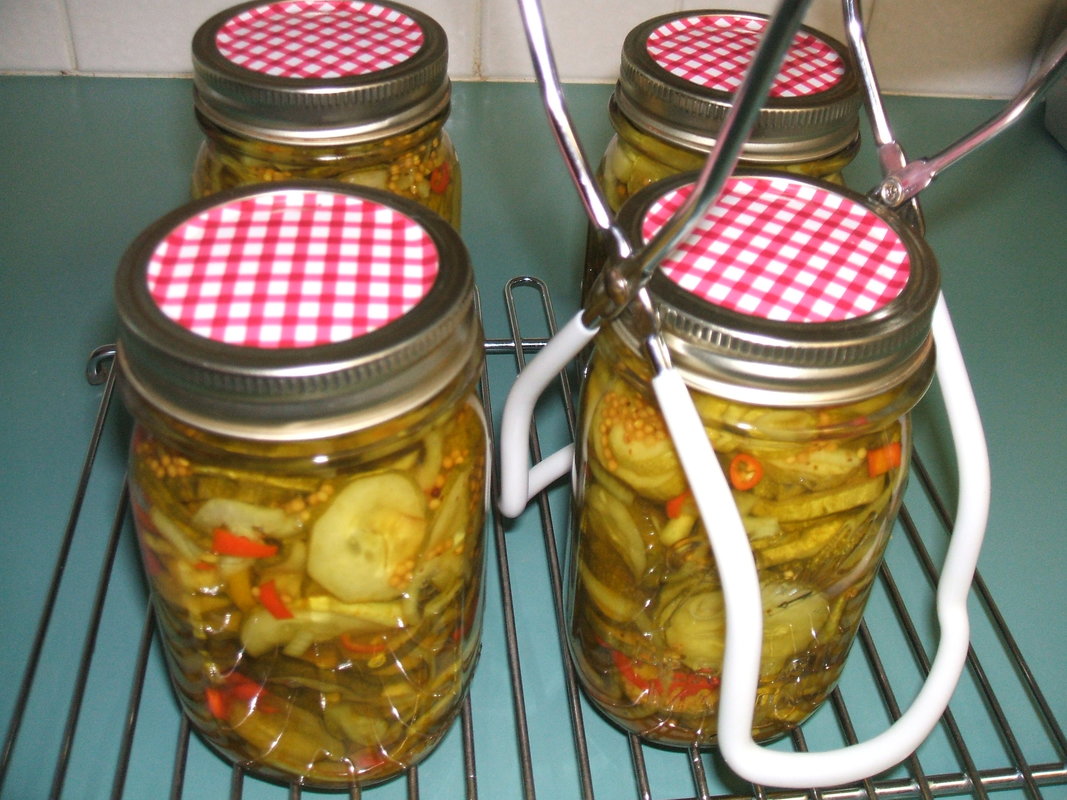
- After processing, remove from the bath and let cool for 24 hours. Remove the rings, and check the seal. The sealed jars can be stored for up to 1 year, in a cool dark place.
 RSS Feed
