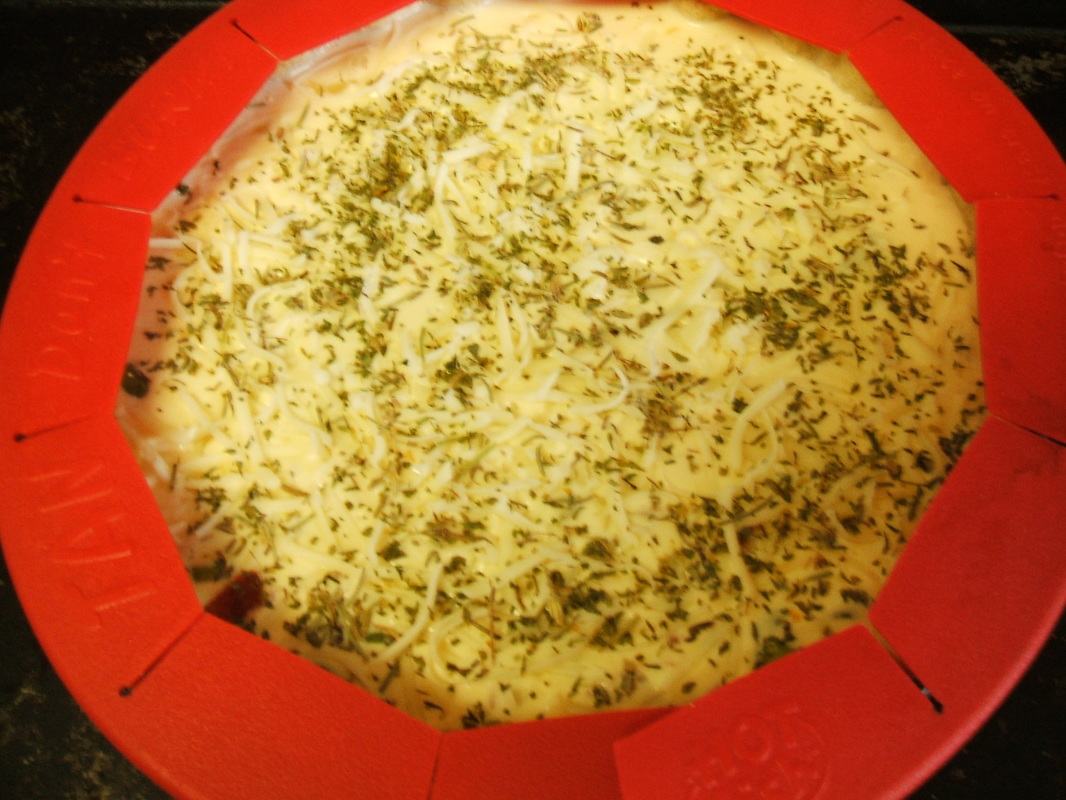
Pie crusts are always a touchy subject and many of you are afraid to tackle making one from scratch. I saw this recipe and method and decided to gave it a try. The dough was easy and fool proof, but I found it a bit tough. Also the amount of butter in the recipe was double what I was use to using in my crust recipe.
Great ideas always come to me in the middle of the night, like this one. I awoke thinking I should use my regular pie crust recipe and modify if by adding the tangzhong technique. This technique is a Japanese technique that I am familiar with in my bread baking. There is science that backs up why this technique keeps the gluten from over developing, which ensures a tender finished product.
The tangzhong technique uses boiling water which is added to the flour or in this case cornstarch to become a paste. In this recipe the boiling water is added to cornstarch to form a gel. This gel is then added to the flour in the recipe which retards the development of gluten in the crust, which keeps it tender.
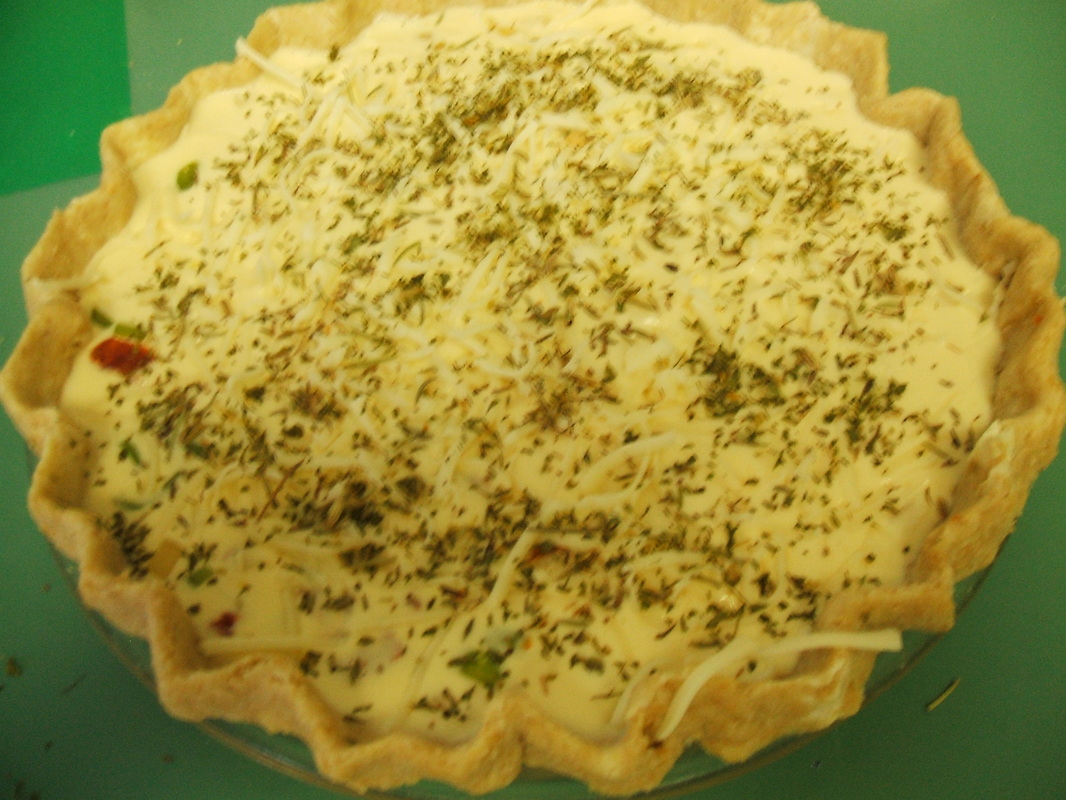
This recipe is easy to handle, it rolls out easily and holds together better than most crust recipes. I find it's not quite as flaky as an all wheat crust, but if you need a crust that is a bit more sturdy because you are doing lattice work or something fancy this is an excellent option.
9 inch Pie Crust Recipe:
Tangzhong
Crust Instructions:
Mix by hand it's easy and less dishes.
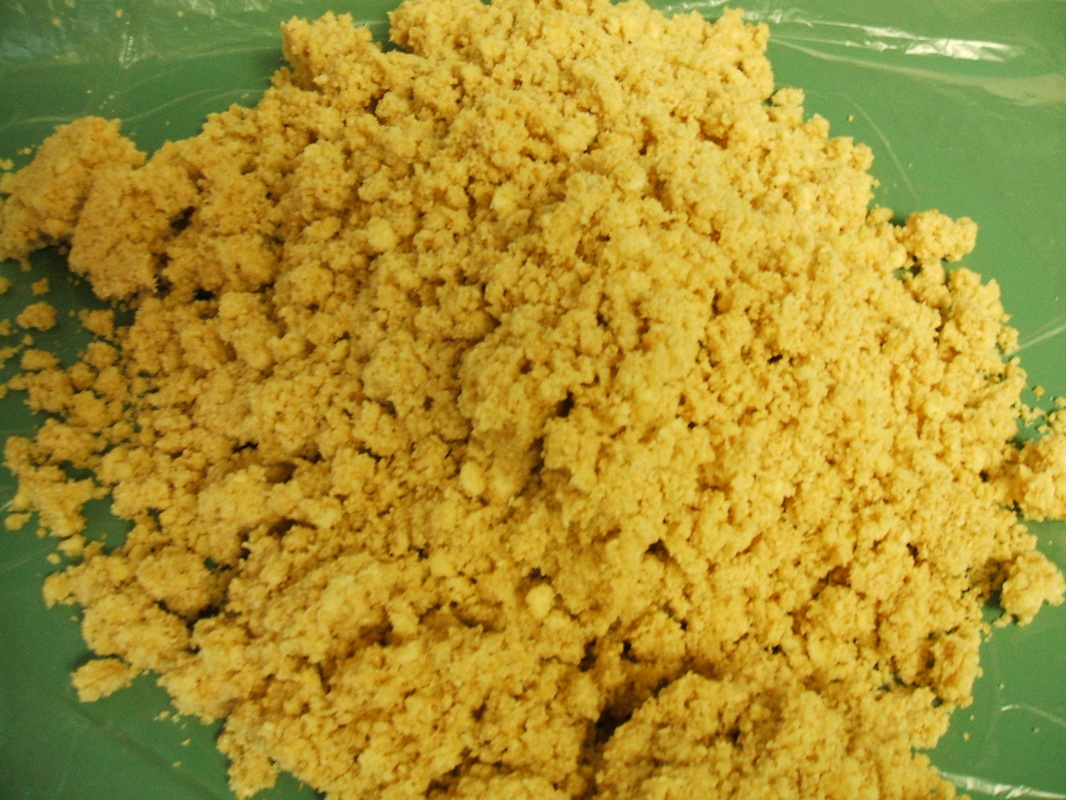
Mix together flour, sugar, and salt thoroughly. Cut the butter and lard into the dry mixture until the size of peas. Add the buttermilk and cornstarch mixture together and mix, then add it to the flour mixture. Mix with your hands or a spoon, do not over mix. Press into a ball, and then flatten into a rounded disk. Refrigerate for 30 minutes, or up to 48 hours. You may also freeze the dough at this point to use at a later date.
Remove the dough from the refrigerator. Roll the dough between two pieces of wax paper or plastic. And place over the pie pan and press into shape.
Great ideas always come to me in the middle of the night, like this one. I awoke thinking I should use my regular pie crust recipe and modify if by adding the tangzhong technique. This technique is a Japanese technique that I am familiar with in my bread baking. There is science that backs up why this technique keeps the gluten from over developing, which ensures a tender finished product.
The tangzhong technique uses boiling water which is added to the flour or in this case cornstarch to become a paste. In this recipe the boiling water is added to cornstarch to form a gel. This gel is then added to the flour in the recipe which retards the development of gluten in the crust, which keeps it tender.
This recipe is easy to handle, it rolls out easily and holds together better than most crust recipes. I find it's not quite as flaky as an all wheat crust, but if you need a crust that is a bit more sturdy because you are doing lattice work or something fancy this is an excellent option.
9 inch Pie Crust Recipe:
Tangzhong
- 3 T. water
- 2 tsp. cornstarch
- 1/4 c. + 3T. soft white flour (76 g)
- 1/4 c. + 2 T. oat flour (37 g)
- (or if you don't have whole grain flour use 1 + 2 T. cup all purpose flour)
- 2 tsp. sugar (or spices if you are doing a savory crust)
- 1/4 tsp salt
- 2 T. unsalted butter chilled (28 g)
- 2 T. lard or shortening chilled (26 g) or (28 g butter)
- 2 T. cold buttermilk (31 g) or sour cream or yogurt (28 g)
Crust Instructions:
Mix by hand it's easy and less dishes.
Mix together flour, sugar, and salt thoroughly. Cut the butter and lard into the dry mixture until the size of peas. Add the buttermilk and cornstarch mixture together and mix, then add it to the flour mixture. Mix with your hands or a spoon, do not over mix. Press into a ball, and then flatten into a rounded disk. Refrigerate for 30 minutes, or up to 48 hours. You may also freeze the dough at this point to use at a later date.
Remove the dough from the refrigerator. Roll the dough between two pieces of wax paper or plastic. And place over the pie pan and press into shape.

To Blind Bake if Needed:
Blind baking means to bake the crust without any filling. This is done with pies that the filling is not baked or sometimes to prevent the crust from becoming soggy. Your pie recipe will indicate if you need to blind bake your crust.
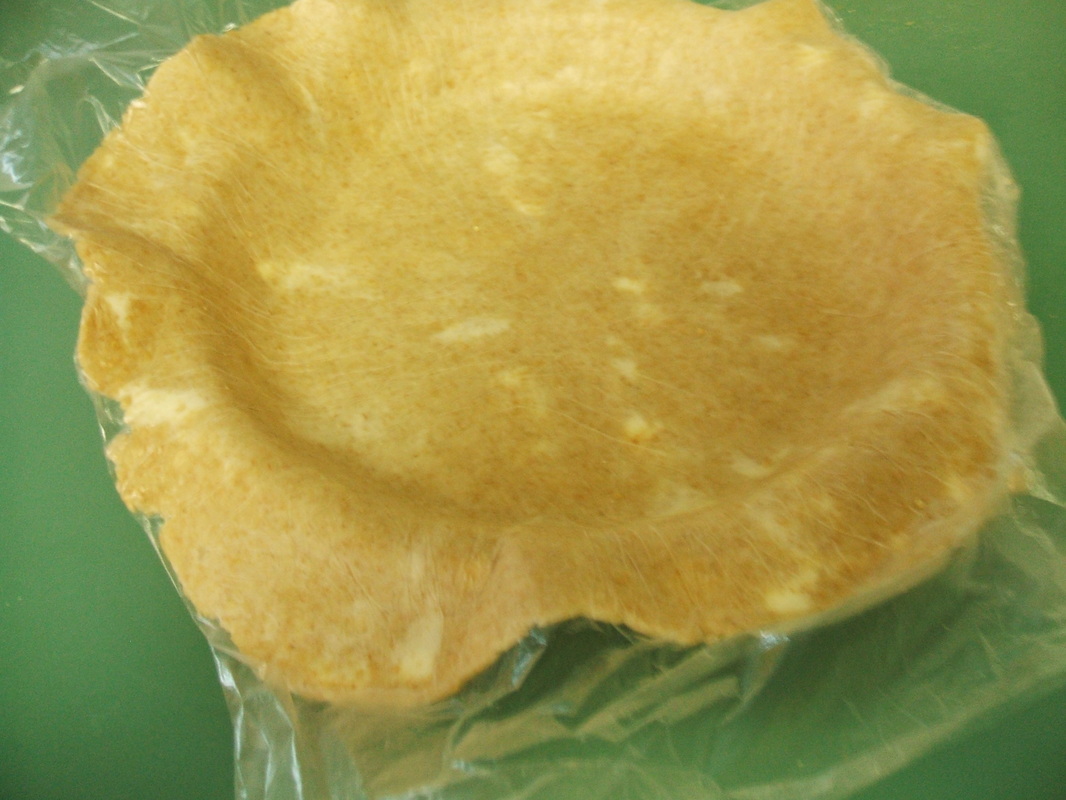
Lay plastic wrap or wax paper on the counter Roll out the dough into a 12 inch circle on the paper.
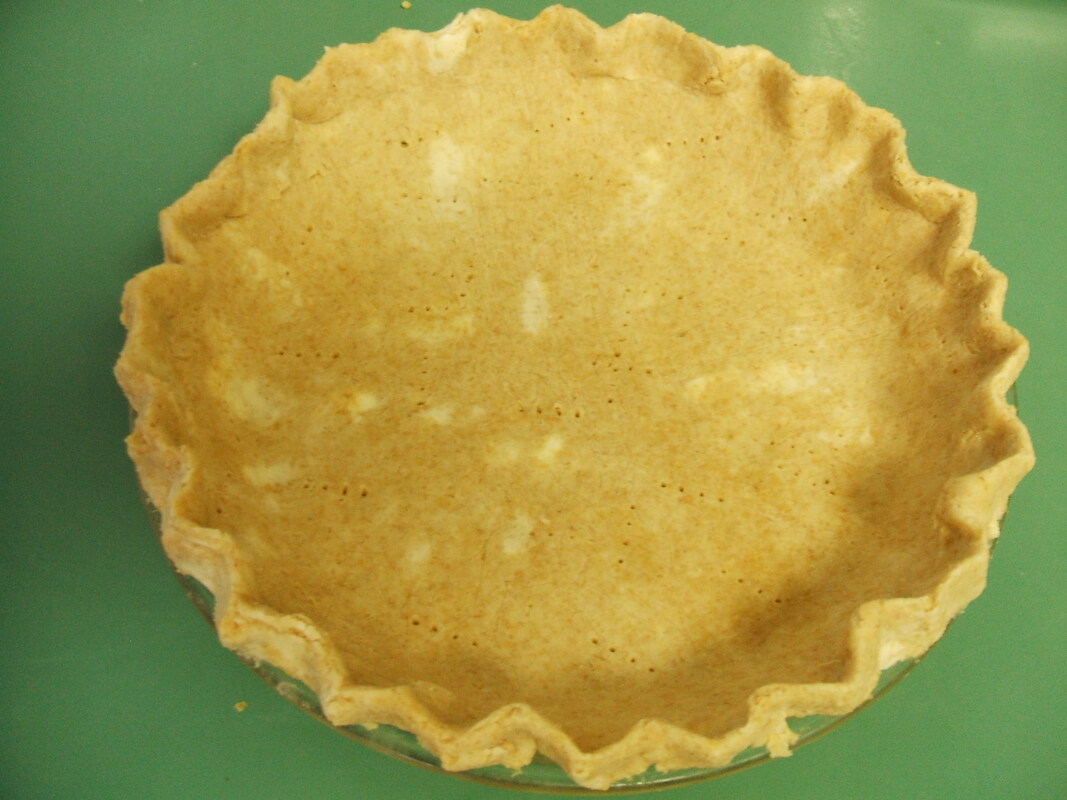
Flip the dough over and lay the crust over the pie pan, pressing it into the bottom and up the sides. Peel away the plastic or wax paper from the dough. Leave about 1/2 inch overhang all the way around the pie plate. Cut off the extra where it is longer. Tuck the 1/2 inch over hang of dough under and crimp the dough with your fingers.
Place in the freezer for 15 minutes, before you put it into the pre-heated 375 degree oven.
Remove from the freezer and line the chilled crust with foil and fill the pie pan with pie weights. I use beans, that are only used for blind baking. You can use them over and over. Bake until the edges are light golden brown about 25 minutes. Remove the foil and weights, bake until the bottom of the crust just begins to color another 5-7 minutes.
Remove from the oven and cool for 1 hour before filling. You can bake the crust a couple of days ahead of time if needed.
Inspired by a recipe from 177milkstreet.com
Blind baking means to bake the crust without any filling. This is done with pies that the filling is not baked or sometimes to prevent the crust from becoming soggy. Your pie recipe will indicate if you need to blind bake your crust.
Lay plastic wrap or wax paper on the counter Roll out the dough into a 12 inch circle on the paper.
Flip the dough over and lay the crust over the pie pan, pressing it into the bottom and up the sides. Peel away the plastic or wax paper from the dough. Leave about 1/2 inch overhang all the way around the pie plate. Cut off the extra where it is longer. Tuck the 1/2 inch over hang of dough under and crimp the dough with your fingers.
Place in the freezer for 15 minutes, before you put it into the pre-heated 375 degree oven.
Remove from the freezer and line the chilled crust with foil and fill the pie pan with pie weights. I use beans, that are only used for blind baking. You can use them over and over. Bake until the edges are light golden brown about 25 minutes. Remove the foil and weights, bake until the bottom of the crust just begins to color another 5-7 minutes.
Remove from the oven and cool for 1 hour before filling. You can bake the crust a couple of days ahead of time if needed.
Inspired by a recipe from 177milkstreet.com
 RSS Feed
