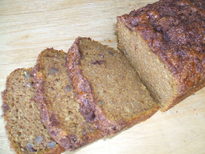
Carrot cake is an American classic. This recipe makes the humble carrot cake into a four-tier, nut-crusted confection that will be the center piece of the celebration. The cake will be baked in a half sheet pan, that way you don't have to cut the layers and the cooking and cooling times are reduced. This recipe is based on a recipe from the American's Test Kitchen. This technique can be used for many cakes.
Oven: 350
Time: 15-18 minutes
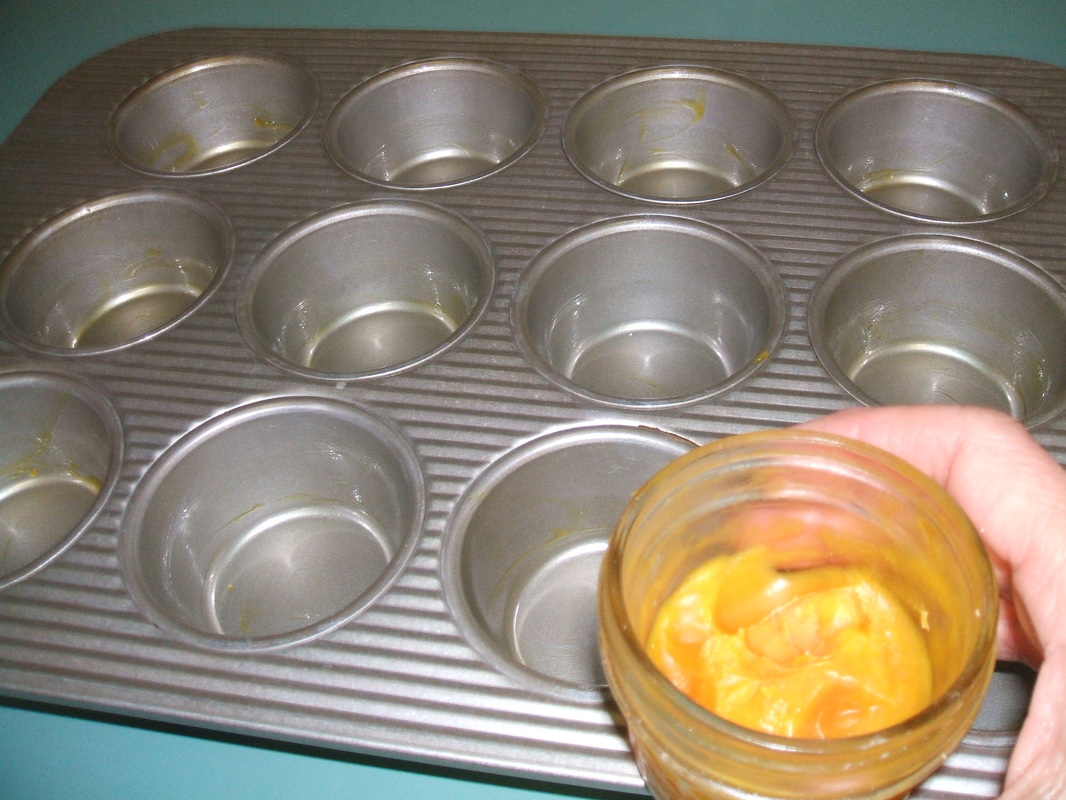
Pan: 18 x 13 inch rimmed baking sheet lined with parchment paper
Oven: 350
Time: 15-18 minutes
Pan: 18 x 13 inch rimmed baking sheet lined with parchment paper
Cake Ingredients:
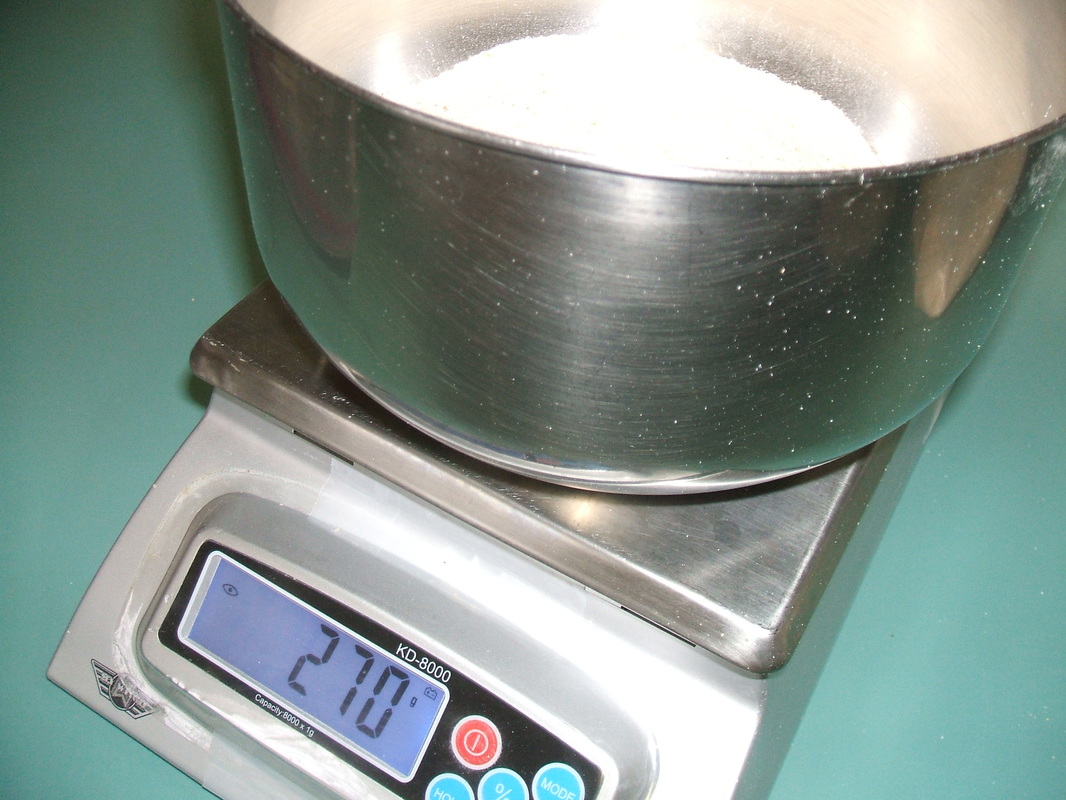
236g of soft white flour (1 3/4 cups)
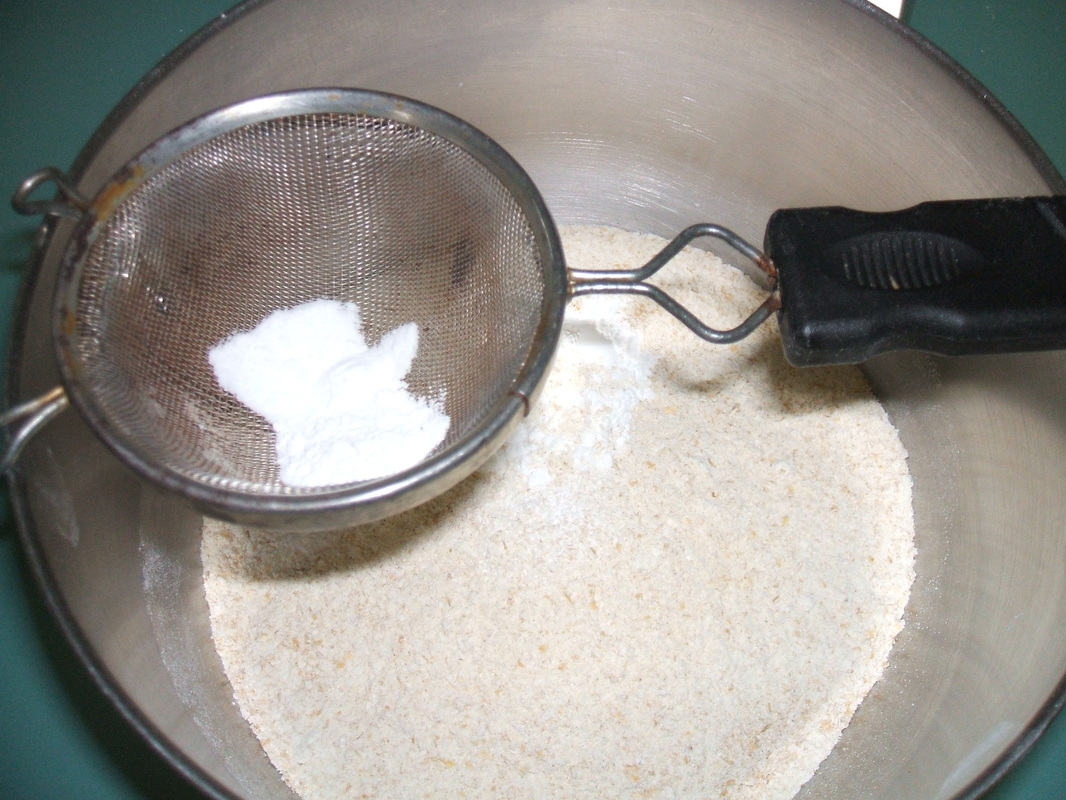
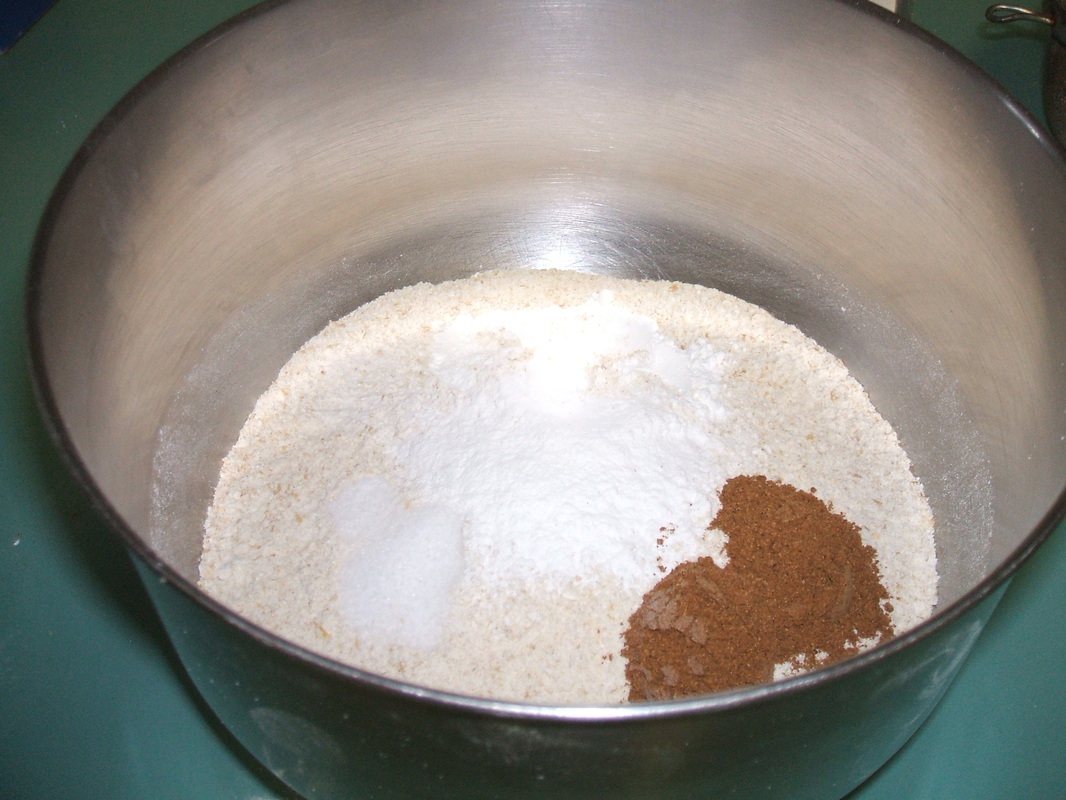
2 tsp. baking powder
1 tsp. baking soda
1 1/2 tsp. ground cinnamon
3/4 tsp. ground nutmeg
1/2 tsp. ground ginger
1/2 tsp. salt
1/4 tsp. cloves
236g light brown sugar (1 1/4 cups)
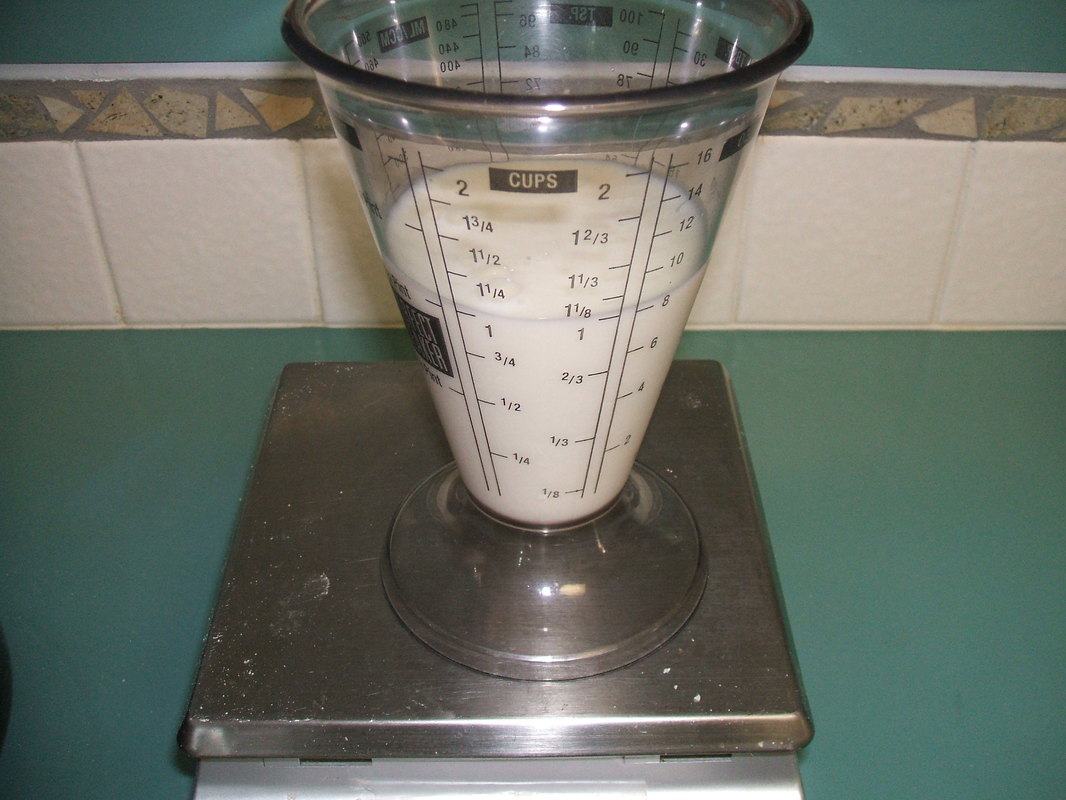
168g vegetable oil (3/4 cup)
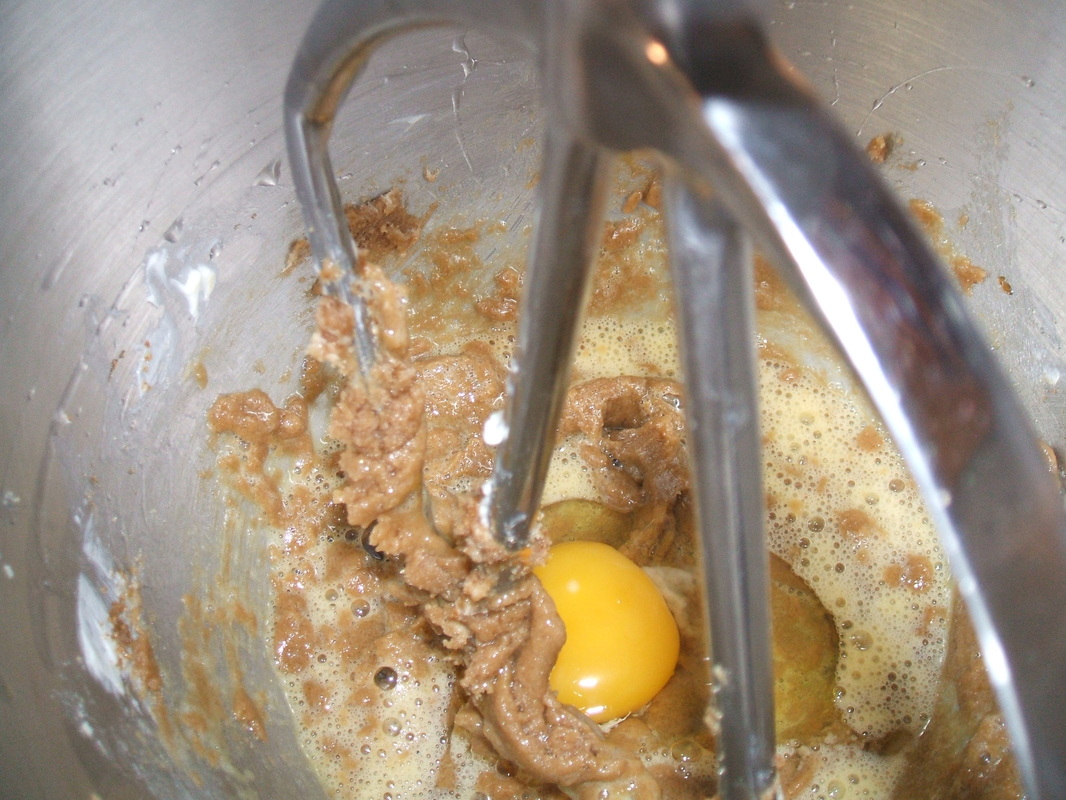
3 large eggs
1 tsp vanilla extract
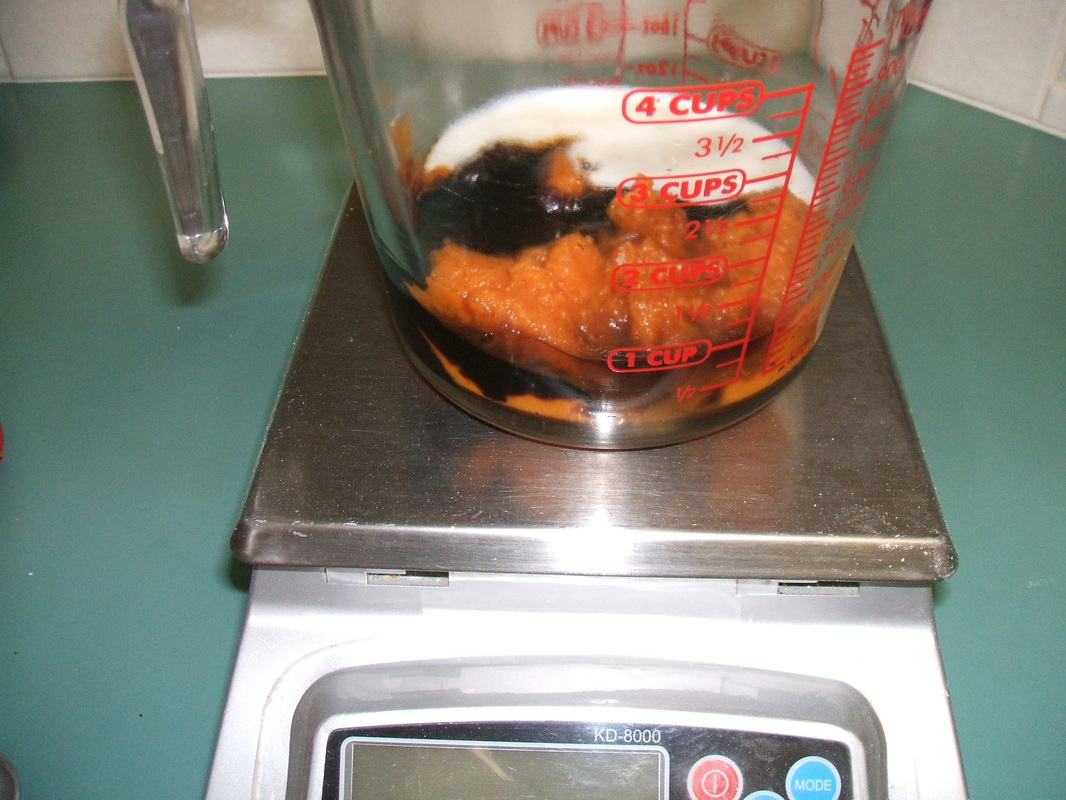
2 2/3 cup carrots (4 carrots)
2/3 cup raisins
Cake Directions:
340g powdered sugar (3 cups)
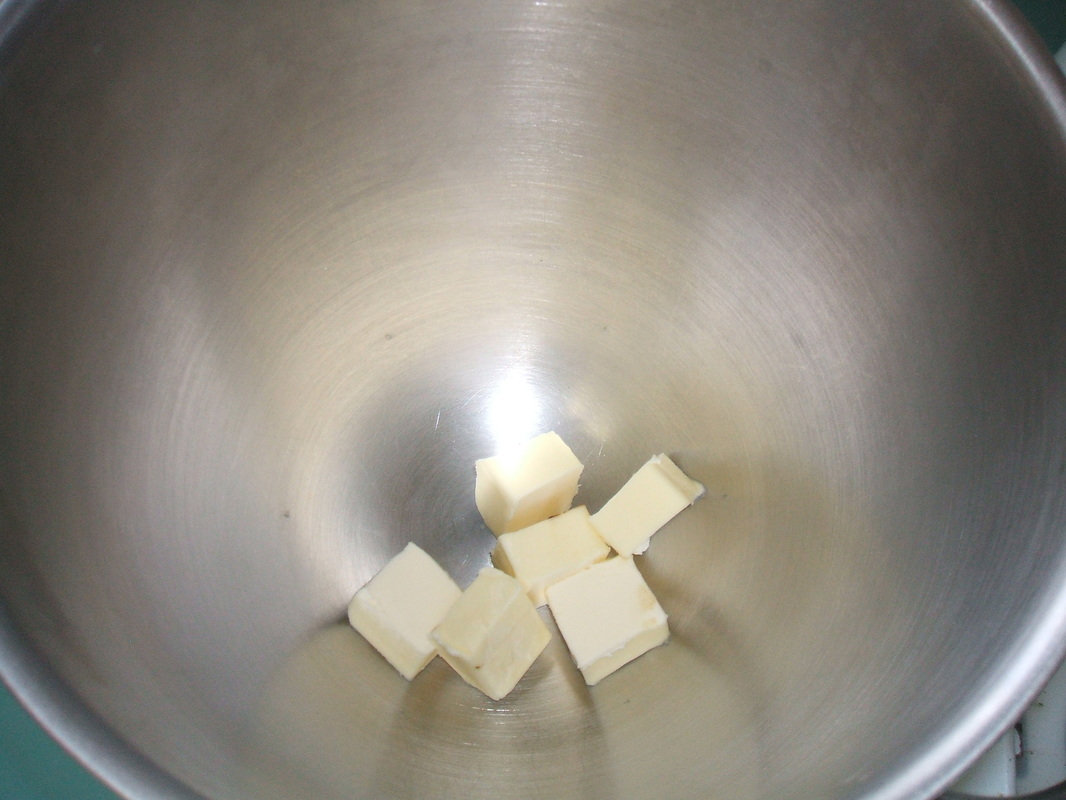
227g unsalted butter (16 T.)
40g DRY buttermilk powder (1/3 cup) ... This gives the frosting a nice tang
2 tsp. vanilla extract
1/4 tsp. salt
12 ounces cream cheese chilled and cut into 12 equal pieces
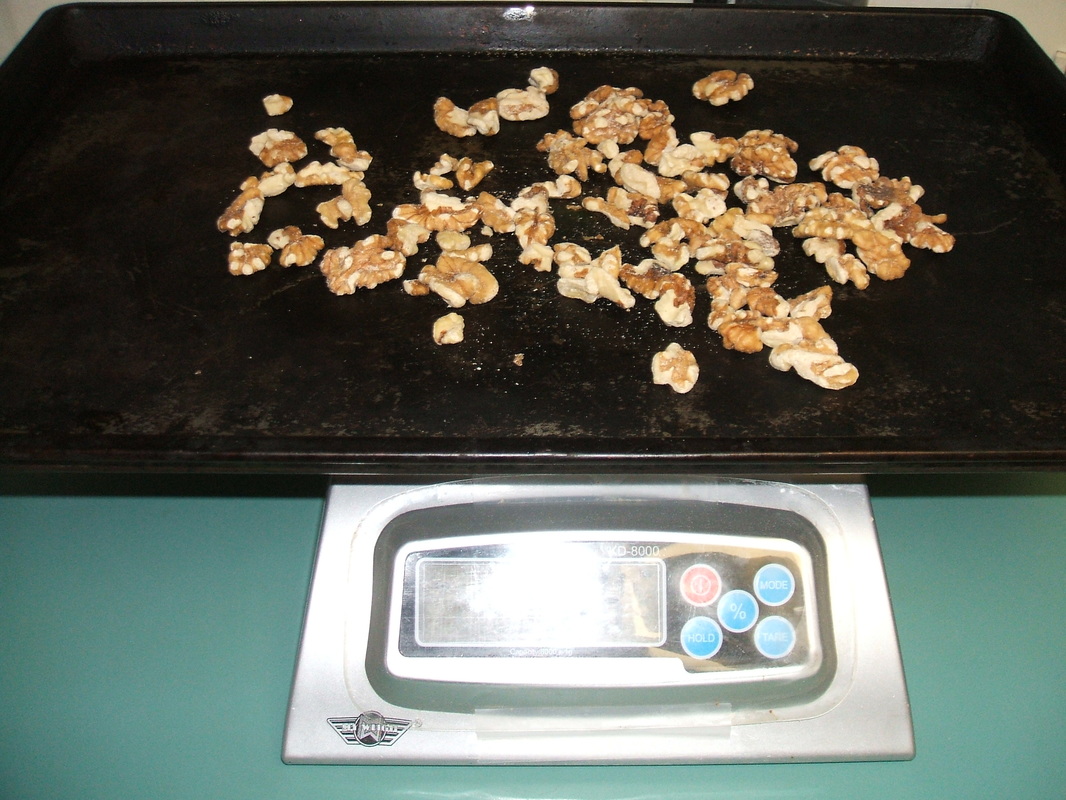
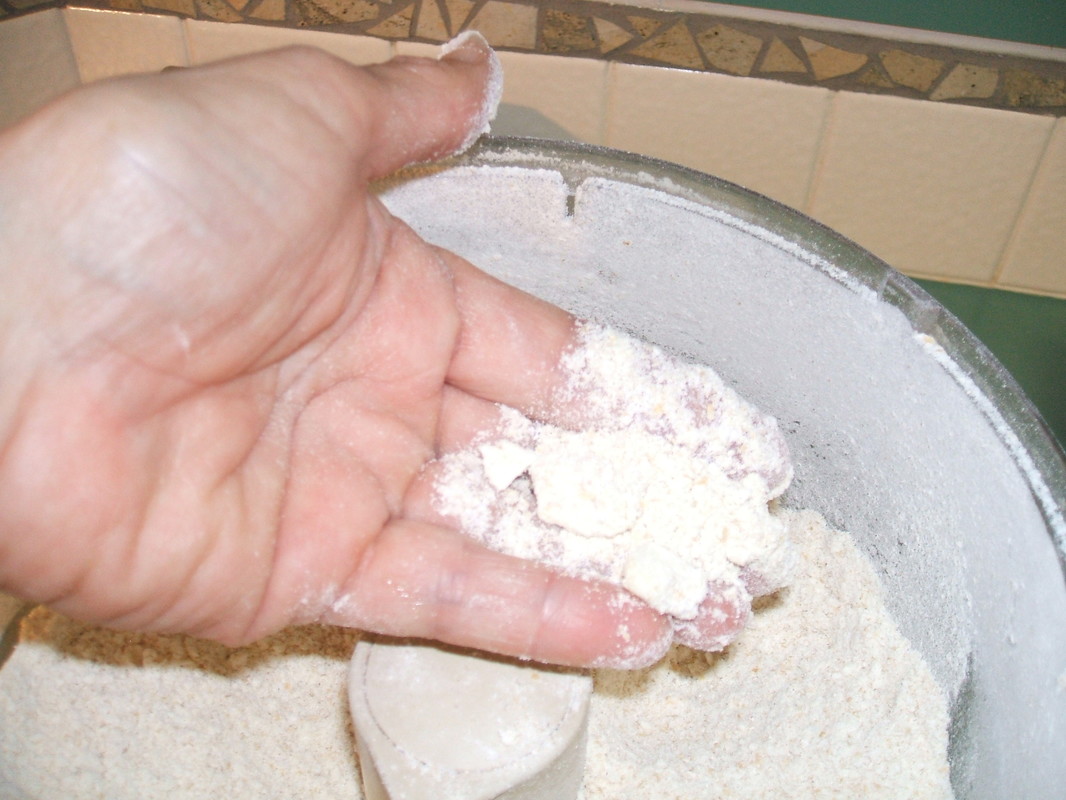
227g pecans toasted and chopped coarse (2 cups)
Frosting Directions:
Assembly:
Enjoy!
236g of soft white flour (1 3/4 cups)
2 tsp. baking powder
1 tsp. baking soda
1 1/2 tsp. ground cinnamon
3/4 tsp. ground nutmeg
1/2 tsp. ground ginger
1/2 tsp. salt
1/4 tsp. cloves
236g light brown sugar (1 1/4 cups)
168g vegetable oil (3/4 cup)
3 large eggs
1 tsp vanilla extract
2 2/3 cup carrots (4 carrots)
2/3 cup raisins
Cake Directions:
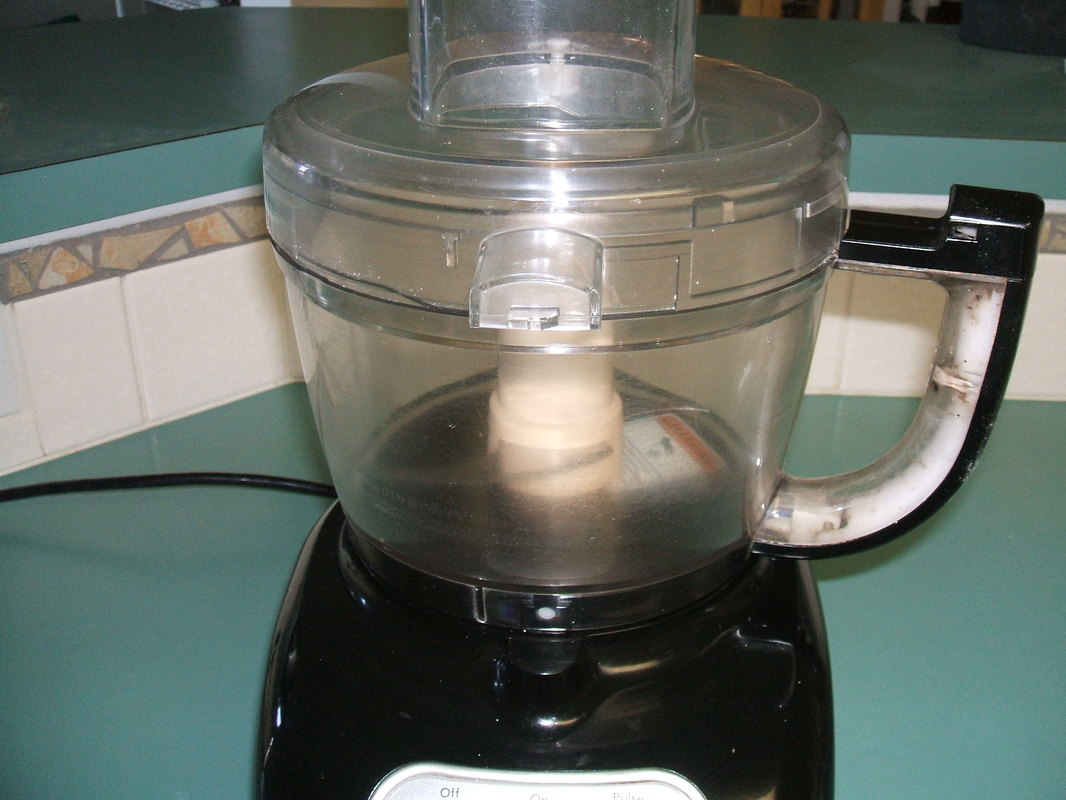
- Shred the carrots using food processor or grater box
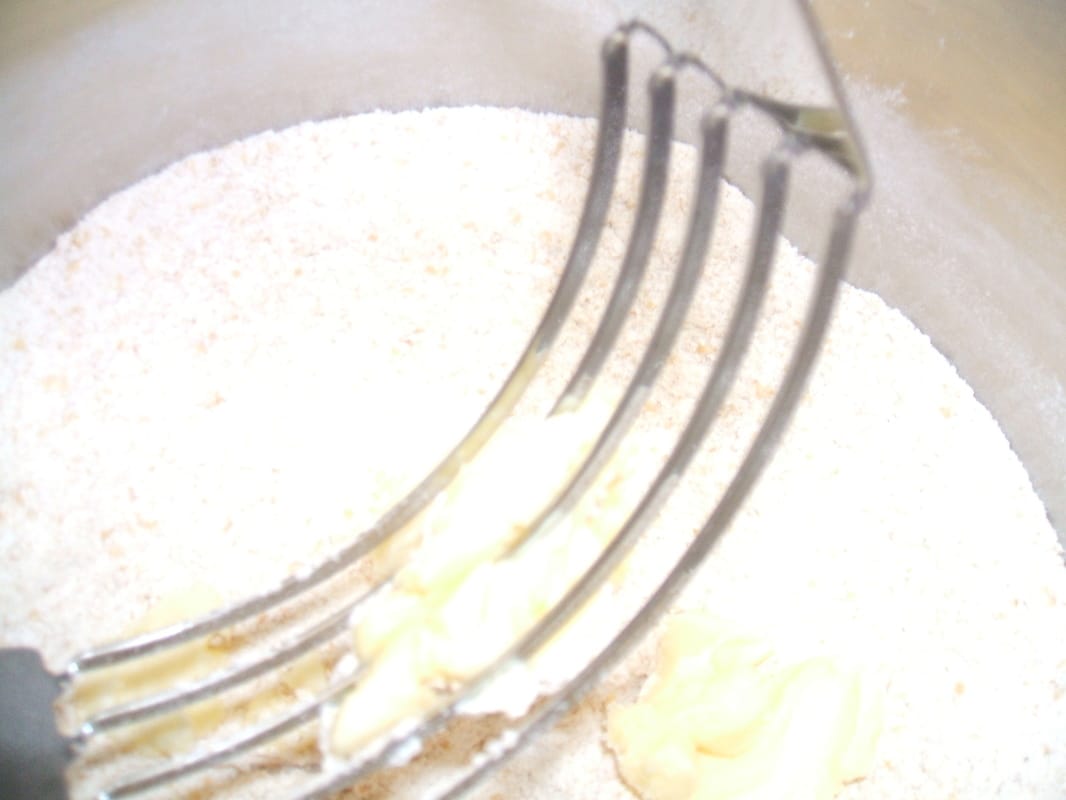
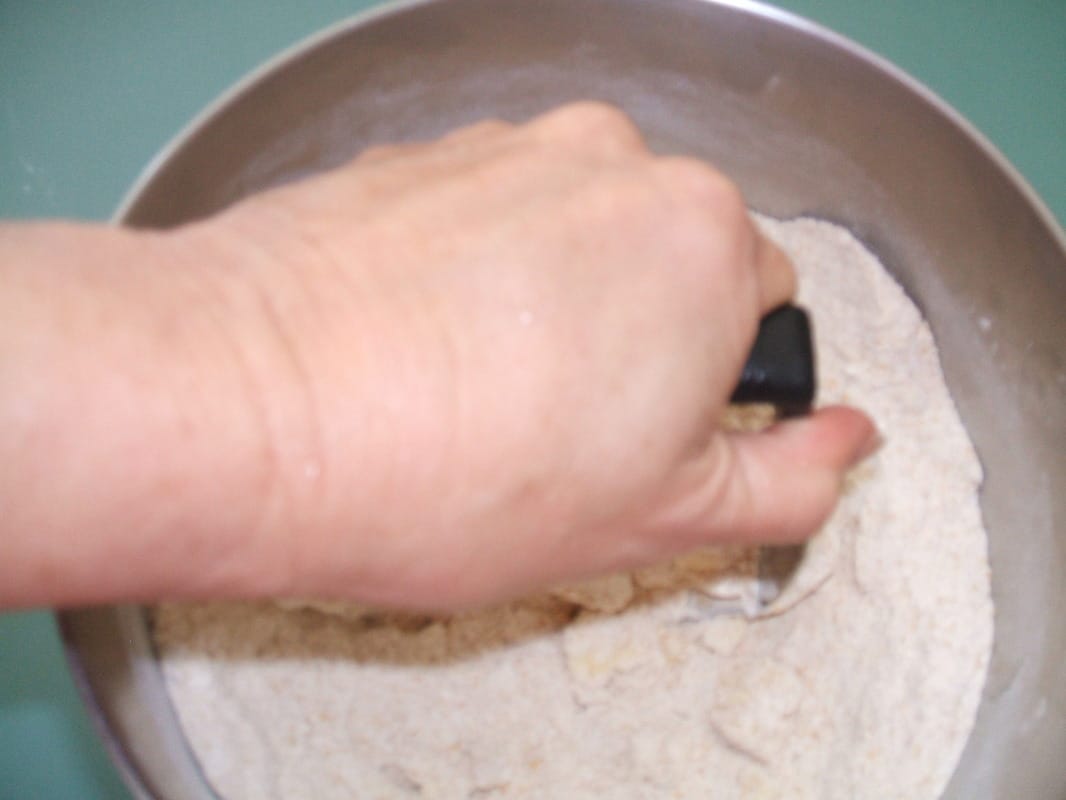
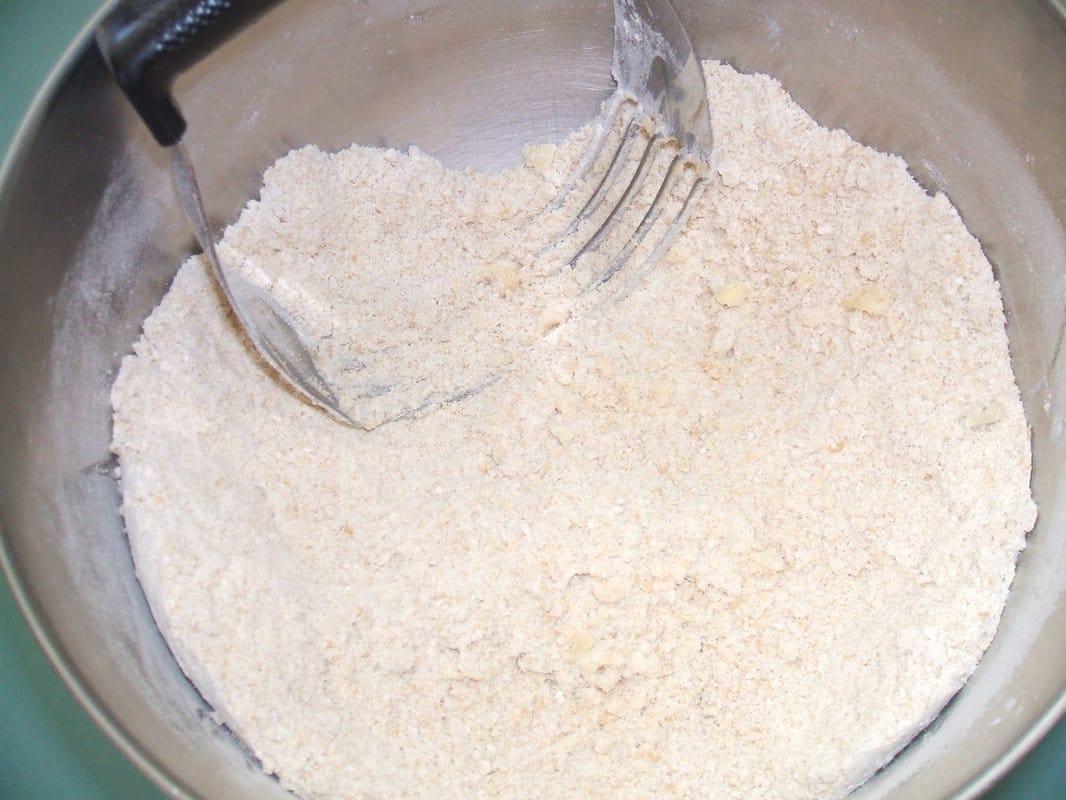
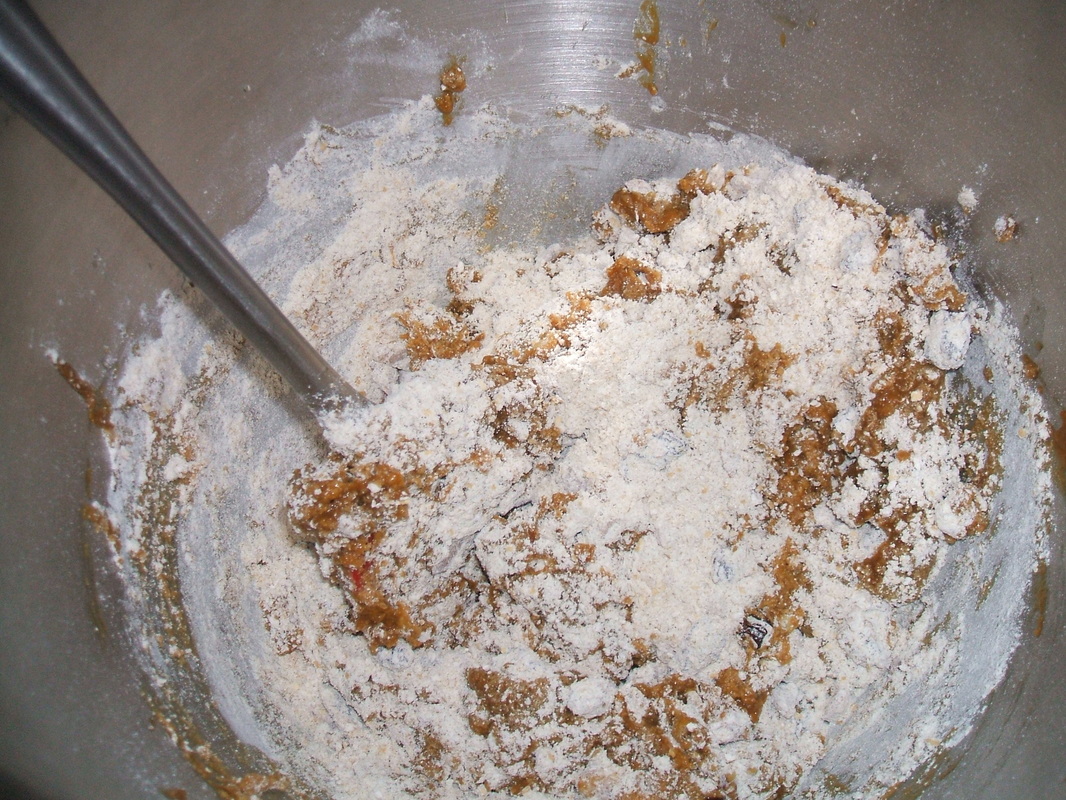
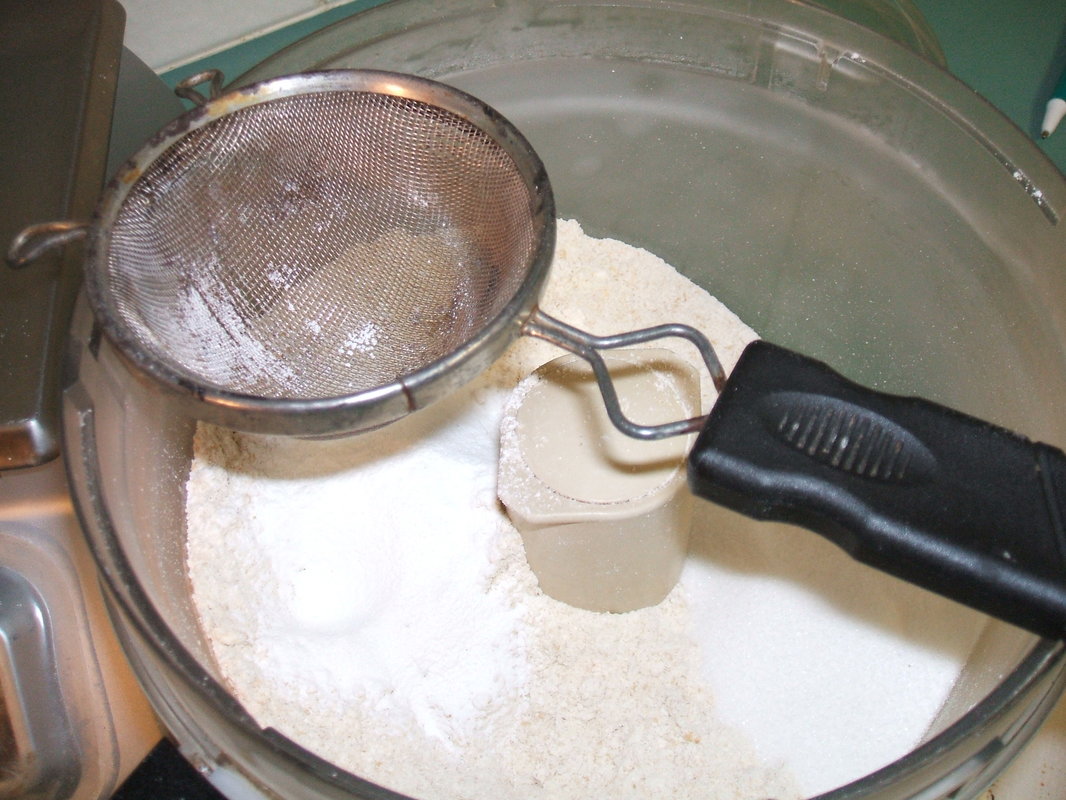
- Mix dry ingredients together; flour baking powder, soda, spices in a large bowl.
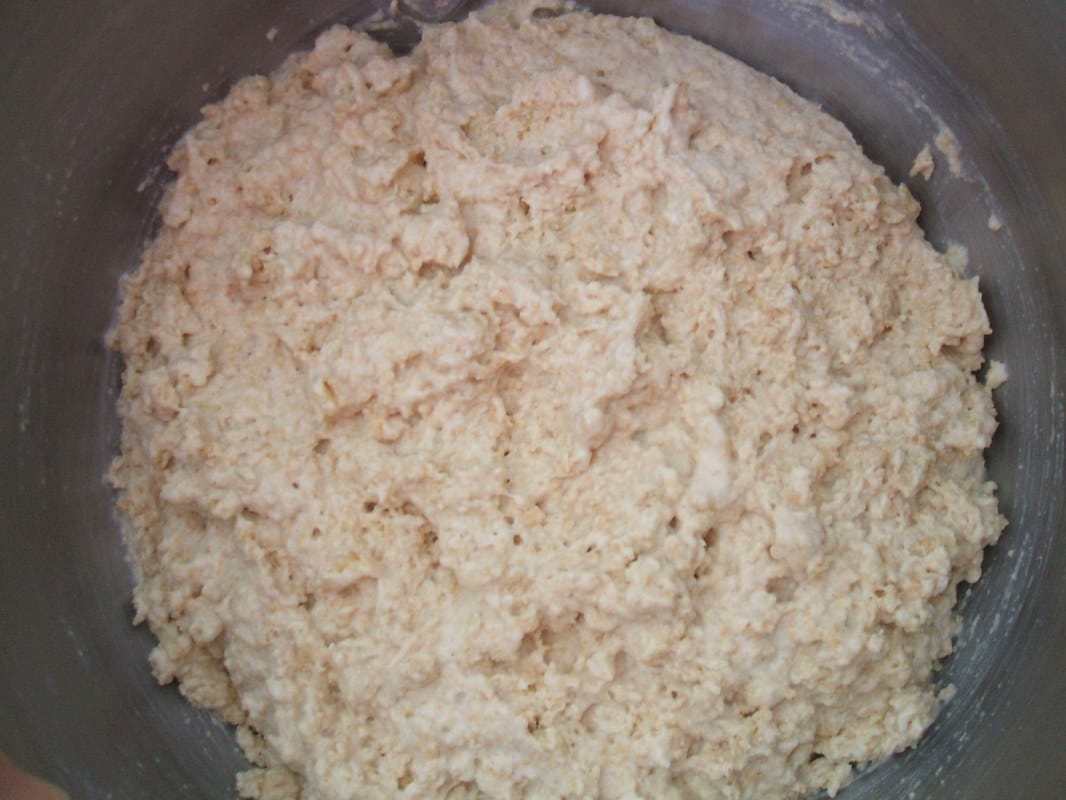
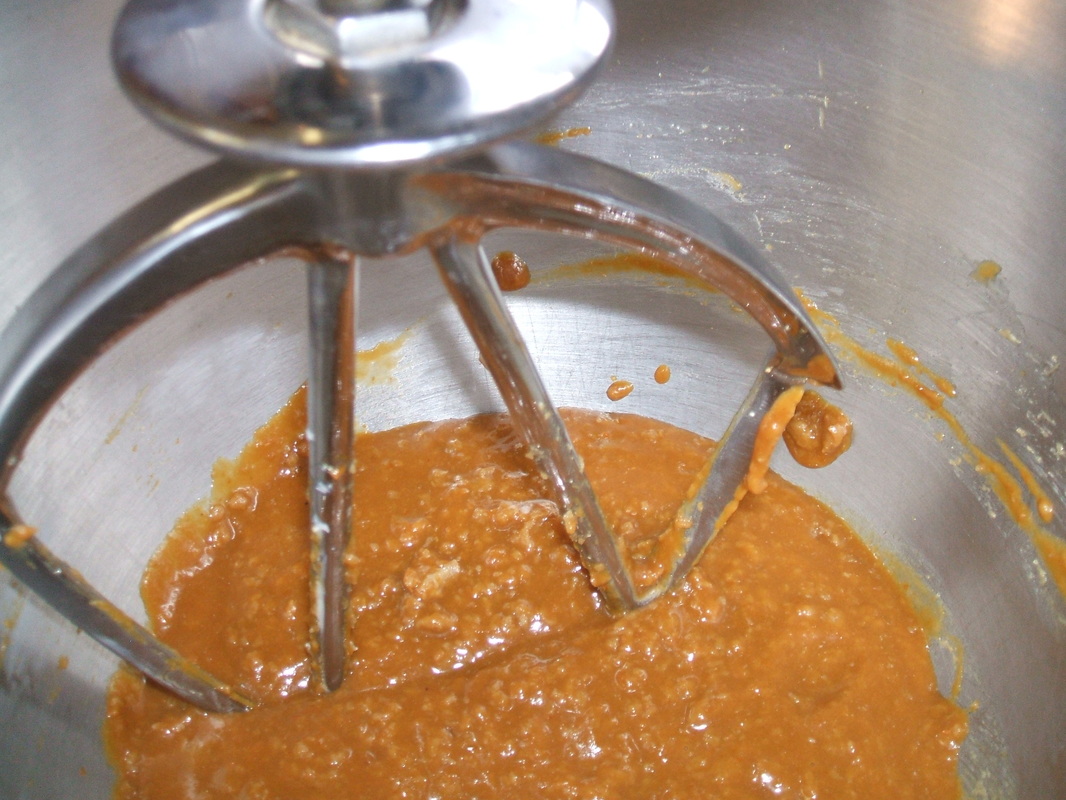
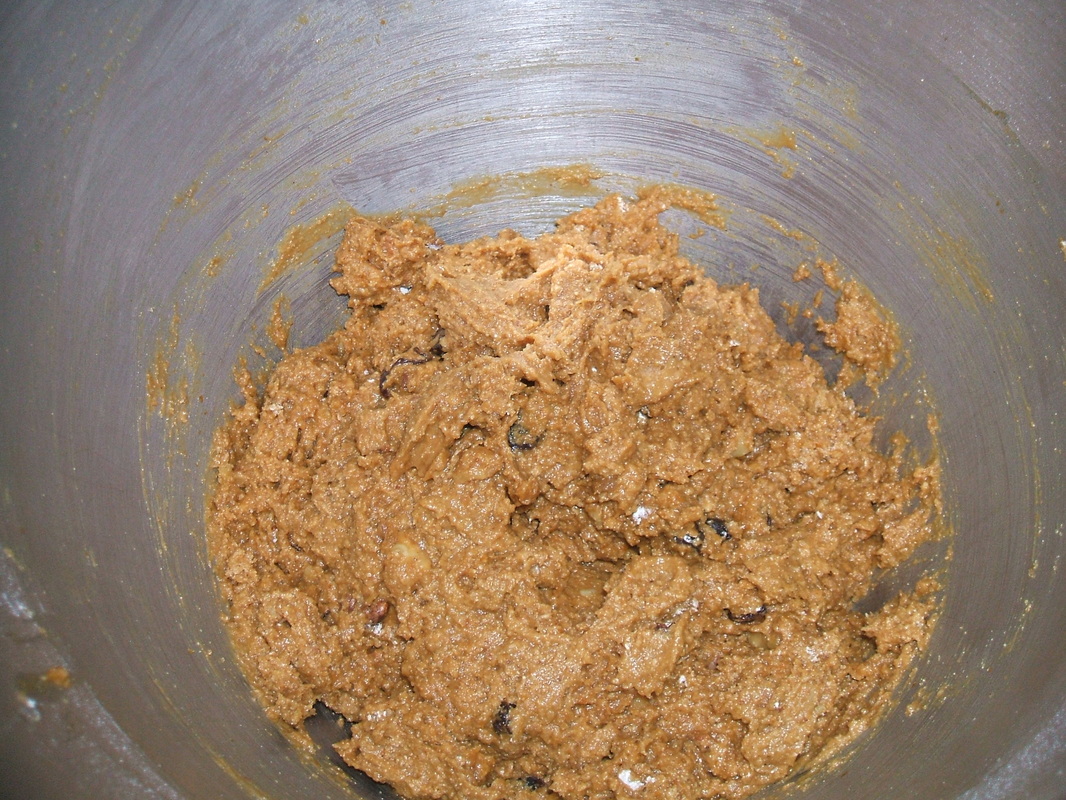
- Whisk Sugar, oil, eggs and vanilla together in a second bowl until the mixture is smooth. Stir in the carrots and raisins.
- Add the flour mixture and fold with a spatula until mixture is just combined. Let it sit for 15 minutes
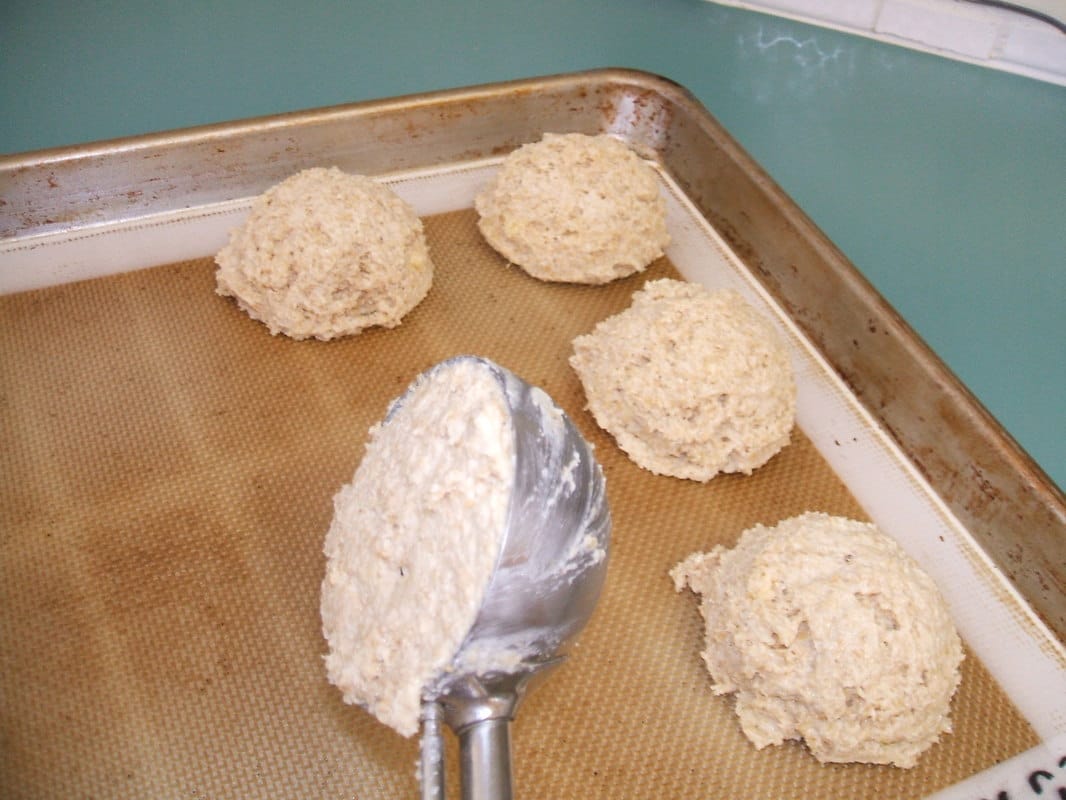
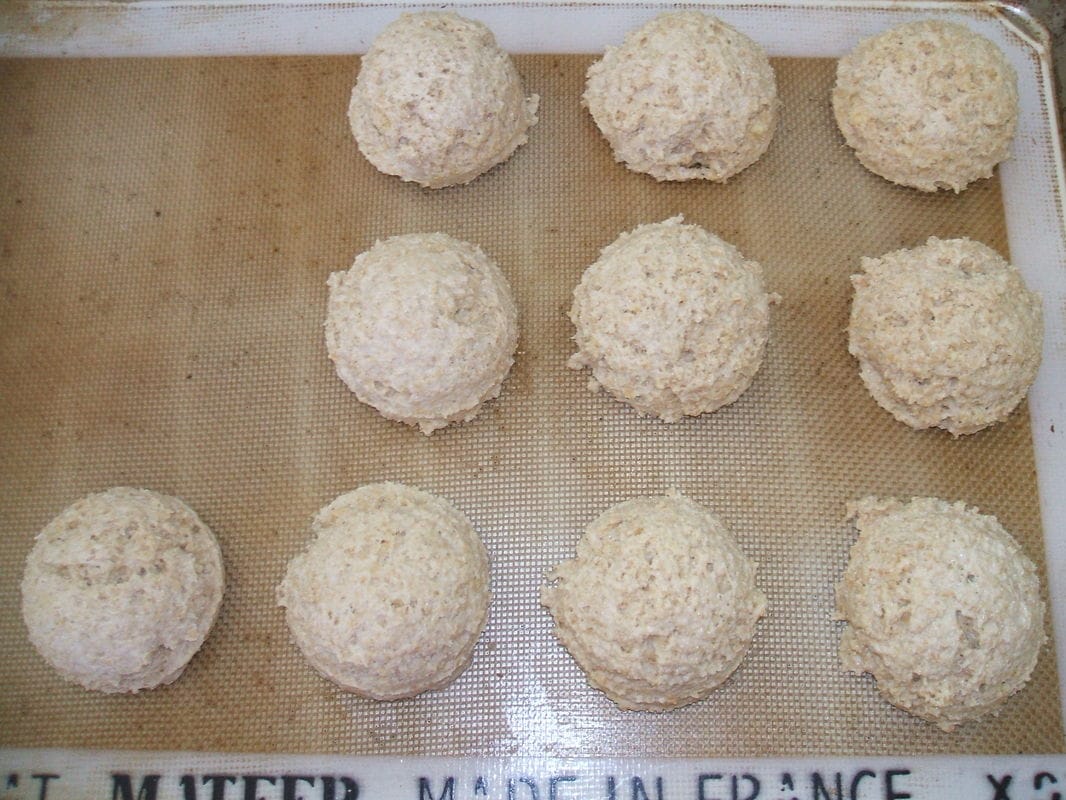
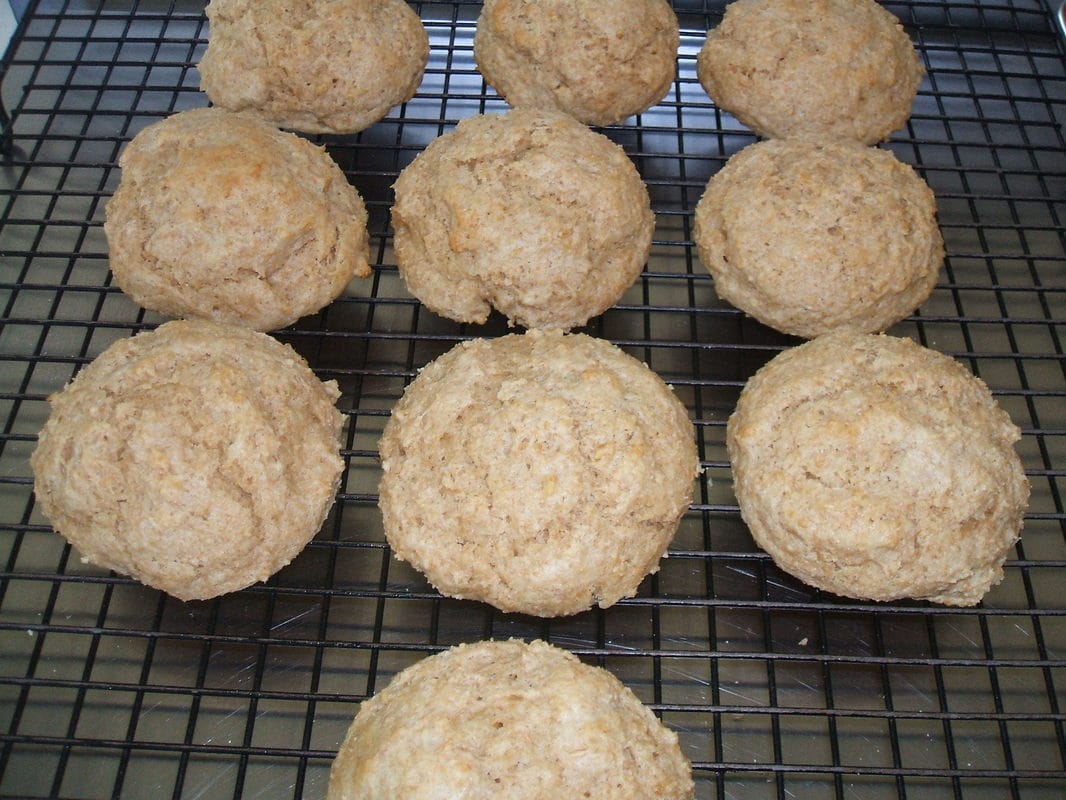
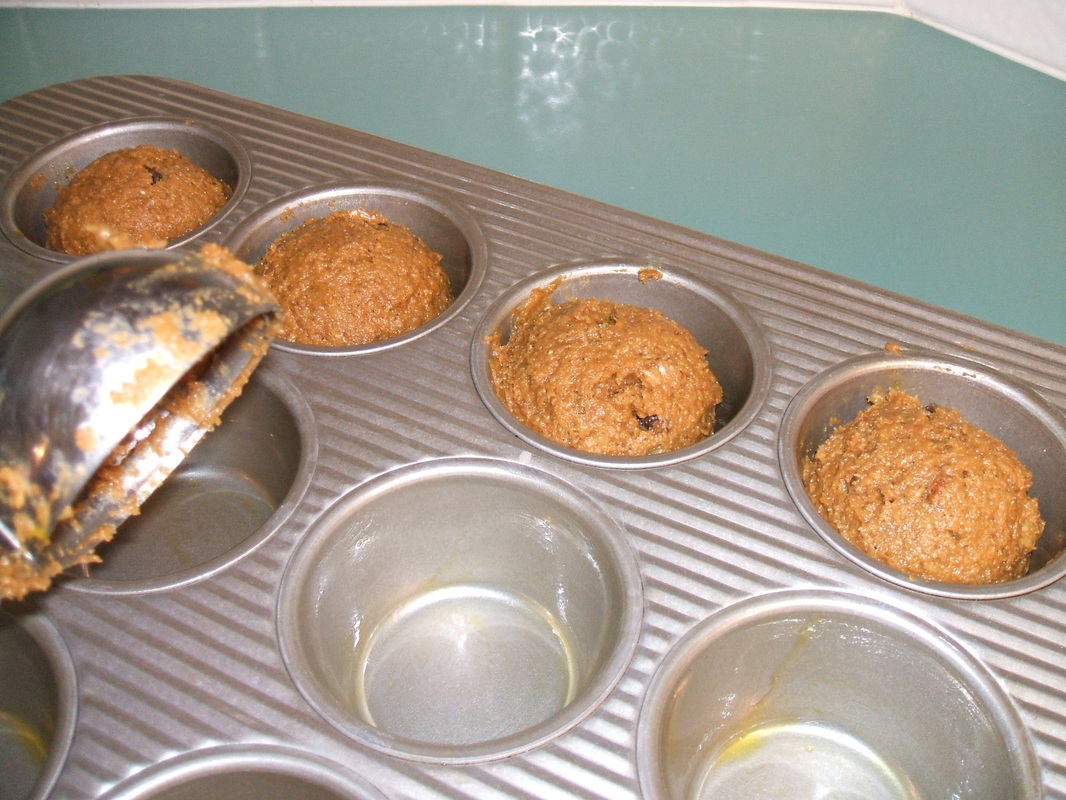
- Transfer the batter to the baking sheet lined with parchment paper. Smooth the batter with an offset spatula. Bake until the center of the cake is firm to the touch 15-18 minutes. Cool 5 minutes and invert the cake onto a wire rack DO NOT remove the parchment paper. Then reinvert it onto a second wire rack to flip it over and cool completely.
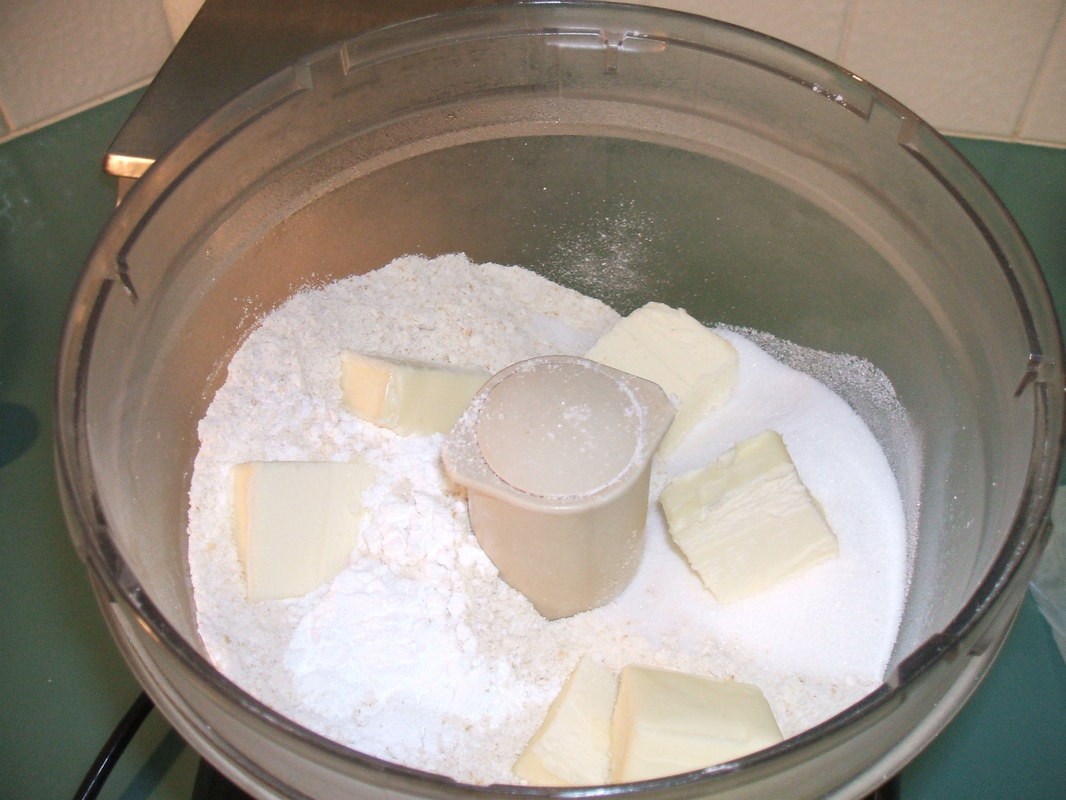
340g powdered sugar (3 cups)
227g unsalted butter (16 T.)
40g DRY buttermilk powder (1/3 cup) ... This gives the frosting a nice tang
2 tsp. vanilla extract
1/4 tsp. salt
12 ounces cream cheese chilled and cut into 12 equal pieces
227g pecans toasted and chopped coarse (2 cups)
Frosting Directions:
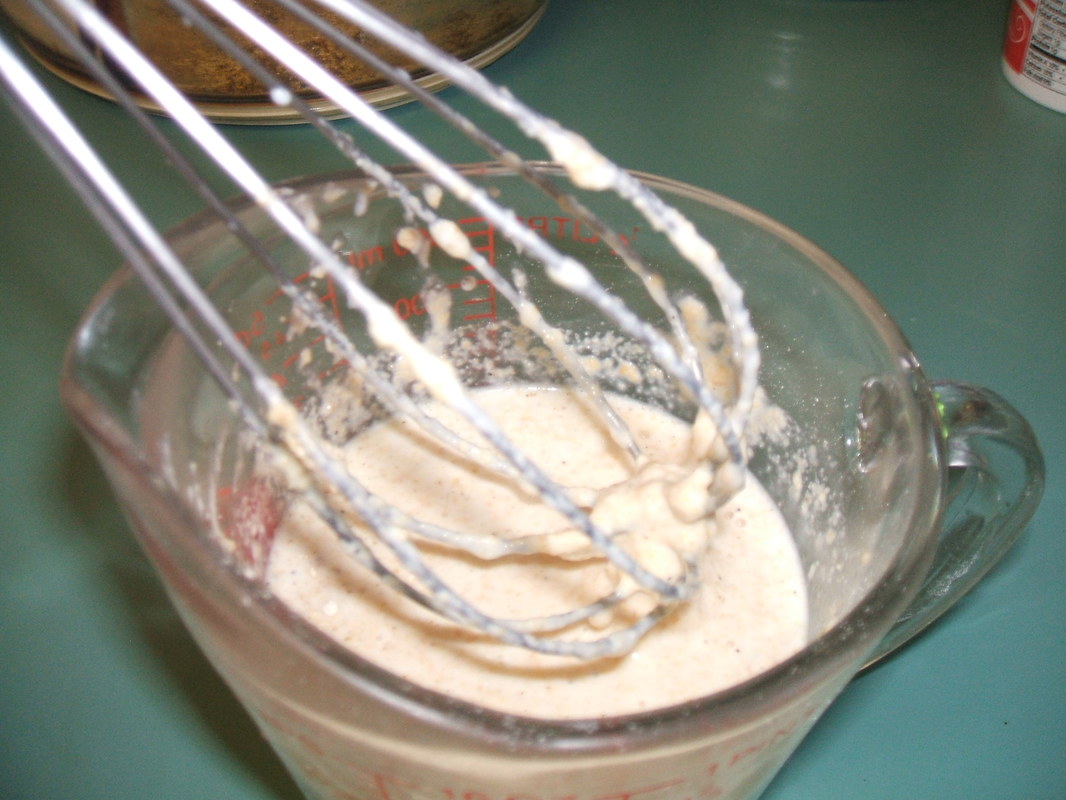
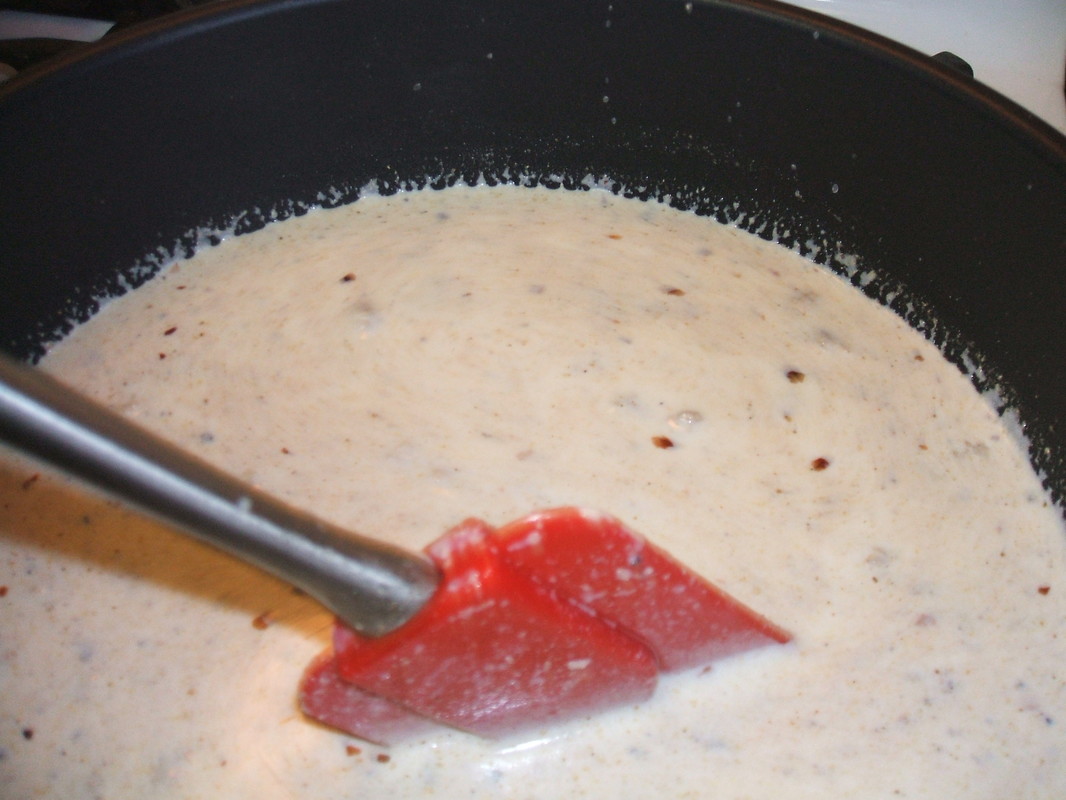
- Using a mixer, beat on low speed, the sugar, butter, buttermilk powder, vanilla and salt together until smooth.
- Increase the speed and add the pieces of cream cheese one at a time mix until smooth.
Assembly:
- Transfer the cooled cake to the cutting board, with the parchment paper attached side down.
- Cut the cake and parchment in half crosswise, then lengthwise into 4 even quarters.
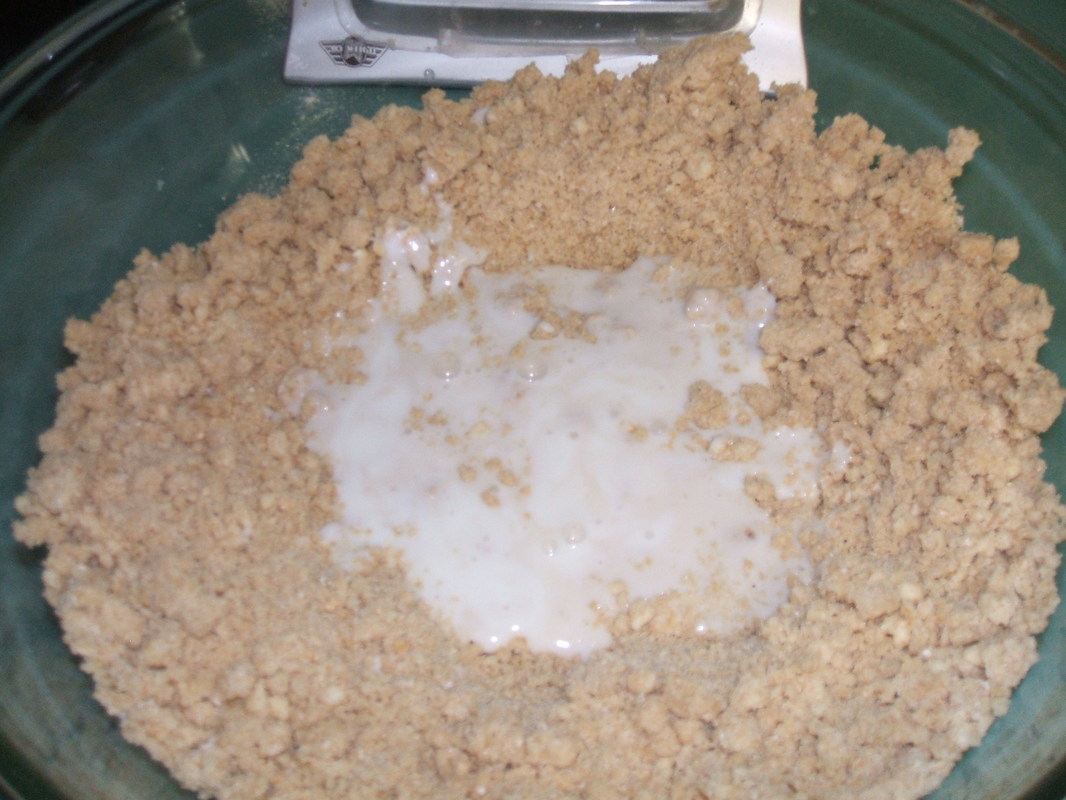
- Make a 6x8 piece of card board wrapped with wax paper or foil placed on a cake platter.
- Place 1 cake layer, parchment side up, on the cardboard and carefully remove the parchment. Spread 2/3 of a cup of the frosting to the edge of the cake. Repeat with 2 more layers of cake and frosting. Press lightly to make sure they adhere to each other.
- Top with the last layer and spread 1 cup of frosting evenly over the top. Spread the remain frosting evenly over the sides of the cake.
- Add chopped nuts to the side of the cake by gently pressing them to the icing with your hands.
- Refrigerate for up to 24 hours before serving.
Enjoy!


 RSS Feed
