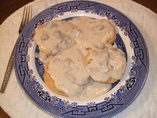
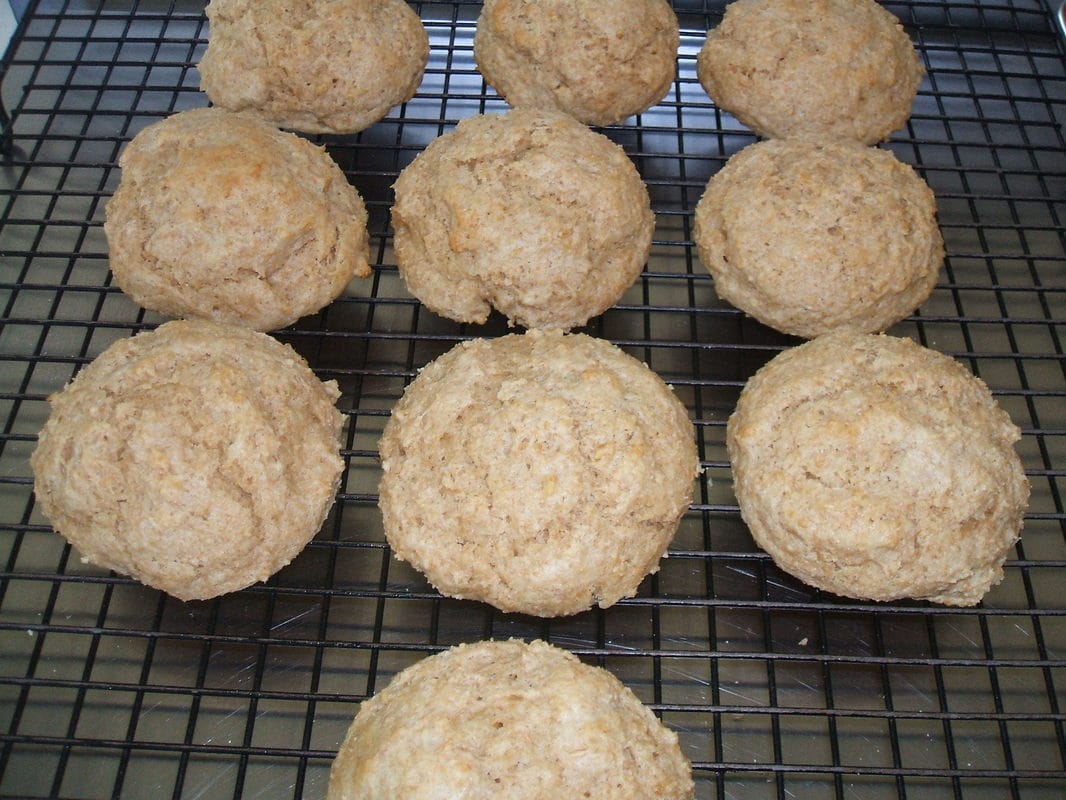
The biscuits are made with Soft White Wheat, (pastry flour) it's lower in gluten than hard flours (bread flour). The general rule is soft wheat is a better choice for anything that you will not be using yeast as the leavening agent. This biscuit recipe is for a drop biscuit so it's easy to make and comes out light and perfect.
If you are using all purpose flour for this recipe ... Read How to Adjust Recipe
If you are using all purpose flour for this recipe ... Read How to Adjust Recipe
Equipment:
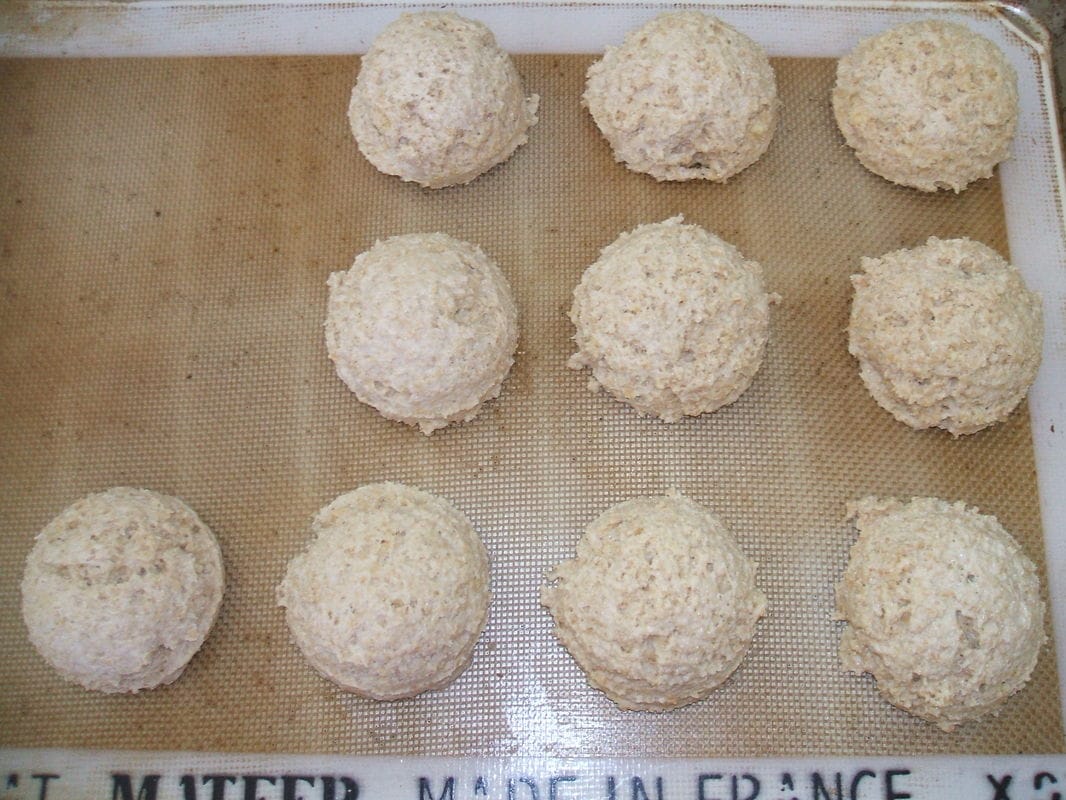
Baking Sheet: I use a half sheet baking pan with a silpat. It works well because it keeps the bottoms of the biscuits from over browning.
Release Me Cream .... If you don't have a silpat use this to grease the pan, it's perfect and a little goes a long way. It's all natural and you can make it yourself... Recipe
# 12 Muffin Scoop ....You will use this for muffins, biscuits and pancakes.
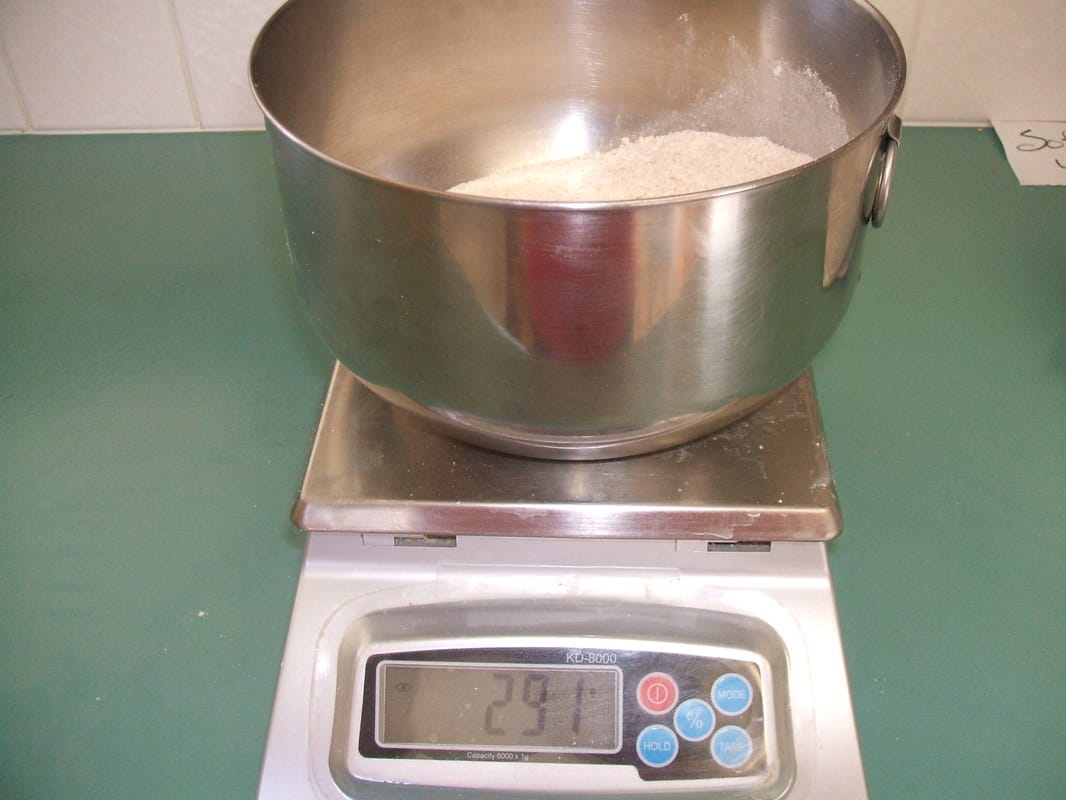
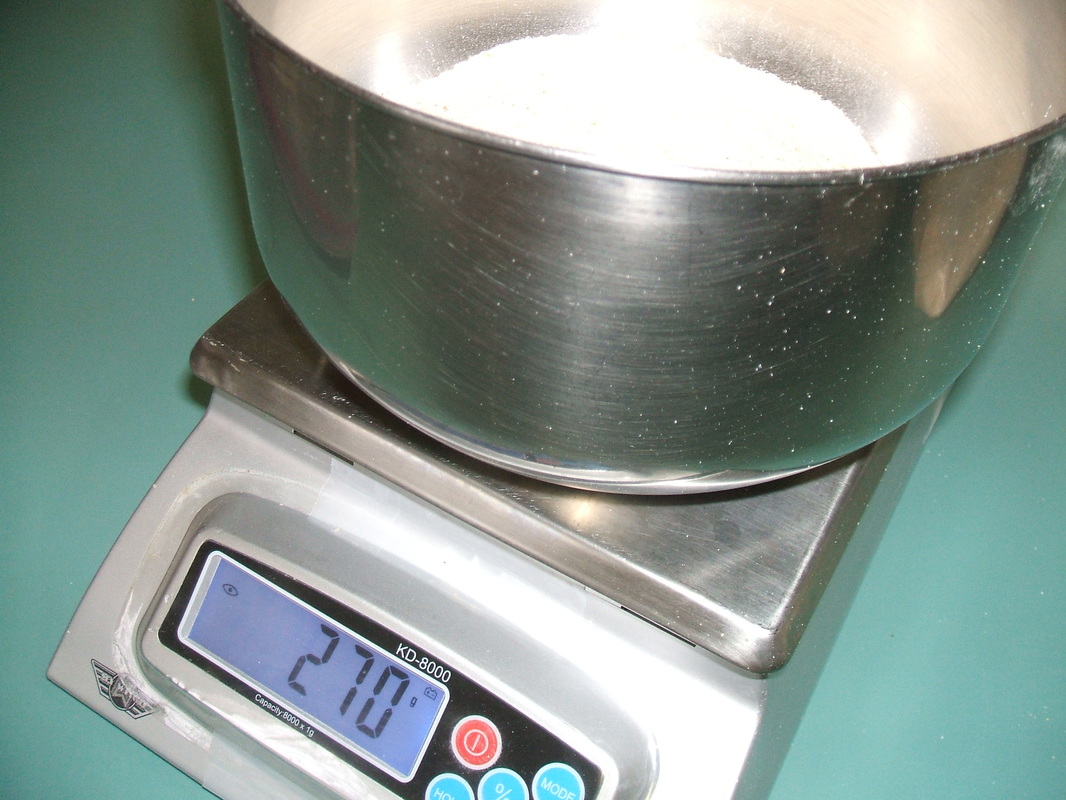
Scale...Once you have one you will not live without one.
Baking Sheet: I use a half sheet baking pan with a silpat. It works well because it keeps the bottoms of the biscuits from over browning.
Release Me Cream .... If you don't have a silpat use this to grease the pan, it's perfect and a little goes a long way. It's all natural and you can make it yourself... Recipe
# 12 Muffin Scoop ....You will use this for muffins, biscuits and pancakes.
Scale...Once you have one you will not live without one.
Biscuit Recipe: (I usually double the recipe and freeze the extra)
Oven: 425 degrees
Bake: 15-18 minutes
Servings: 9 Biscuits
2 1/3 c. + 1T Soft White Flour (291g)
2 tsp. Baking Powder
1/8 tsp. Baking Soda
1 T. Sugar or up to 2 T. if you want them sweeter
1/2 tsp. Salt
7 T. Shortening or Butter (48g)
1/4 c. Cream (59g)
1/4 c. Milk (48g)
1c. Buttermilk (250g)
Directions:
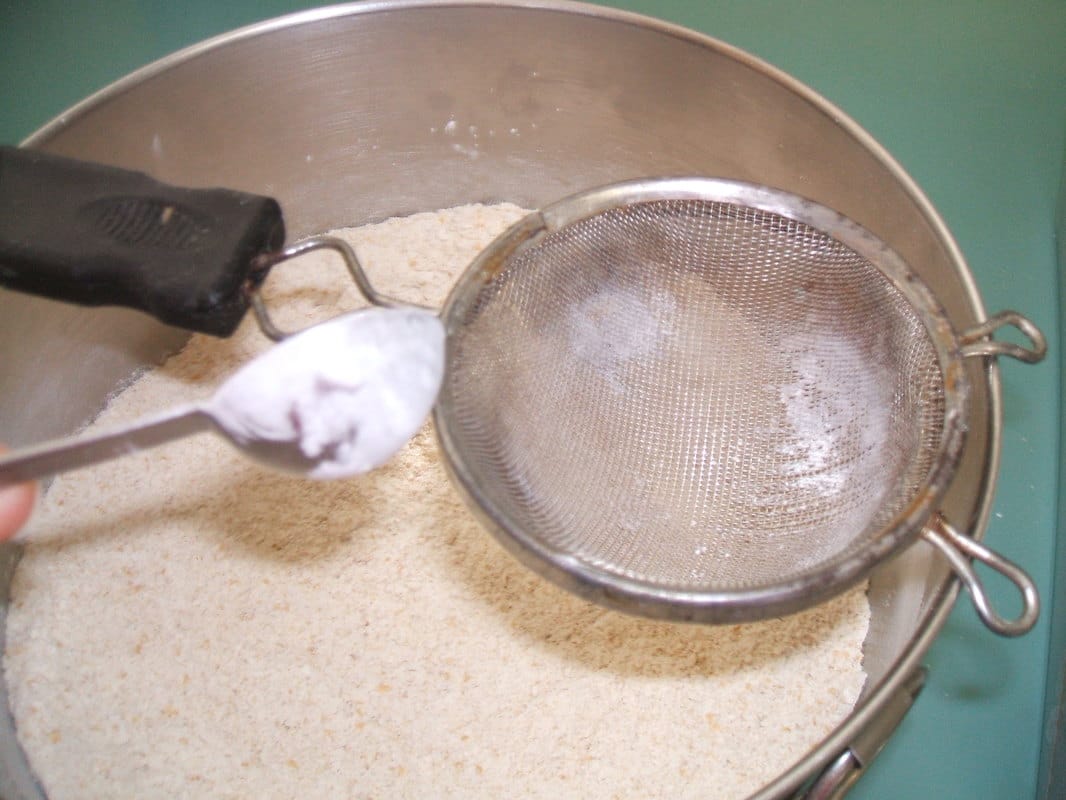
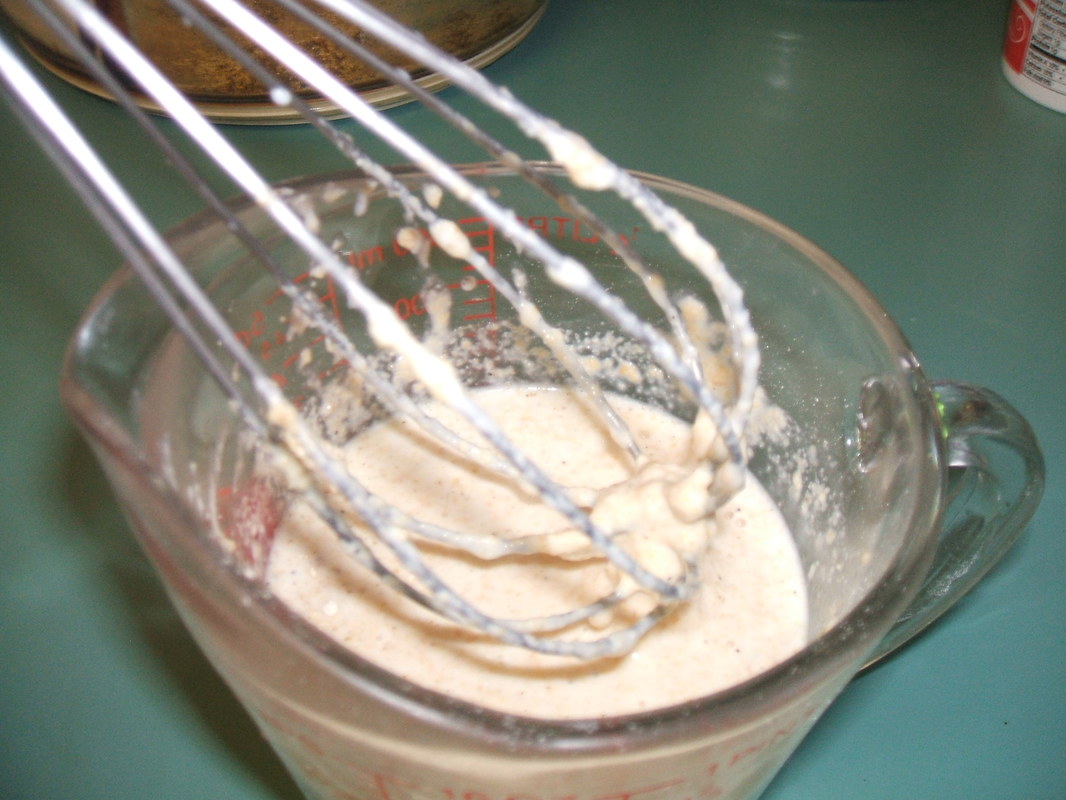
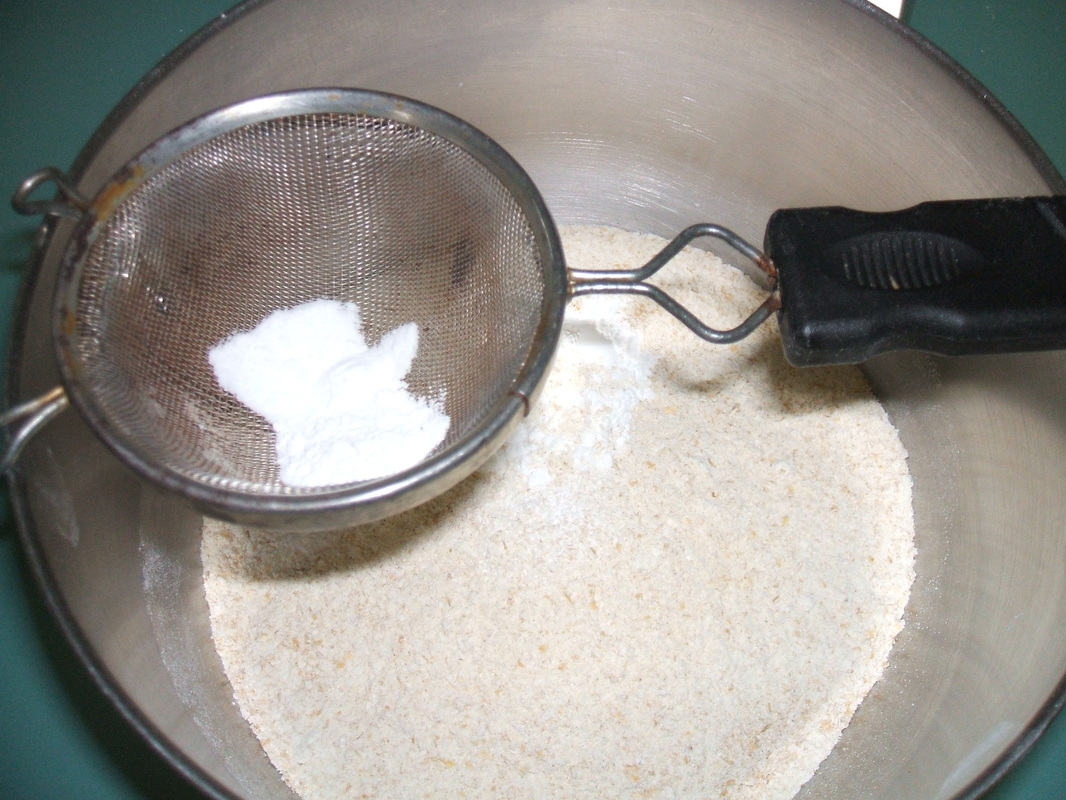
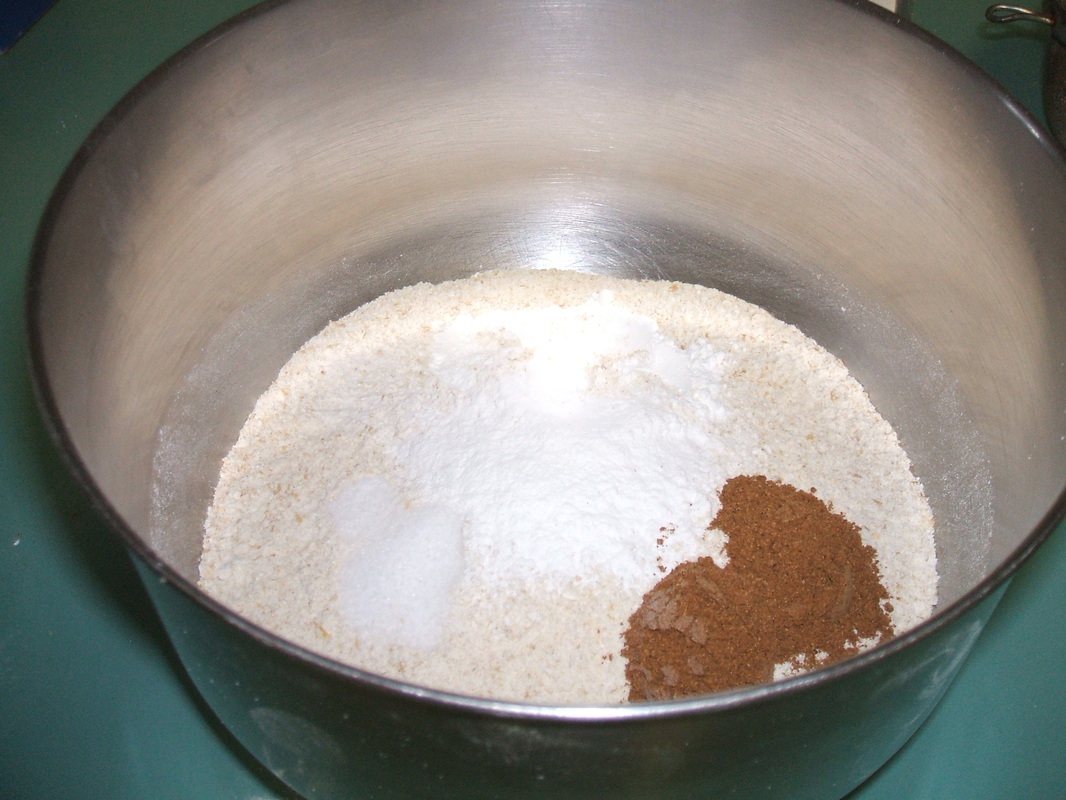
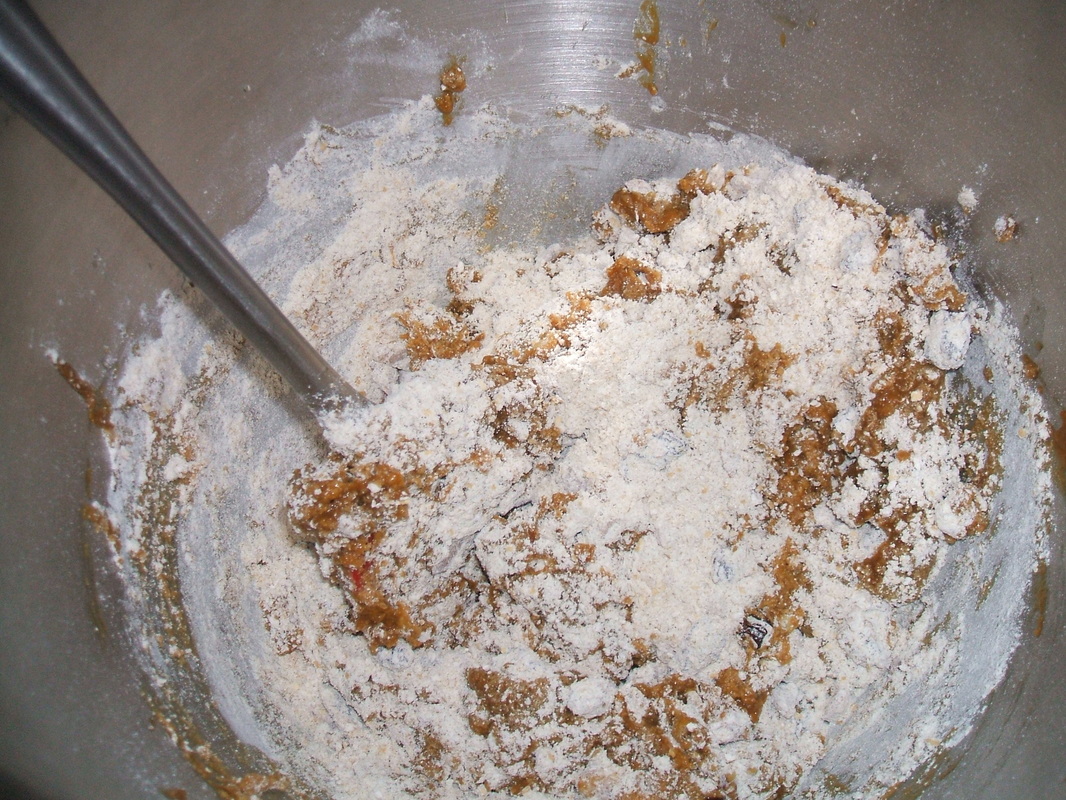
- Weight out the flour if you have a scale and add all the dry ingredients to the bowl. I use a small strainer when adding the baking powder and soda just to make sure there are no clumps.
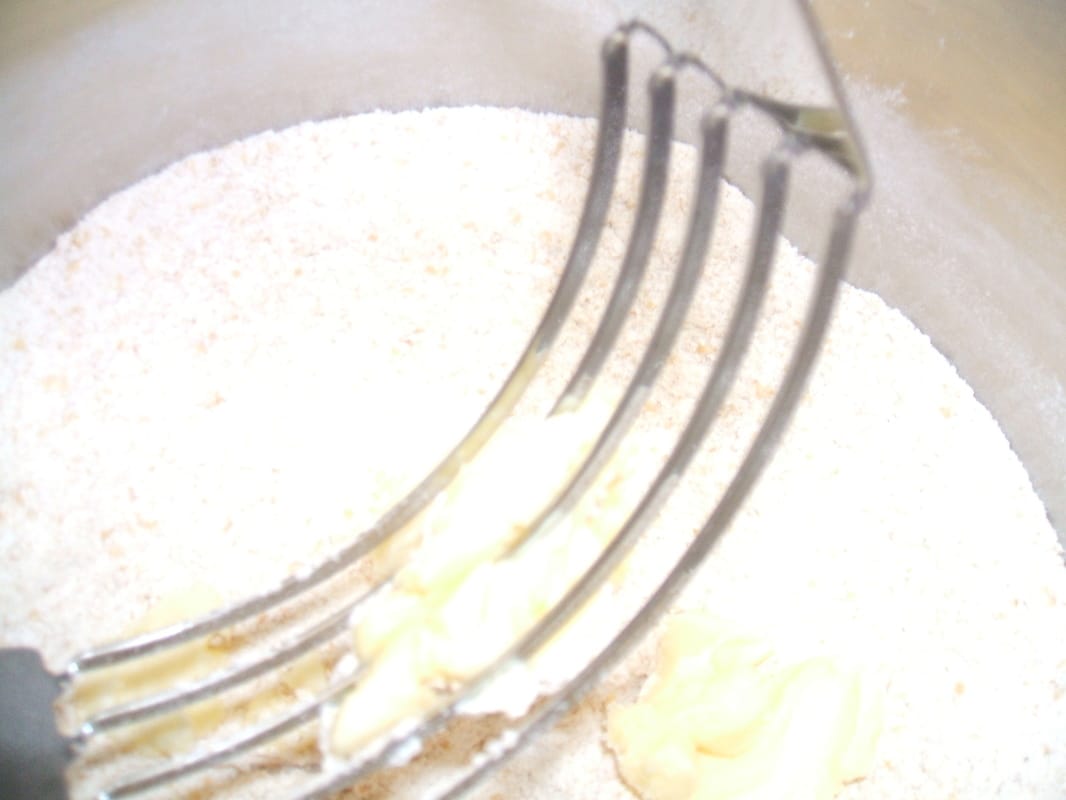
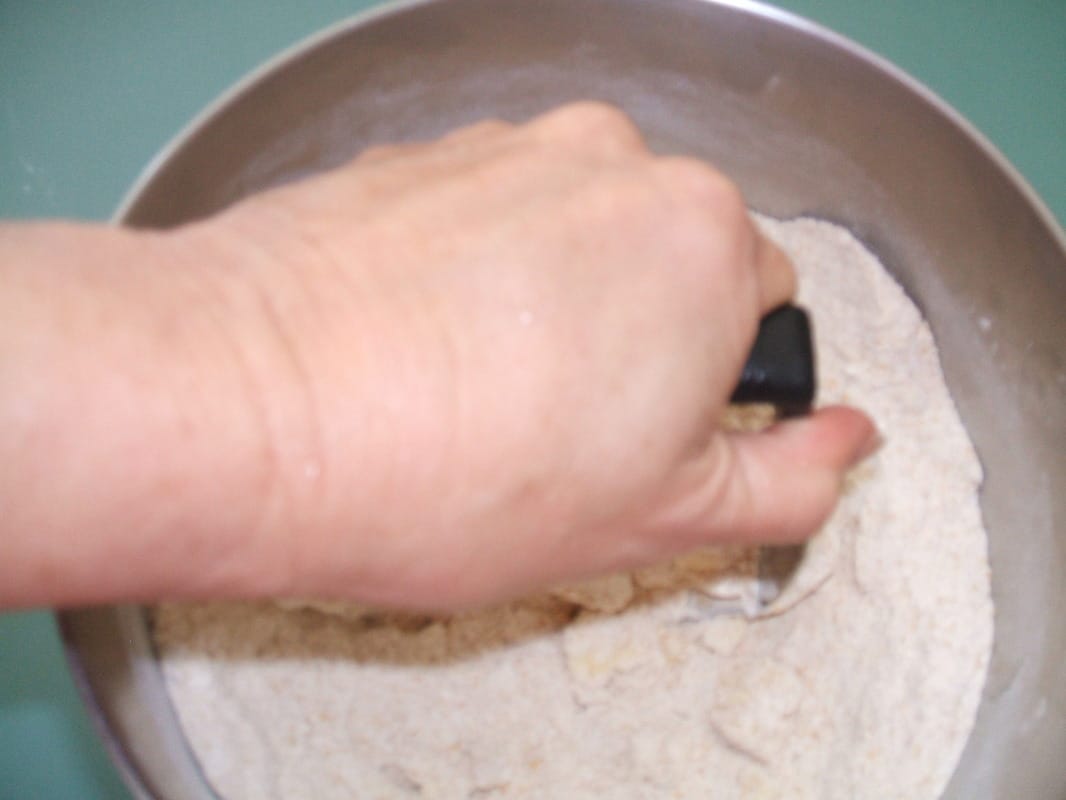
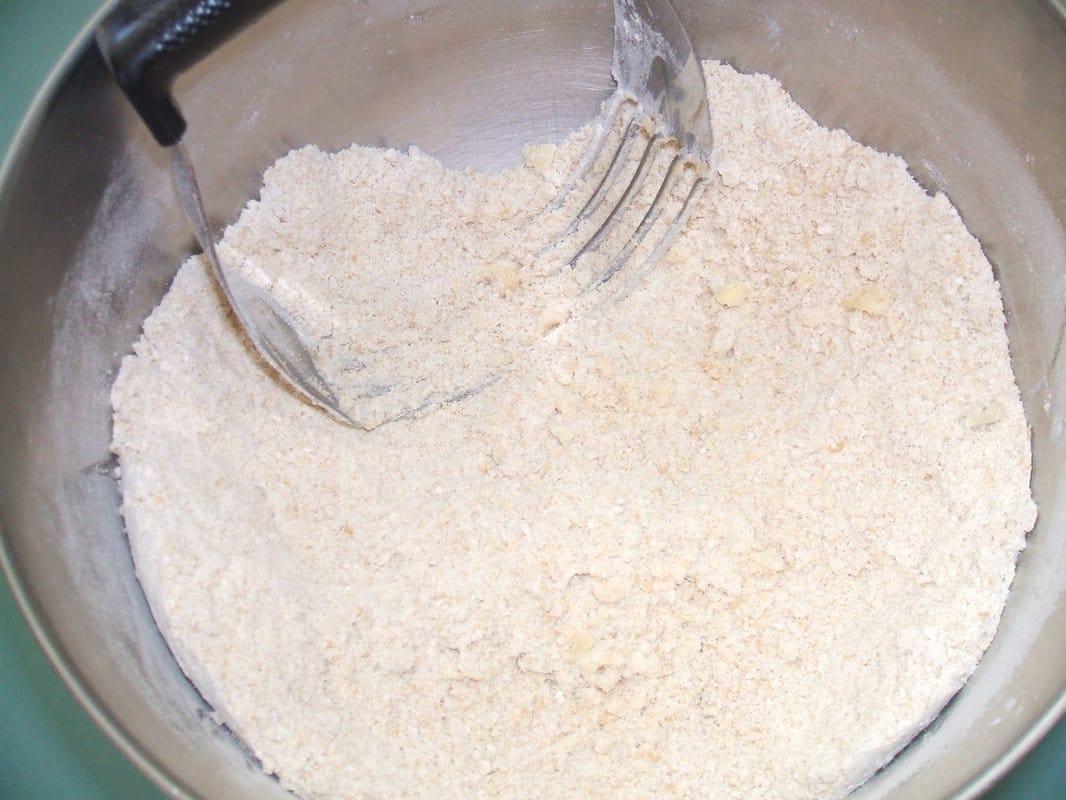
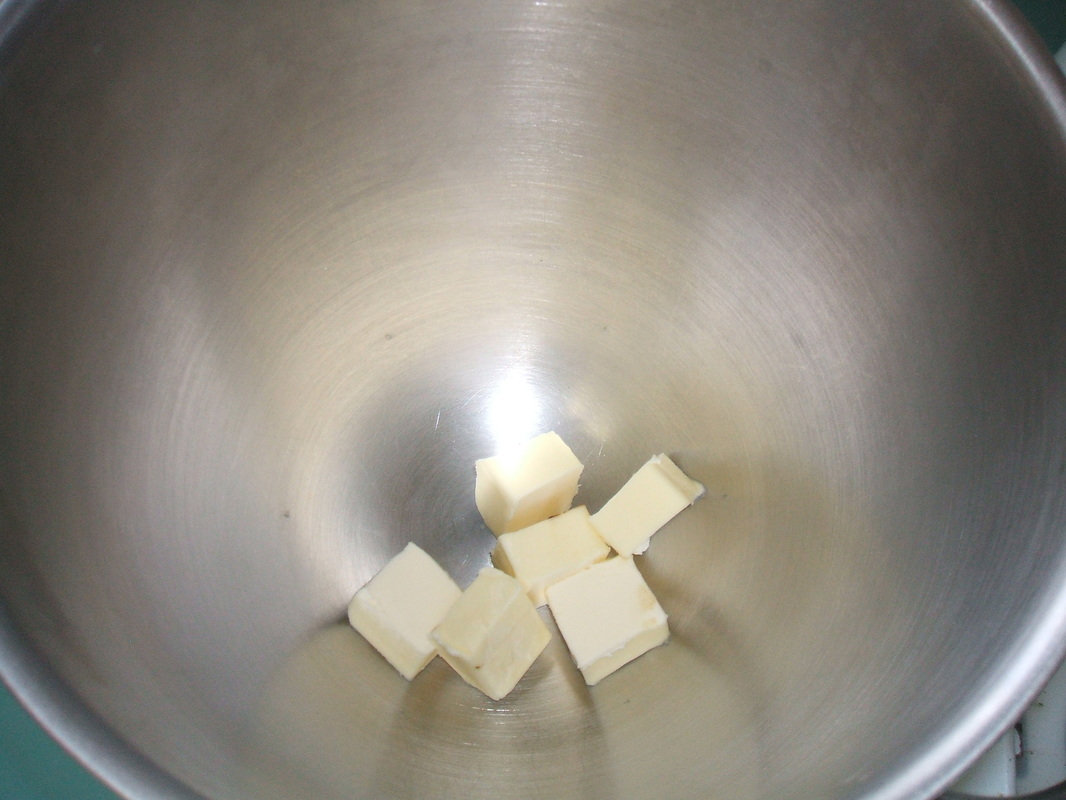
- Cut the butter or shortening into the dry ingredients with a pastry cutter. It will only take a few minutes. The butter will still have visible pieces the size of peas. To cut the butter press down on the butter with the pastry cutter and then pick it up and repeat. I usually turn the bowl as I do this.
- In a measuring cup weigh or measure out all the liquid ingredients, then mix them before adding to the dry mixture.

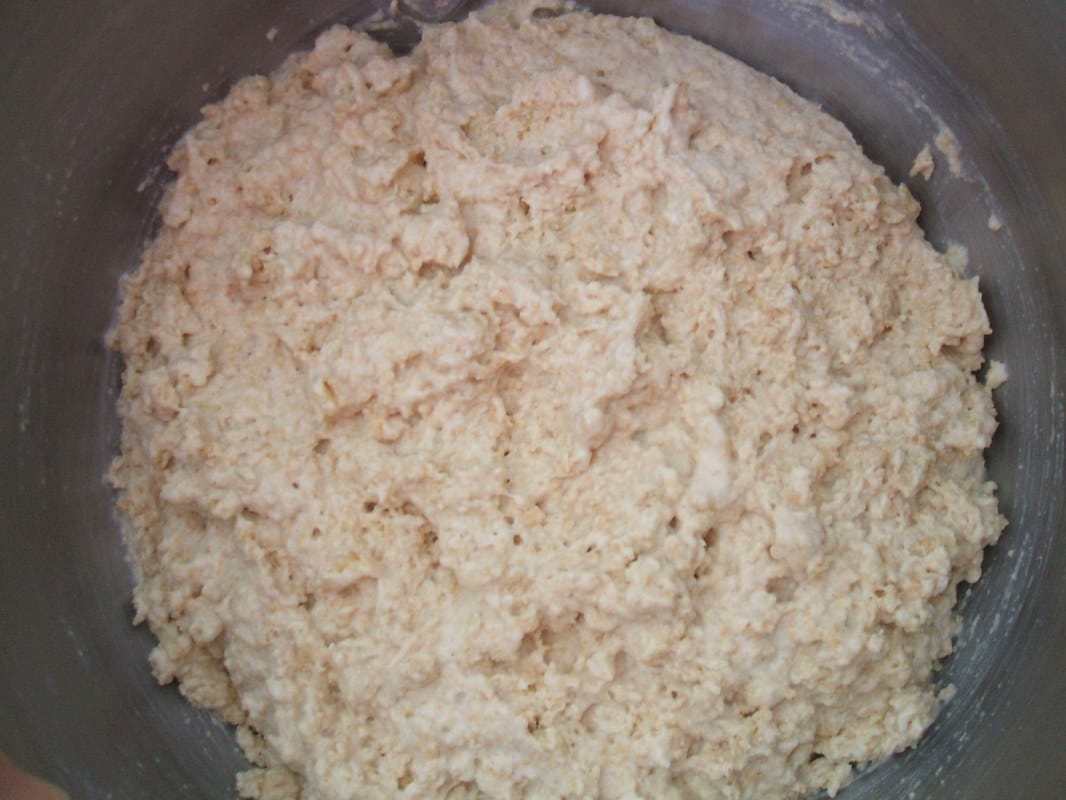
- Put into the refrigerator for at least 1/2 hour to rest. You may leave it up to several hours if needed. The mixture will be thick.
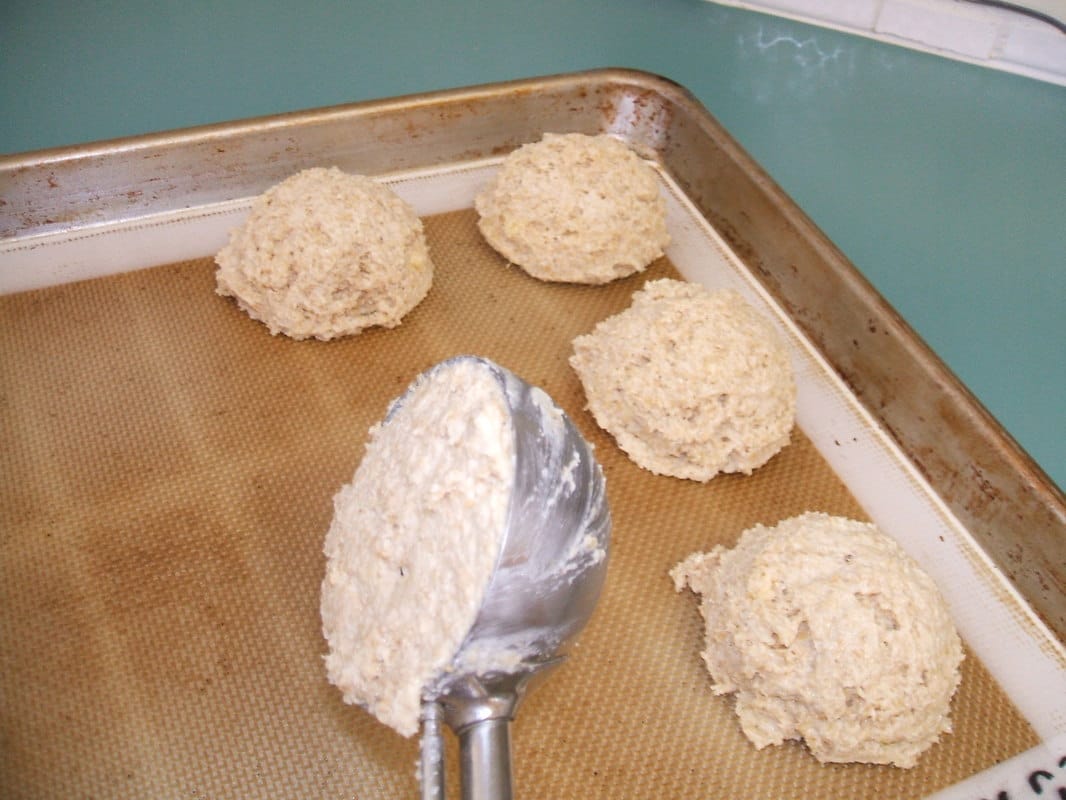
- After resting, scoop the batter with a #12 scoop or 1/3 cup onto your greased baking sheet or silpat. Put them about 1 inch apart they will spread some.
Equipment:
Large Stove Top Pan: I have a saucier pan, it's perfect for making any liquids because it has rounded edges.
Whisk: Wire whisk or large spoon
Colander: To rinse the sausage
Large Stove Top Pan: I have a saucier pan, it's perfect for making any liquids because it has rounded edges.
Whisk: Wire whisk or large spoon
Colander: To rinse the sausage
Gravy Recipe:
Yields: About 3 cups
Servings: 6 - suggested serving size 1/2 cup
3 1/2 c. milk (any type, I use whole milk) (850g)
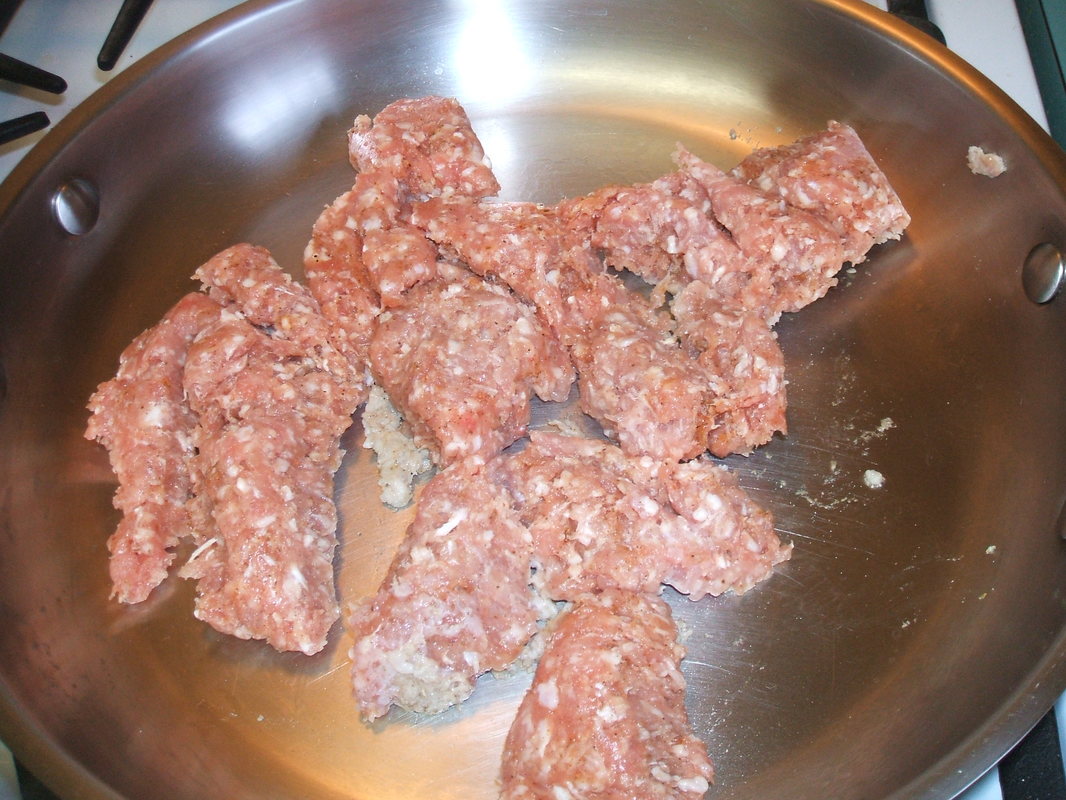
1/2 lb. pork or beef sausage
1/2 c. flour (55g) I use soft white flour
1/2 tsp. salt
1/2 T pepper or to taste
I usually double this recipe and freeze it.
Yields: About 3 cups
Servings: 6 - suggested serving size 1/2 cup
3 1/2 c. milk (any type, I use whole milk) (850g)
1/2 lb. pork or beef sausage
1/2 c. flour (55g) I use soft white flour
1/2 tsp. salt
1/2 T pepper or to taste
I usually double this recipe and freeze it.
- In a heavy skilled, cook the sausage. Chop the meat up as you cook it to the consistency of ground beef.
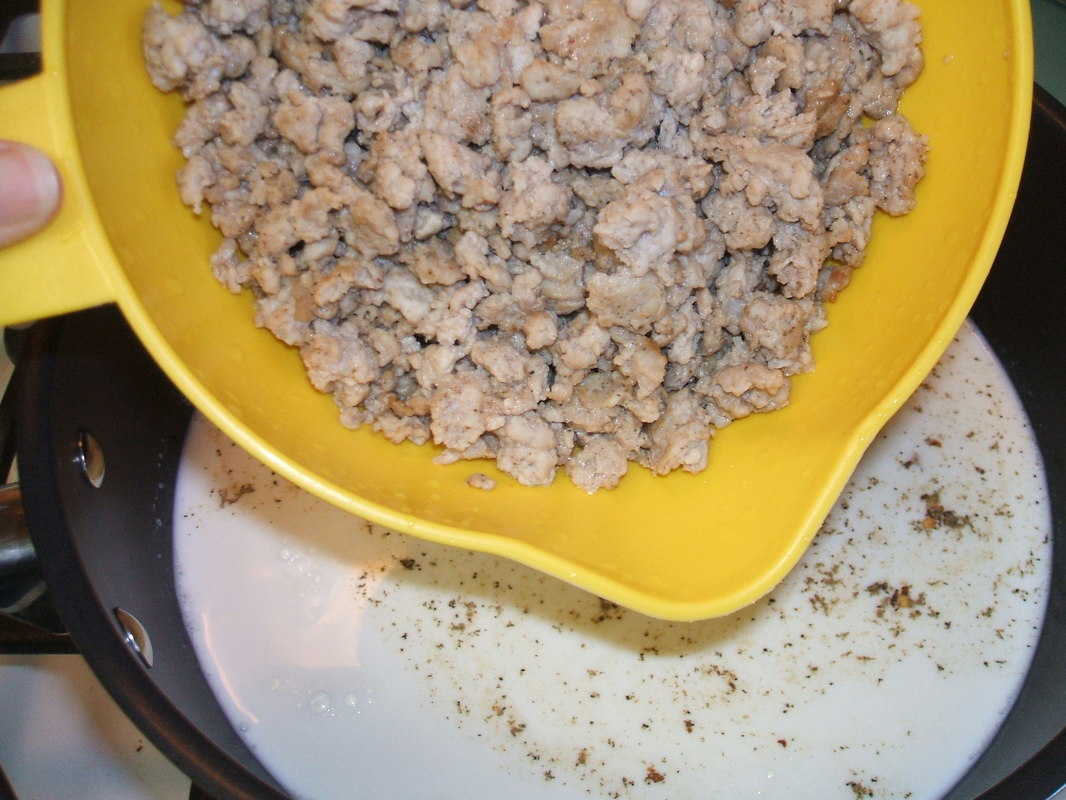
- When the sausage is done, drain the fat, and if you want less calories I put the meat into a colander and rinse off the fat.
- Add all your milk, meat, salt, and pepper to a large pan. Over medium heat cook until it starts to warm.
- Have your flour for thickening in a liquid measuring cup and add about 1 cup of the warmed milk from the pot on the stove. Stir until its mixed and thin enough to pour. If you need more milk to get that consistency add more.
- Now add the flour mixture back into the large pan and stir. It will thicken as it heats. You need to stir it as this is happening.
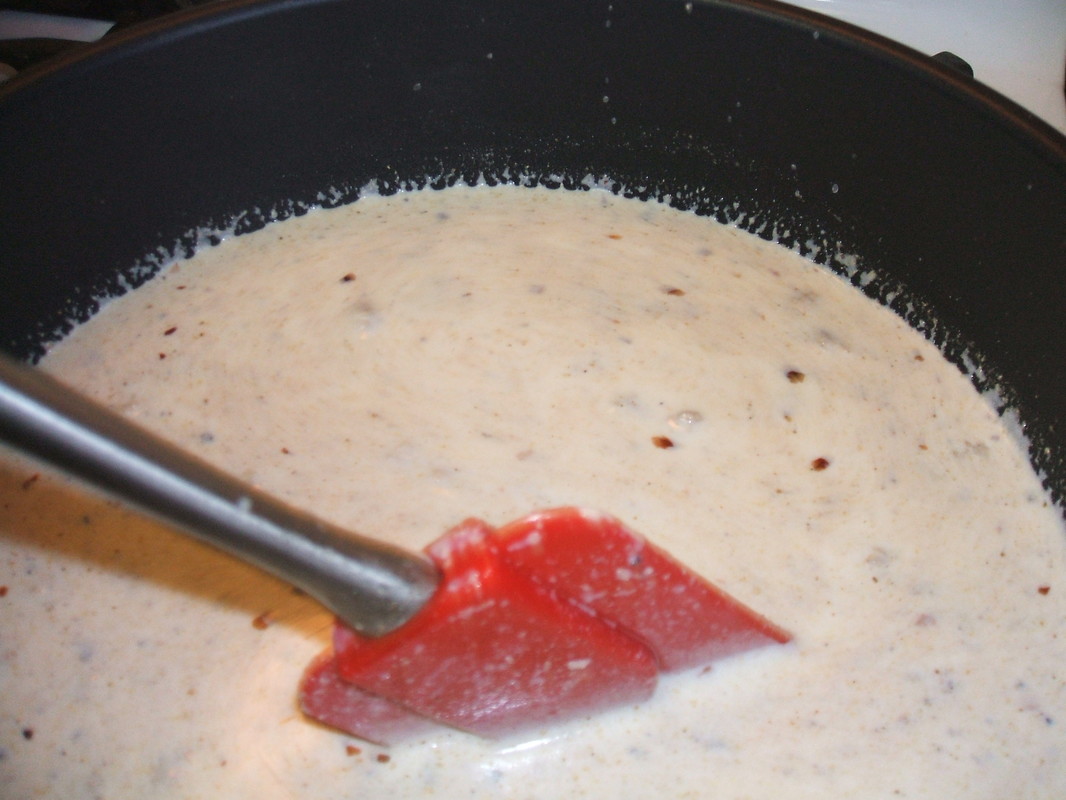

- Let the gravy boil for a minute. You will know it is done when you put a spoon into it and you can run your finger thru it and it leaves a mark.
- Cover and cool completely.


 RSS Feed
