When baking bread a loaf it is very important and how you shape and handle your dough before you put it into the pan. This has a direct result on the height of your finish loaf. So here are some step by step pictures that will help you get those gluten strands organized to give you a nice high loaf of bread.


This process seems difficult at first but once you get the hang of it it's pretty easy. If your dough is sticky, wet your hands and shake off the excess water. This will allow you to shape the dough better. Also, if needed when your hands are wet rub them on your counter top to get a film of water. You may also use a bit of oil on your hands and counter if you like instead of the water. I never add extra flour when rolling out the dough. Whole grain bread can get dense with the addition of the extra flour.
STEPS
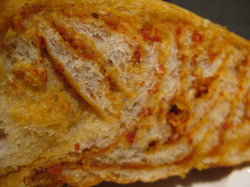
This technique will give your loaf a nice tight even crumb. Sometimes, you will have a hole in a slice when you cut it, this is a rolling issue. If the dough had any dips or irregular areas in step 6 it may cause a hole in the bread when sliced.
STEPS
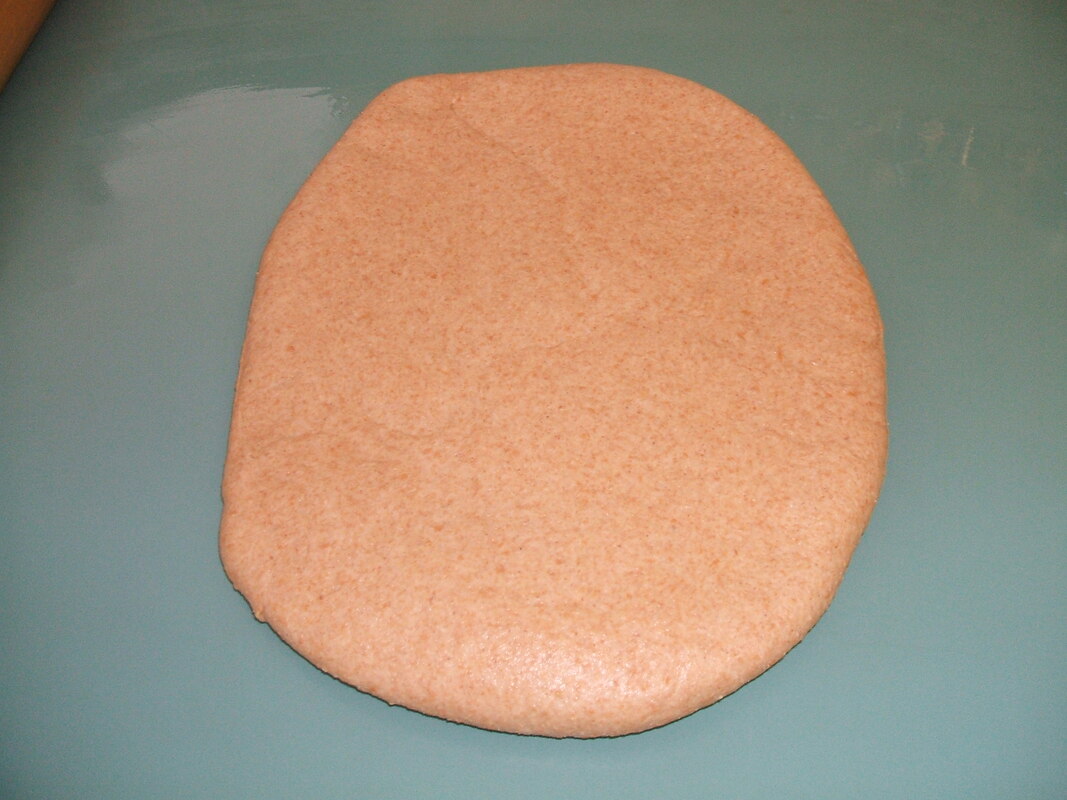
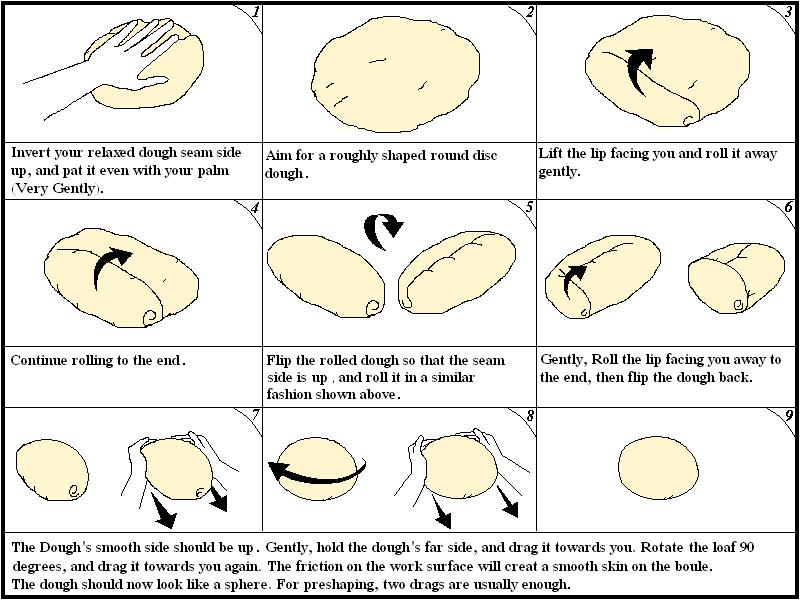
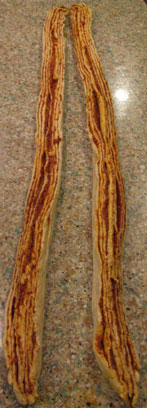
- 1. Roll the dough out about 8 inches in length, width is not that important.
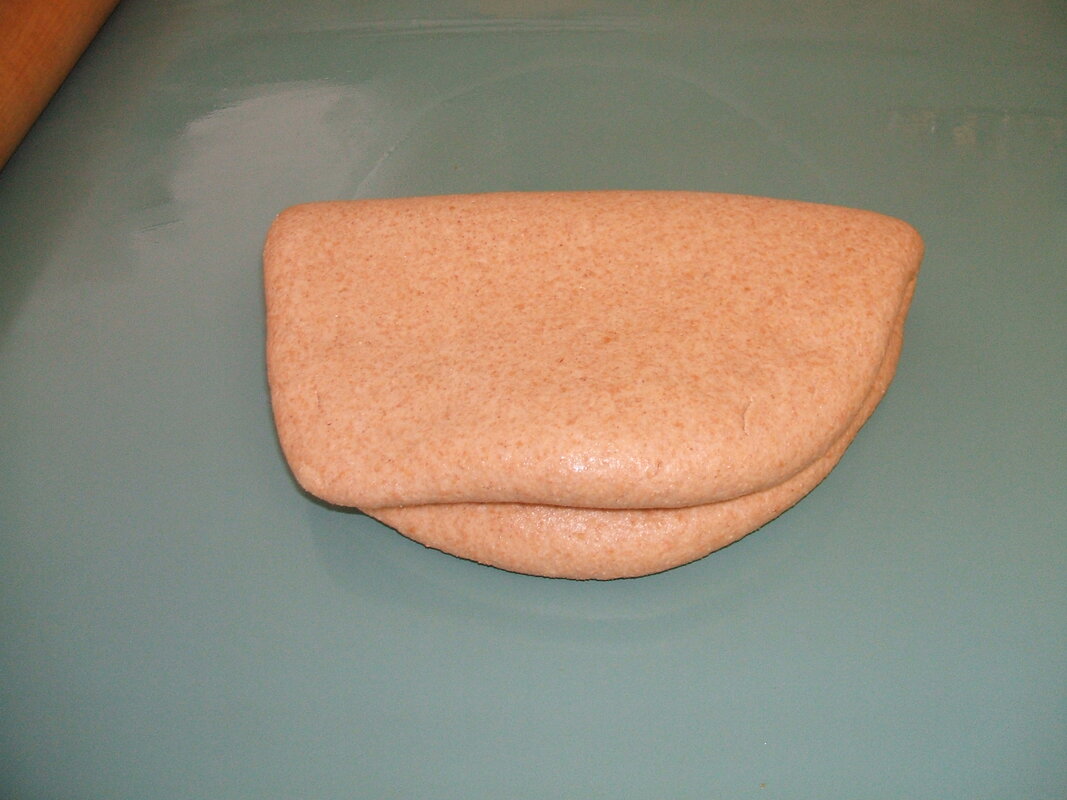
- 2. Fold it in half towards you.
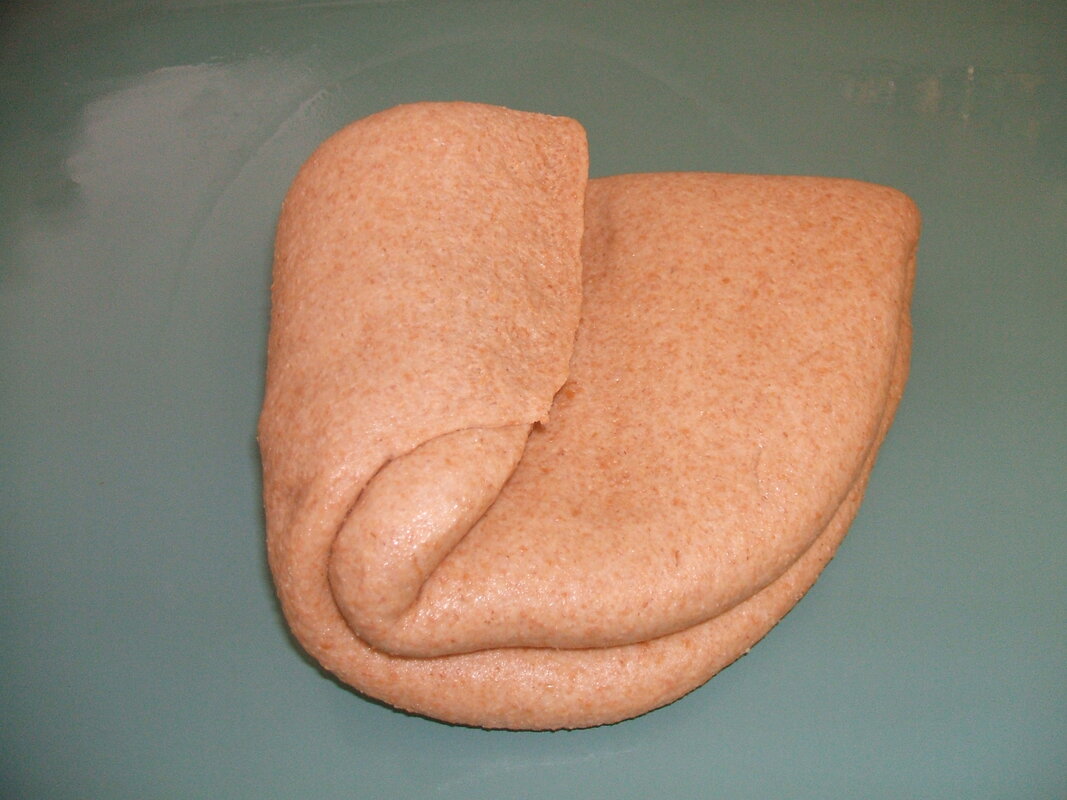
- 3. Take one side and fold towards the middle.
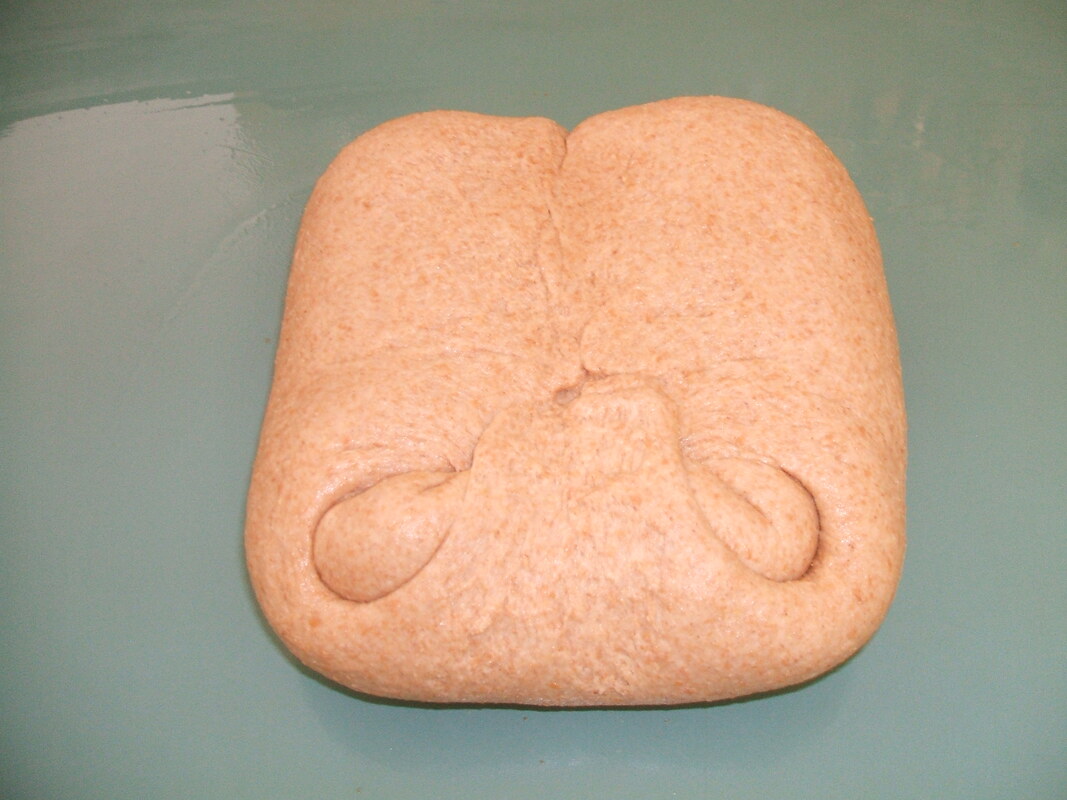
- 4. Take the other side and fold towards the middle.
- 5. The end facing you, fold up towards the middle so the dough is sort of square.
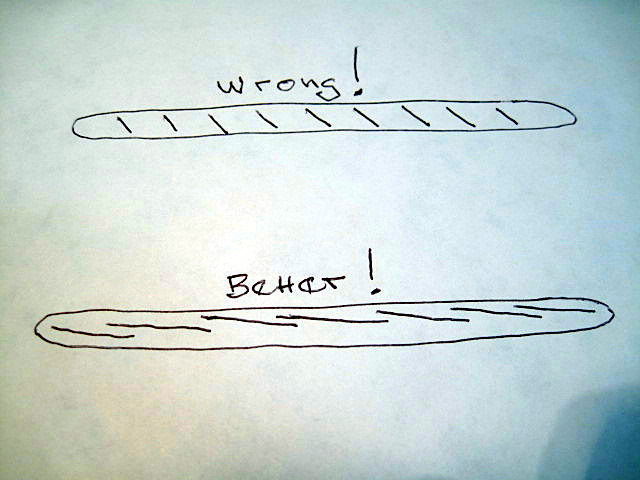
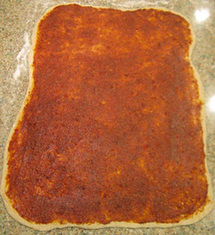
- 6. Now roll it out again about 11 inches in length and this time make sure the width is the same as the length of your baking pan. Look carefully at the dough and make sure it has no dips in it. It should be even and smooth the whole length.
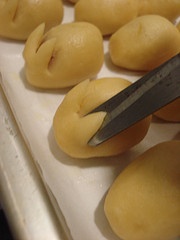
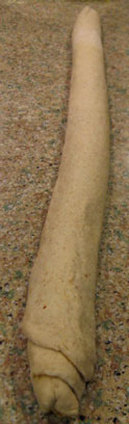
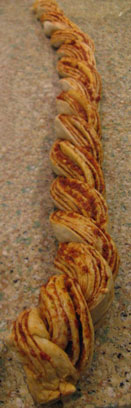
- 7. Take the end closest to you and roll it up like a jelly roll. You will need to pull gently and evenly to create some tension as you are rolling it. After rolling it with your hand feel to make sure it's the same diameter from end to end. Adjust by squeezing or pulling gently until correct.
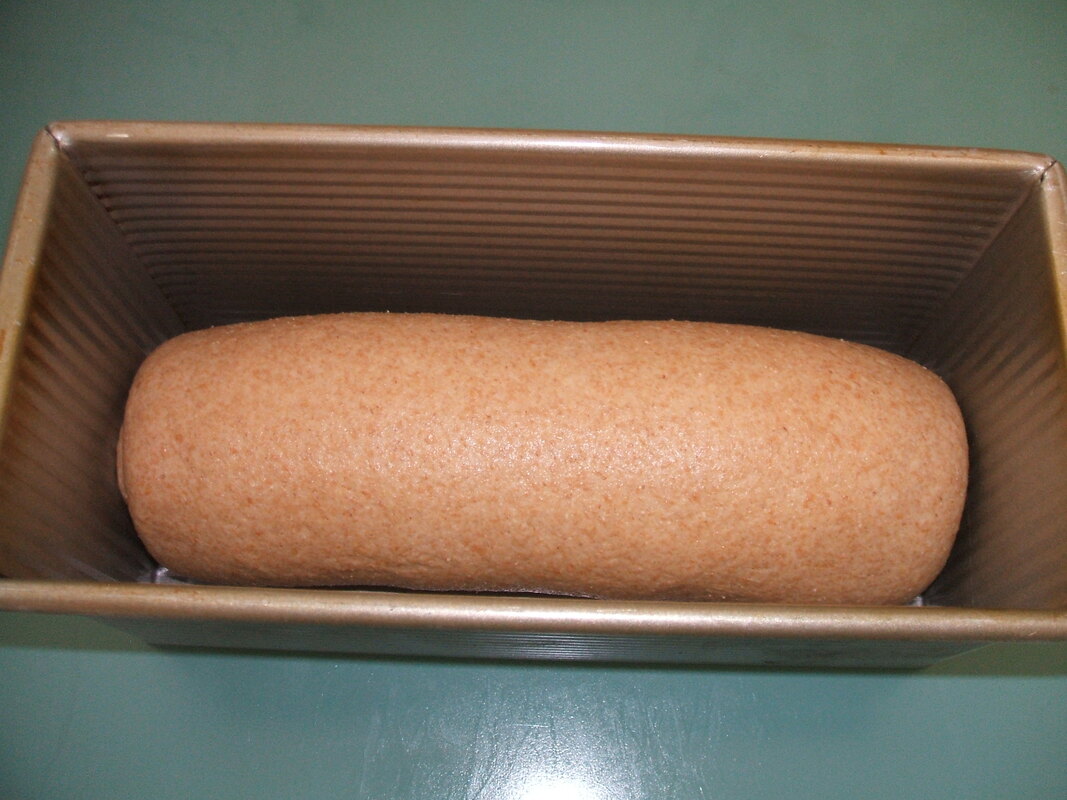
- 8. Place the seam down in the baking pan.
This technique will give your loaf a nice tight even crumb. Sometimes, you will have a hole in a slice when you cut it, this is a rolling issue. If the dough had any dips or irregular areas in step 6 it may cause a hole in the bread when sliced.


 RSS Feed
