Whole Grain 100
Email: wholegrain100@proton.me
  • Welcome
  • Price Sheet
  • Store & Classes
  • Baking Education
  • Recipes
  • Grain Education
  • Health & Nutrition

How To Shape A Perfect Loaf

7/10/2019

0 Comments

 
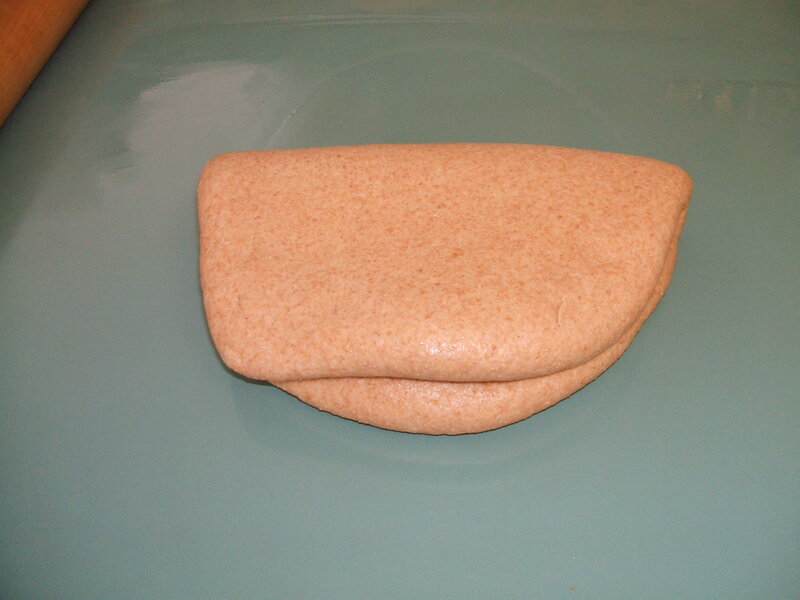
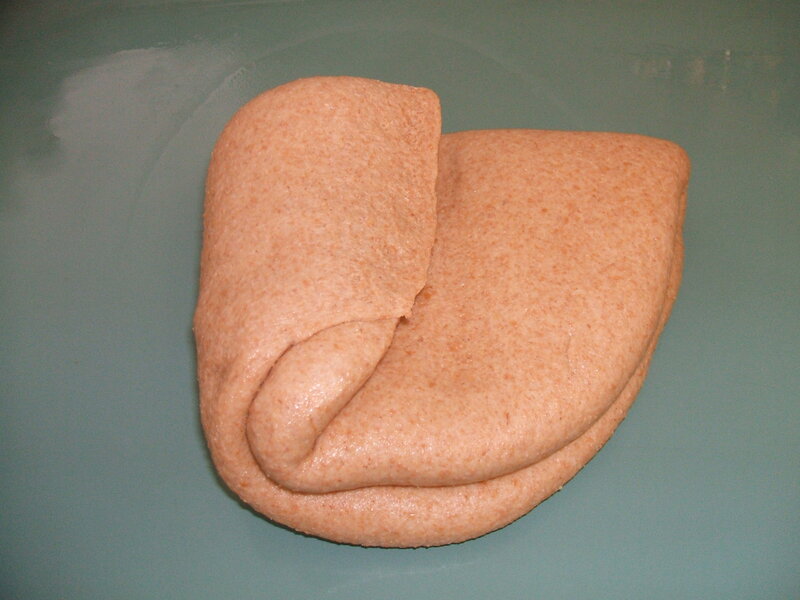
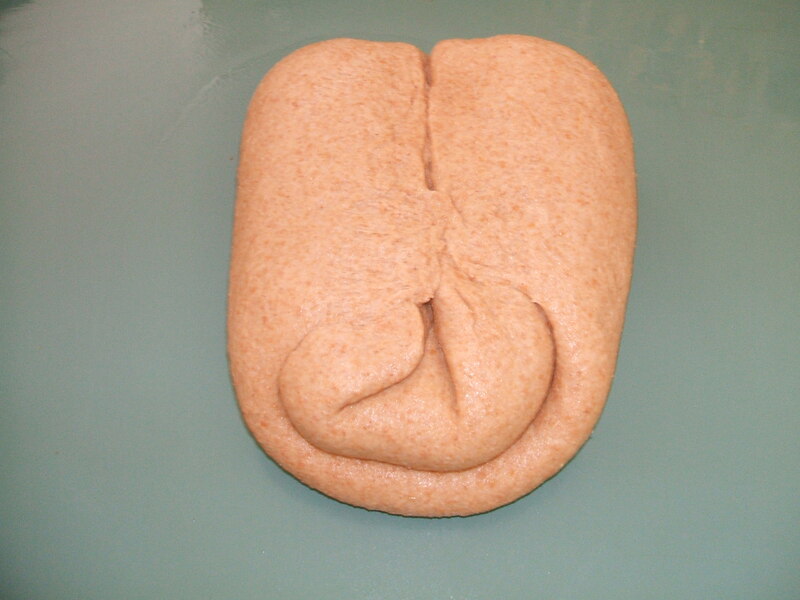
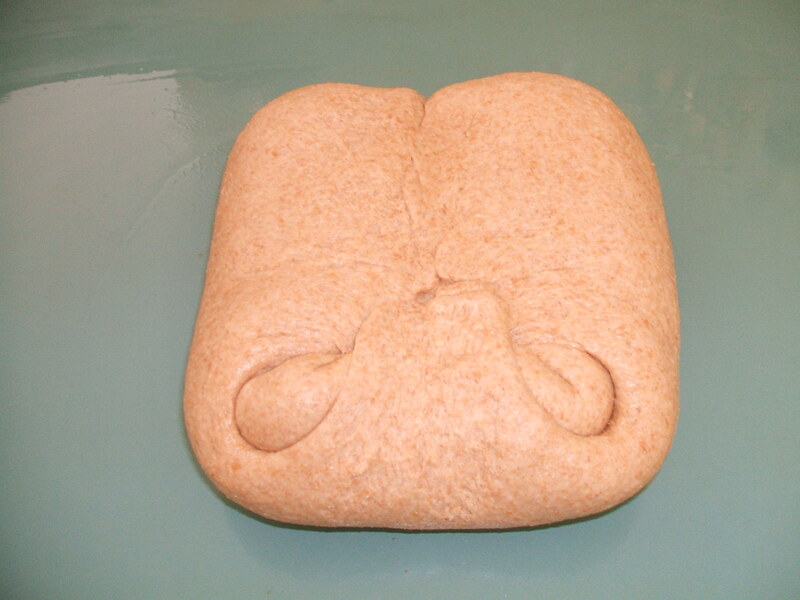
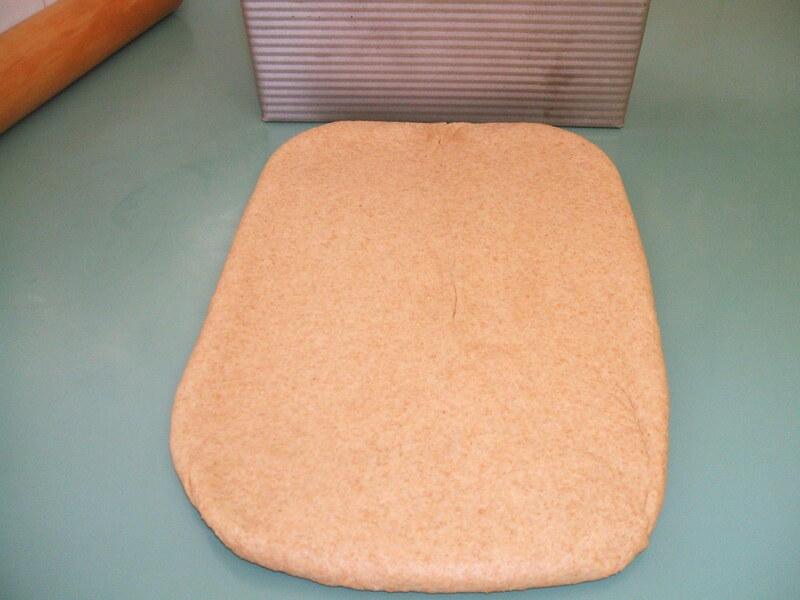
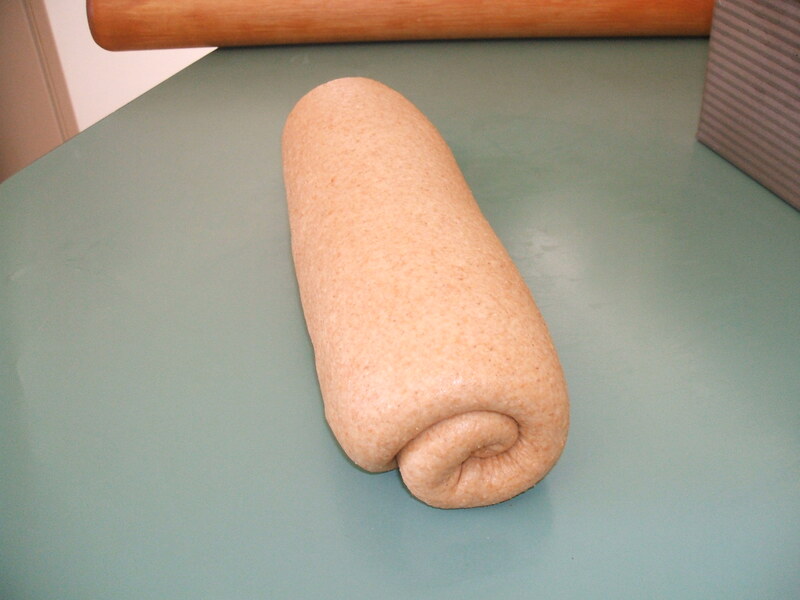
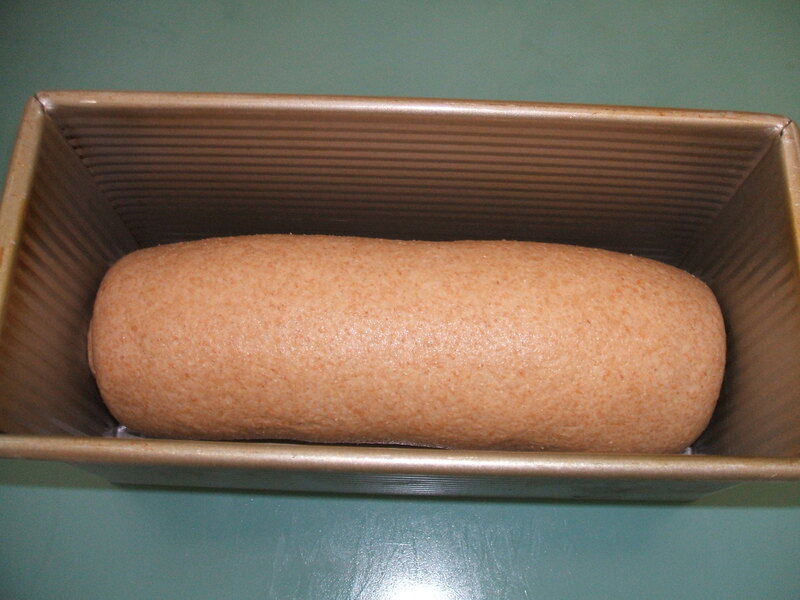
When baking bread a loaf it is very important and how you shape and handle your dough before you put it into the pan. This has a direct result on the height of your finish loaf. So here are some step by step pictures that will help you get those gluten strands organized to give you a nice high loaf of bread.
This process seems difficult at first but once you get the hang of it it's pretty easy. If your dough is sticky, wet your hands and shake off the excess water. This will allow you to shape the dough better. Also, if needed when your hands are wet rub them on your counter top to get a film of water. You may also use a bit of oil on your hands and counter if you like instead of the water. I never add extra flour when rolling out the dough. Whole grain bread can get dense with the addition of the extra flour.
STEPS
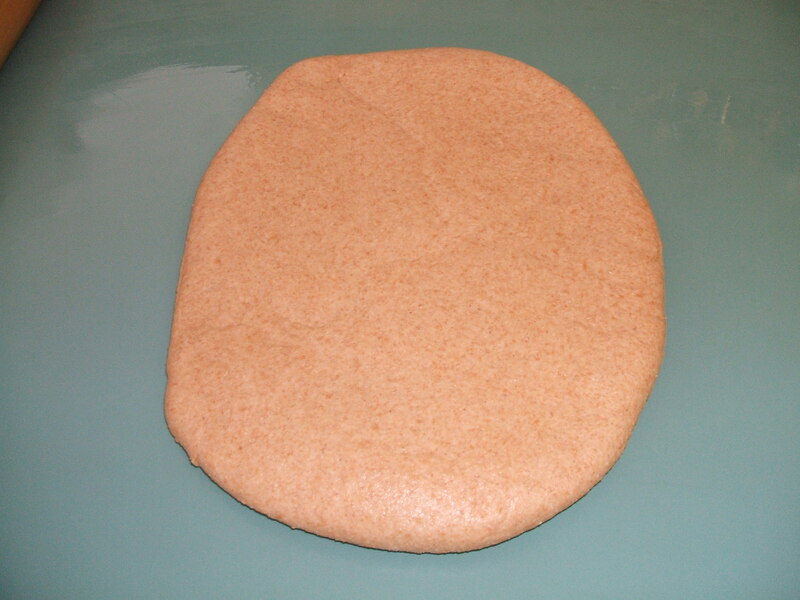
  • 1. Roll the dough out about 8 inches in length, width is not that important.
  • 2. Fold it in half towards you.
  • 3. Take one side and fold towards the middle.
  • 4. Take the other side and fold towards the middle.
  • 5. The end facing you, fold up towards the middle so the dough is sort of square.
  • 6. Now roll it out again about 11 inches in length and this time make sure the width is the same as the length of your baking pan. Look carefully at the dough and make sure it has no dips in it. It should be even and smooth the whole length.
  • 7. Take the end closest to you and roll it up like a jelly roll. You will need to pull gently and evenly to create some tension as you are rolling it. After rolling it with your hand feel to make sure it's the same diameter from end to end.  Adjust by squeezing or pulling gently until correct.
  • 8. Place the seam down in the baking pan.
Note: With whole grain since it has the bran it needs to be handled more delicate. If your loaf does not look perfect on your first attempt DO NOT START AGAIN. Remember, it's a loaf of bread and it will taste great no matter the shape.  You will get better with practice.

This technique will give your loaf a nice tight even crumb. Sometimes, you will have a hole in a slice when you cut it, this is a rolling issue. If the dough had any dips or irregular areas in step 6  it may cause a hole in the bread when sliced. 
0 Comments

Christmas Tree Pull Apart Bread

11/20/2015

 
You can use any recipe that's your families favorite, it can be a sweet bread or something savory that would make good appetizers. The tree needs 21 rolls plus about 2 rolls for the stem. Of course you could make it bigger or smaller depending on your families needs. If you are using this for an appetizer you will want the rolls to be no larger than 48-50 grams in size. This is a good size for a small dinner roll. Although, you may want something just bite size for dipping make them 25-30 grams.  If you are using this as the dinner rolls they can range in size from the small dinner roll of 48-50 grams to 70 grams. I find 60 grams is plenty big for the rolls, you need room for other food.

Shaping the Christmas Tree
  1. Line a baking sheet with parchment paper this will ensure you can get your master piece off the pan in one piece. To help maintain the shape along the sides of the tree, roll up a clean dish towel and lay it along the side to support the outside rolls as they raise.
  2. Decide on the size of rolls, and weight them our so they are uniform when baking.
  3. Place one ball of dough at middle of pan, about an inch from the top edge. Put two balls of dough below that one, off to each side and with about 3/4 of the ball size in space between them. (If the balls are 2" leave about 1 1/2" space.
  4. Use three balls in the third row, four in the fourth and so on. You should be able to get 5-6 rows on a typical baking sheet if you are using dinner sized rolls.
  5. For the trunk, shape the final piece of dough into a tiny log, about twice as long as wide. I use about 2 rolls worth of dough.
  6. Let the dough rise until the balls are touching. You want to proof the rolls until when touched lightly with your finger, it springs back very slowly.
  7. If you recipe is for a loaf then you will want to bake the rolls at about 25 degrees hotter than the recipe. Usually rolls are baked at 375 to 400 degrees, this will depend on if the bread is a sweet bread. Sweet breads do brown quicker so 350 to 375 degrees is fine. It usually takes about 15-20 minutes.

Decorating Your Christmas Tree
  1. When bread is baked, cool for a little while, but still warm to the touch.
  2. If you want it to look like the snow is dripping off the rolls, elevate your pan at the top of the tree a few inches. Drizzle a bit of icing onto the top of each roll and let it drizzle down.
  3. You can add dried cranberries, apricots, or ginger for color and rosemary if it's a savory dish. Use your imagination anything goes, have fun.

Sources:
The Kitchen Mage
King Aurthur Flour

Rose Technique 

1/12/2015

0 Comments

 
Picture
Tomato Pesto Rose
This technique is easy and very impressive. You can use it for sweet breads or a savory bread like the picture.  Make your favorite bread recipe but, instead shape the dough into one large rose and serve it sliced like a cake.

Recipe:  Sun-Dried Tomato Pesto (makes more than you will need for the rose bread)

Place in food processor and process until you have a smooth paste:
1 c. sun-dried tomatoes (preserved in oil,  drain very well)
2 cloves garlic, crushed
1/4 c. sliced almonds
2 T. chopped parsley
1/8 to 1/4 c. grated asiago or parmesan cheese

Than Add to the processor:

1 T. olive oil,
1/2 tsp. kosher salt
3 drops Tabasco sauce
1/2 c. real mayonnaise.
Process again until smooth. Adjust salt to taste. Transfer to bowl, cover and refrigerate until ready to use.
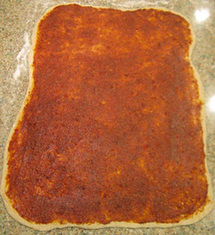
Roll out 15"x20"
Cover with 190g of pesto
Leaving a clean 1/4 inch border
around the edge
Roll Up like a jelly roll
from the long side (20 inches)
Picture
Roll Out 15" x 20" Inches
Picture
Roll up like a jelly roll from the long (20") side
Picture
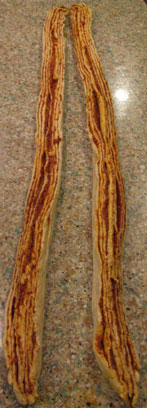
Cut the jelly roll in half
Keep the cut sides up so the filling does not fall out.

Lay one on top of the other forming an X shape keeping the cut sides facing up.
Picture
Twist the 2 halves together
Gently twist the two together into one large rope.

Starting at one end, coil to  form a circle. Place on a cookie sheet.

I removed the bottom of a spring form pan and slip the circle ring over the dough. It will fill out when it's proofed.

This will give the dough support if you don't want it to spread.

You don't have to do this, but the rose loaf will be larger and flatter without the ring for support.
Proof: About 30 - 40 minutes until it barely springs back when lightly touched.

 Bake at 350 degrees for 25-30 minutes, or until 195 degrees (internal temperature) is reached, turning loaf for even browning or covering with foil to prevent over browning, if needed.
Picture
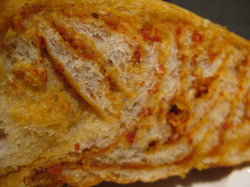
The pesto is through out the entire bread, which gives you a lovely color and crumb.

Use different fillings
An herb filling would work, also a sweet filling like that of a cinnamon roll is nice. Fruits, could also work as long as they are not to wet. The filling should not affect the moisture level of the bread or be to thin or it will run out during the baking process.
0 Comments

    Yeast Bread
    Education


    Archives

    July 2019
    November 2015
    August 2015
    January 2015

    Categories

    All
    Loaf Size
    Pretty Loaves
    Pretty Loaves
    Shaping & Scoring
    Shaping & Scoring

    RSS Feed

Powered by Create your own unique website with customizable templates.