I think one of the hardest things to achieve is a good place to proof your dough. Everyone's home is different in temperature and humidity so what might work for some is not the best option for others. There are so many options to proofing your dough, some folks even proof overnight in the fridge.
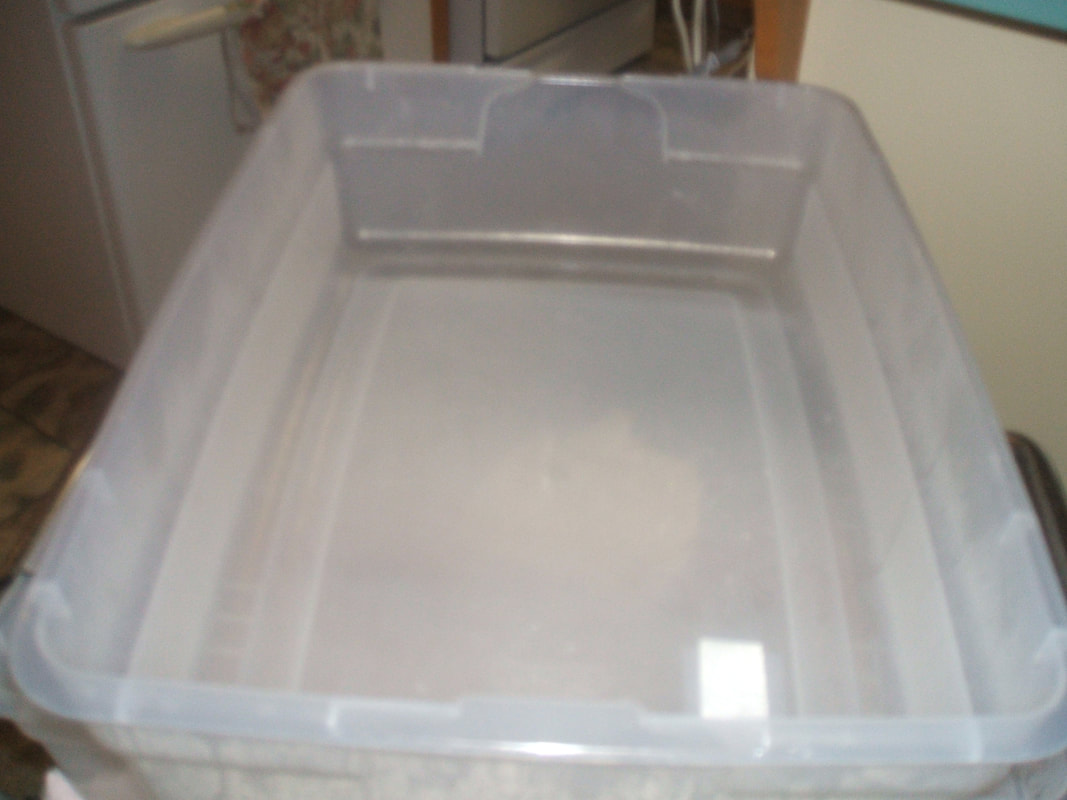
I ferment the dough in the fridge overnight but then I get it out and put the bread together in the morning. After kneading the dough I bulk proof it in my proofing box. I have tried many different proofing boxes and this one is simple to make, very inexpensive, easy to clean, and stores away until needed. In my kitchen space limitations are an issue, I keep the proofing box on a rolling cart that must fit under a shelf. So the height of the plastic tub in my circumstances was an issue. I used two plastic tubes about 6 inches in height. There was nothing available in the correct height and width that would work for my situation.
Supplies Needed
- 2 plastic tubs minimum of 6 inches in heights the length and width is up to you - clear plastic is best so you can see into it.
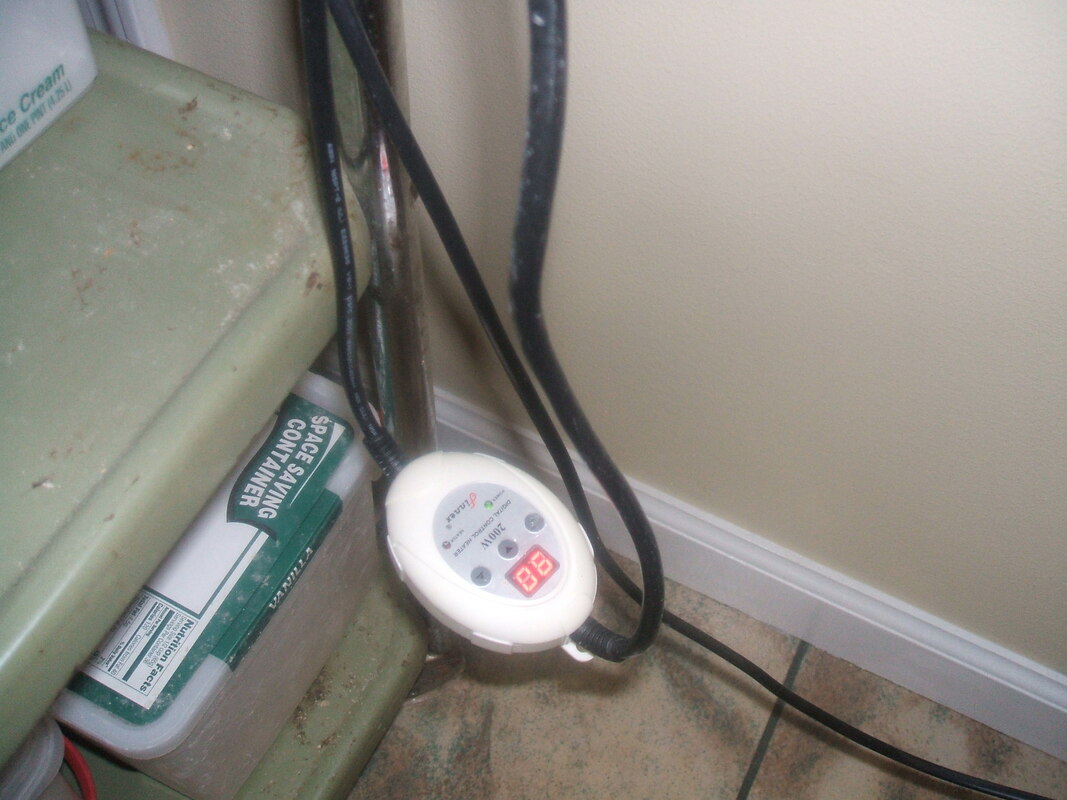
- Fish Aquarium heater - they are under $20.00 (check temperature range on the model)
- Clips to hold the tubs together
- Some sort of rack to fit inside that water will not damage and hold your bowl or pans above the warm water.
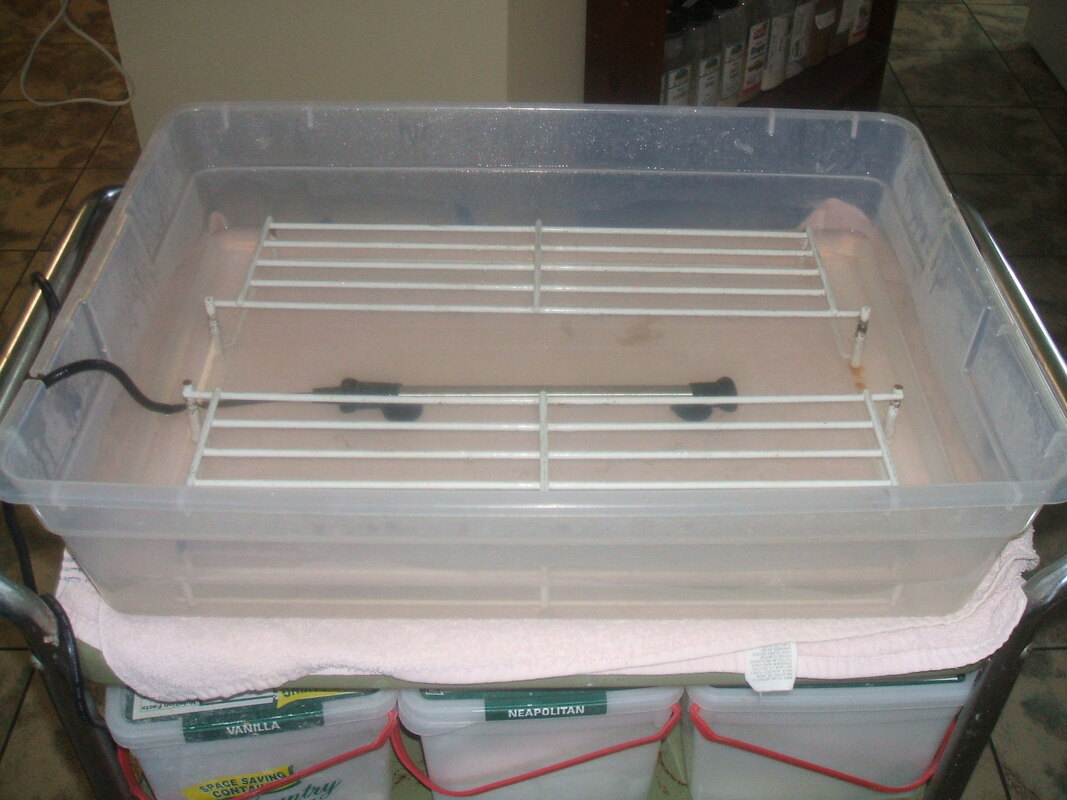
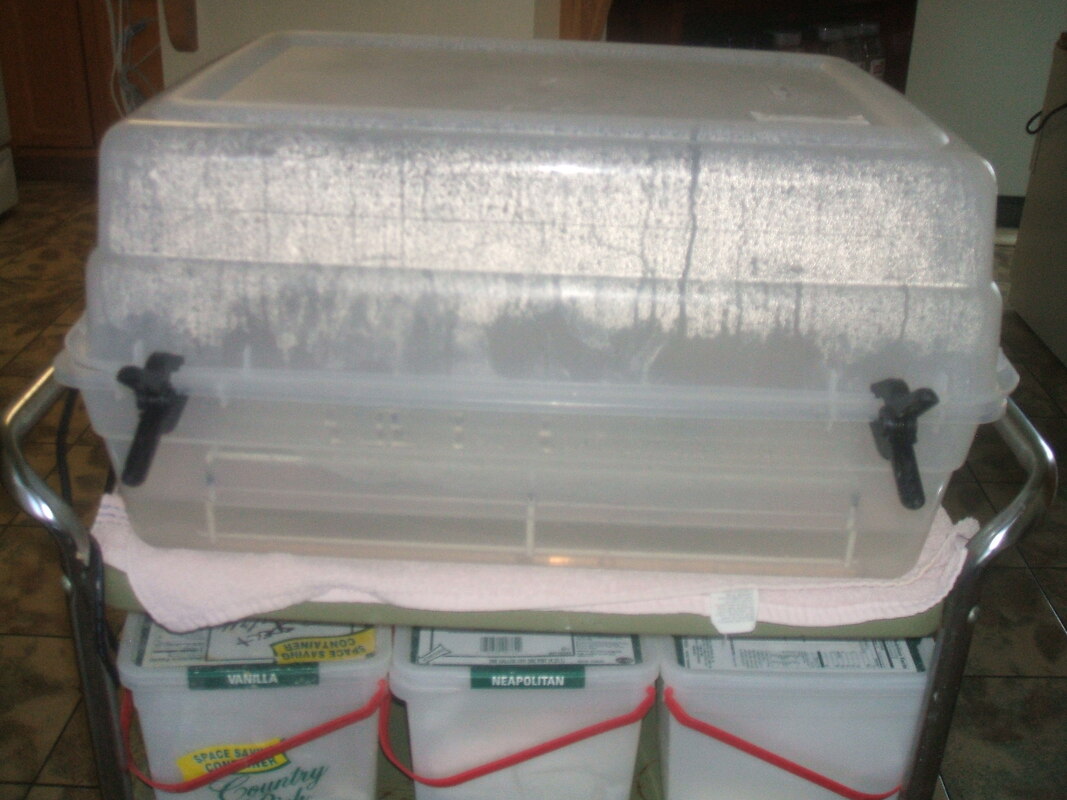
I have my proofing box on a rolling cart, which makes it easier to move around. Once filled with water it can be a bit on the heavy side. When not in use my proofing box is rolled under a shelf out of the way.
According to the directions you must fill the water about 1 inch in depth above the fish aquarium heater. The heater will hold the water at a constant temperature of 90 degrees just about perfect for bread.
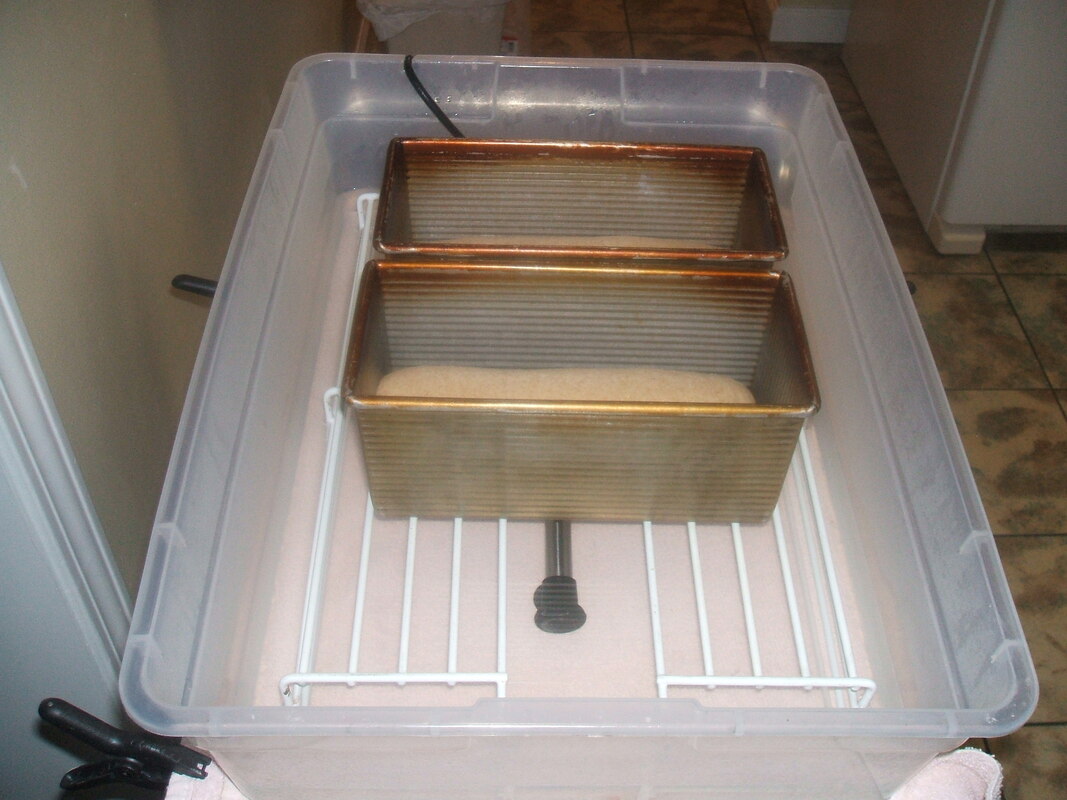
The rack is just something I found at the thrift shop and chopped it in half to fit inside the tub. Once loaded with the loaves, I put the other tub on top and clip them together. Since they are clear you can see how the bread is coming along.
Cleaning is a breeze, just drain the water and wipe down the tubs and store away. I hope this information will help you to come up with a workable solution to getting your bread to raise to new heights.
According to the directions you must fill the water about 1 inch in depth above the fish aquarium heater. The heater will hold the water at a constant temperature of 90 degrees just about perfect for bread.
The rack is just something I found at the thrift shop and chopped it in half to fit inside the tub. Once loaded with the loaves, I put the other tub on top and clip them together. Since they are clear you can see how the bread is coming along.
Cleaning is a breeze, just drain the water and wipe down the tubs and store away. I hope this information will help you to come up with a workable solution to getting your bread to raise to new heights.
 RSS Feed
