If you read the post on how to make the perfect cookie you will notice that you need to freeze them overnight. This extra step is well worth it, the cookies come out shaped better and with a chewy texture. Baking from the frozen state does require you to bake them a minute longer at 350 degrees. If you bake them at 375 degrees 13-14 minutes is just about right in my oven. These cookies are good if you only refrigerate them for 2 hours or if you freeze them overnight.
Bake 350 Degrees
Time 14 minutes
Makes about 2 dozen
Dry Ingredients
2 1/2 c. + 2T. Soft White Flour (330g)
1/2 tsp. Baking Soda
1 tsp. Baking Powder
1/2 tsp. Salt
In Mixer
2 Sticks Butter (226g)
1 c. Dark Brown Sugar (200g)
1 c. Sugar (200g)
1 c. Crunchy Peanut Butter (256g)
2 Large Eggs
2 tsp. Vanilla
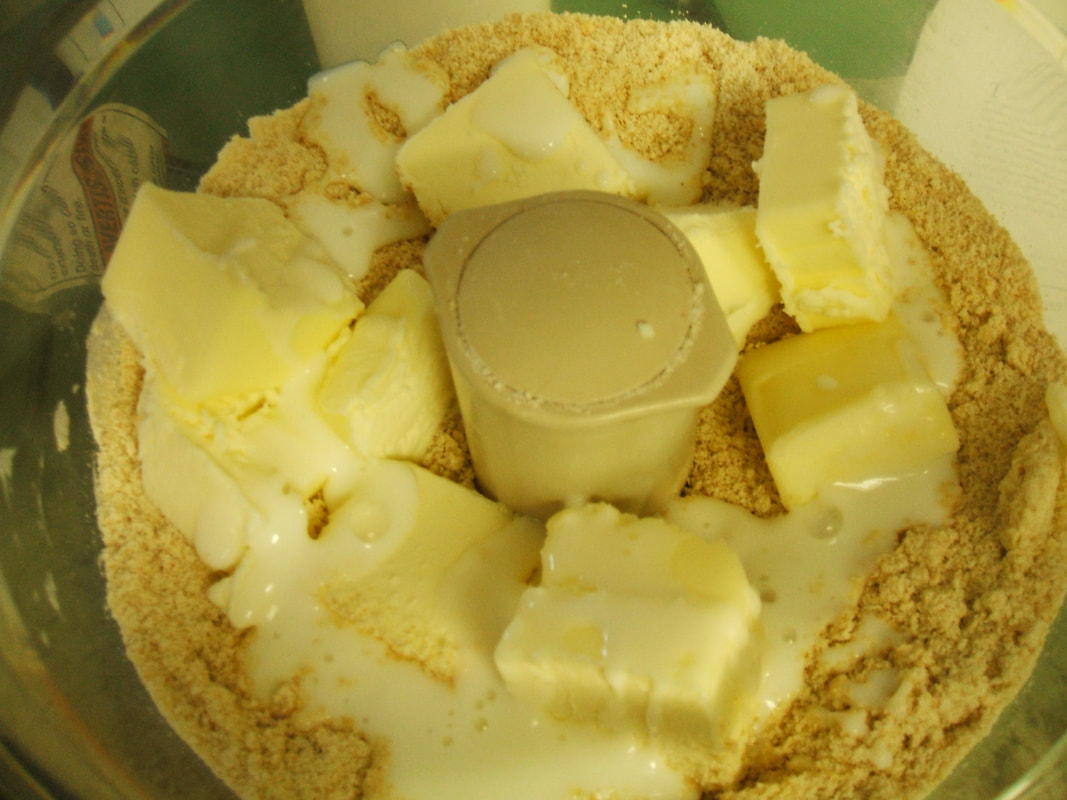
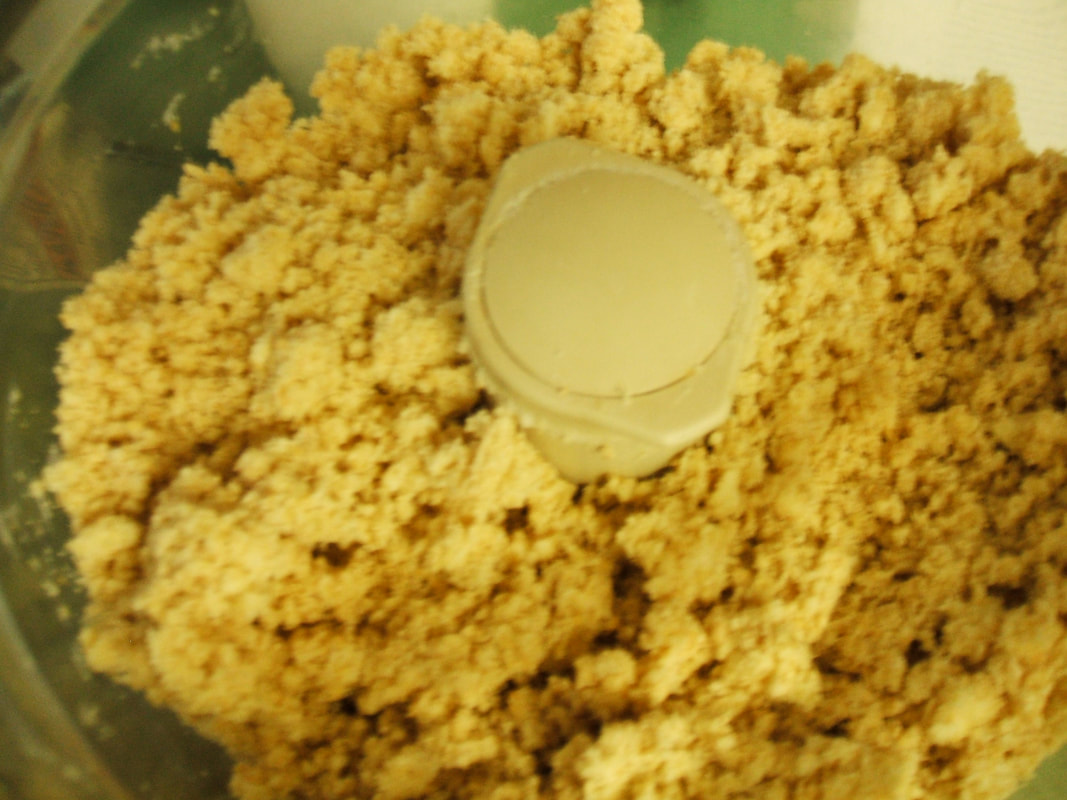
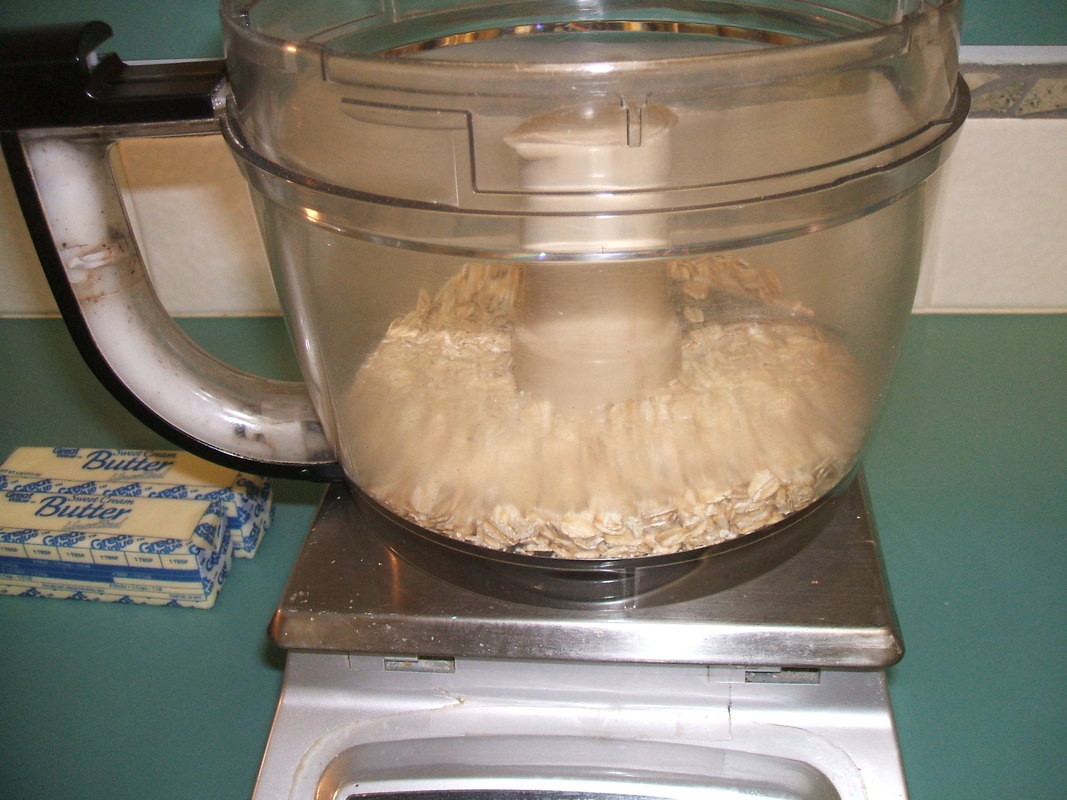
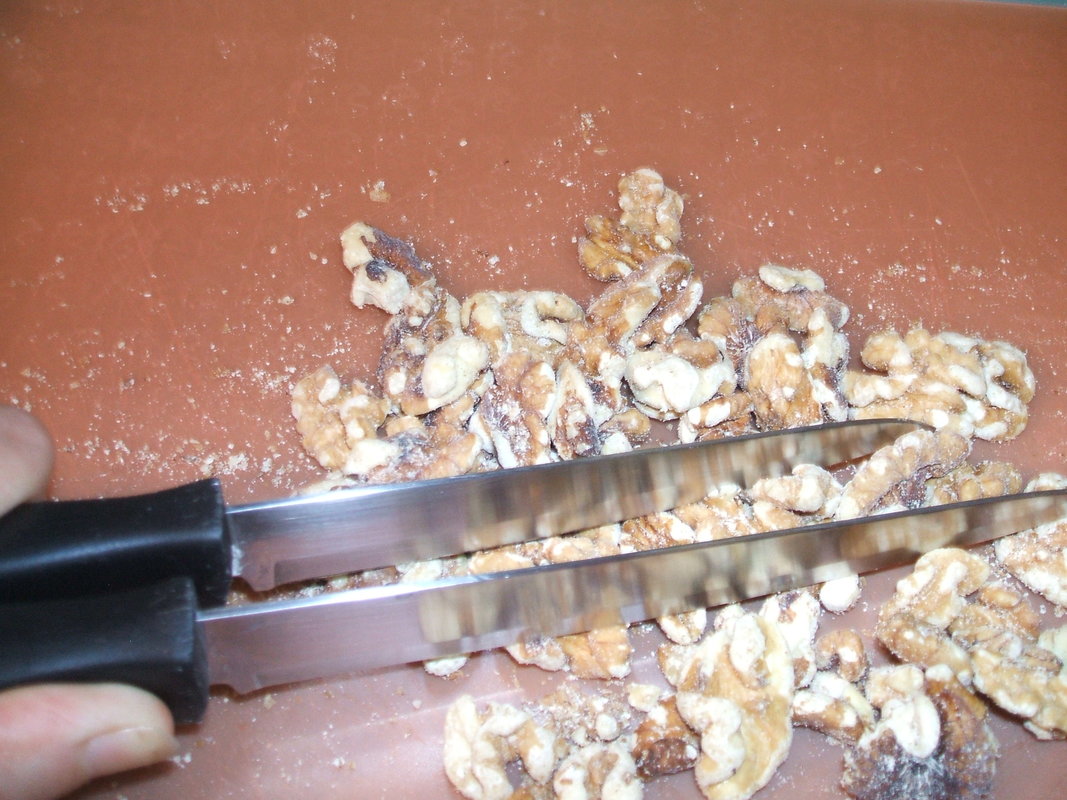
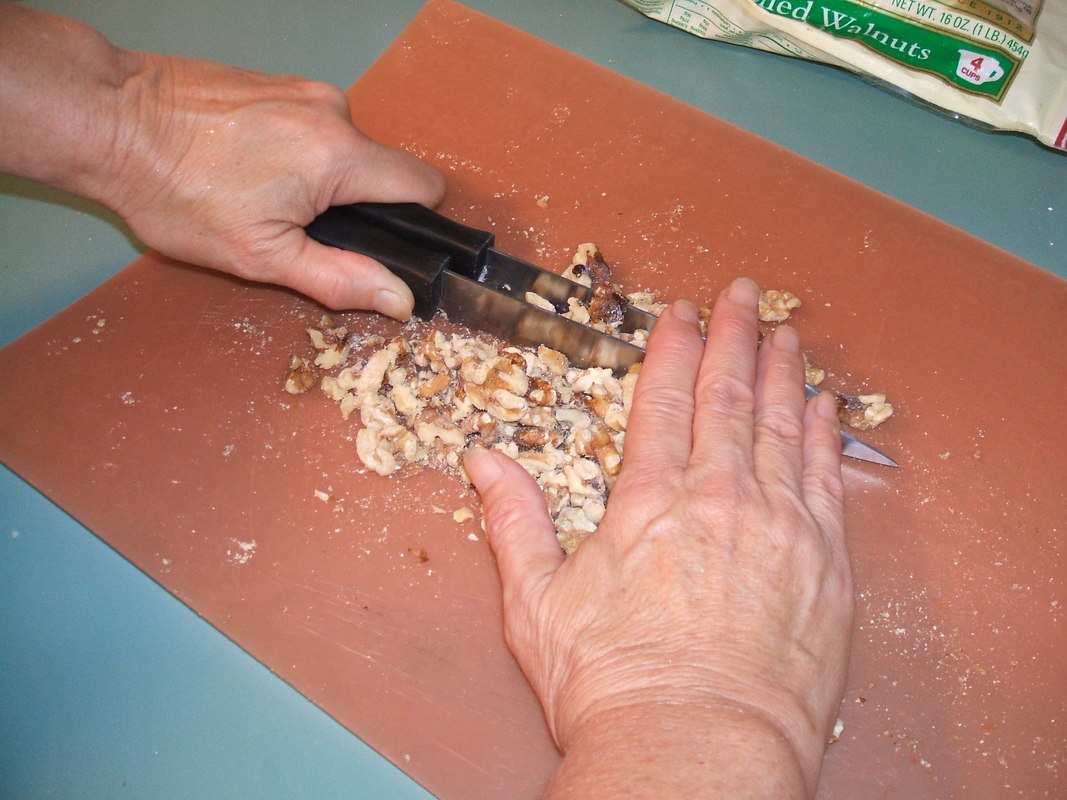
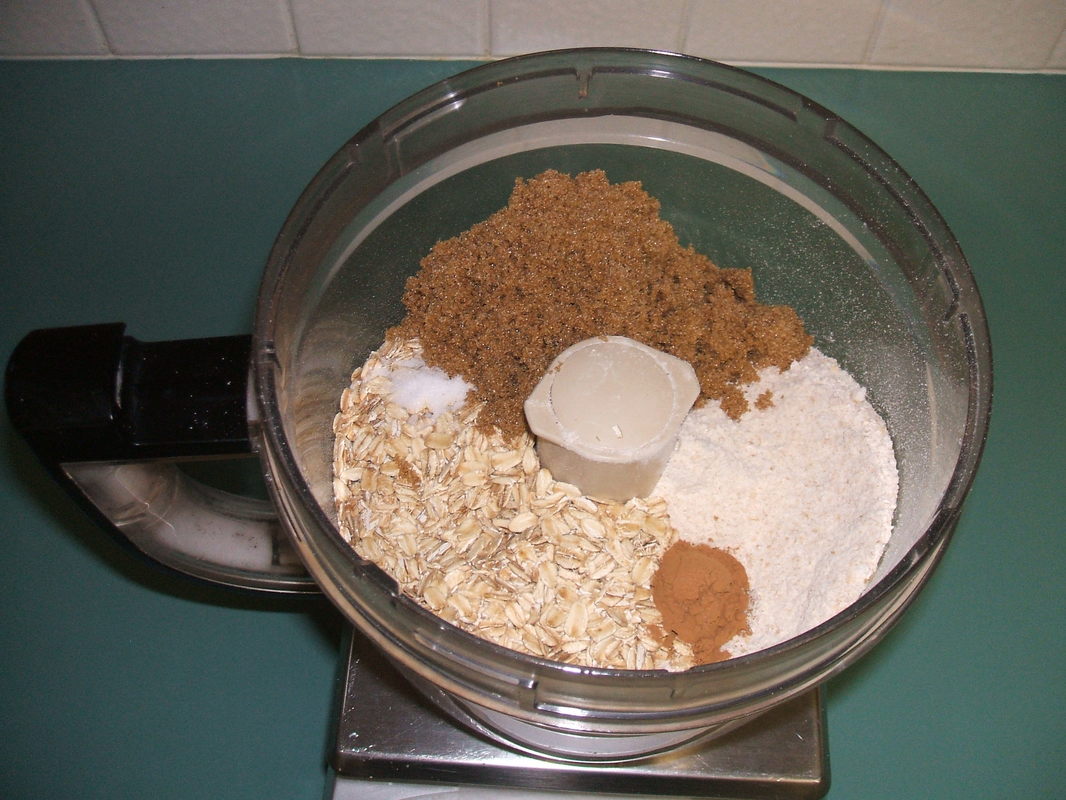
1. c. Roasted Salted Peanuts (141g) Ground in a food processor to resemble bread crumbs.
Instructions
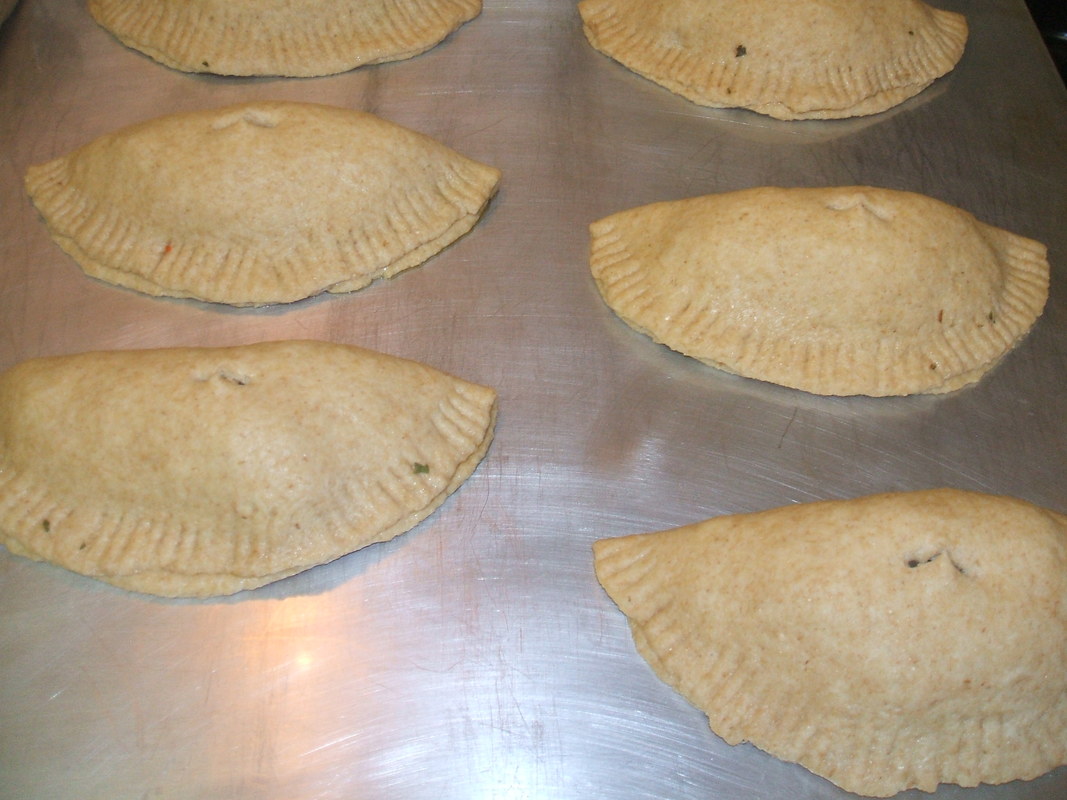
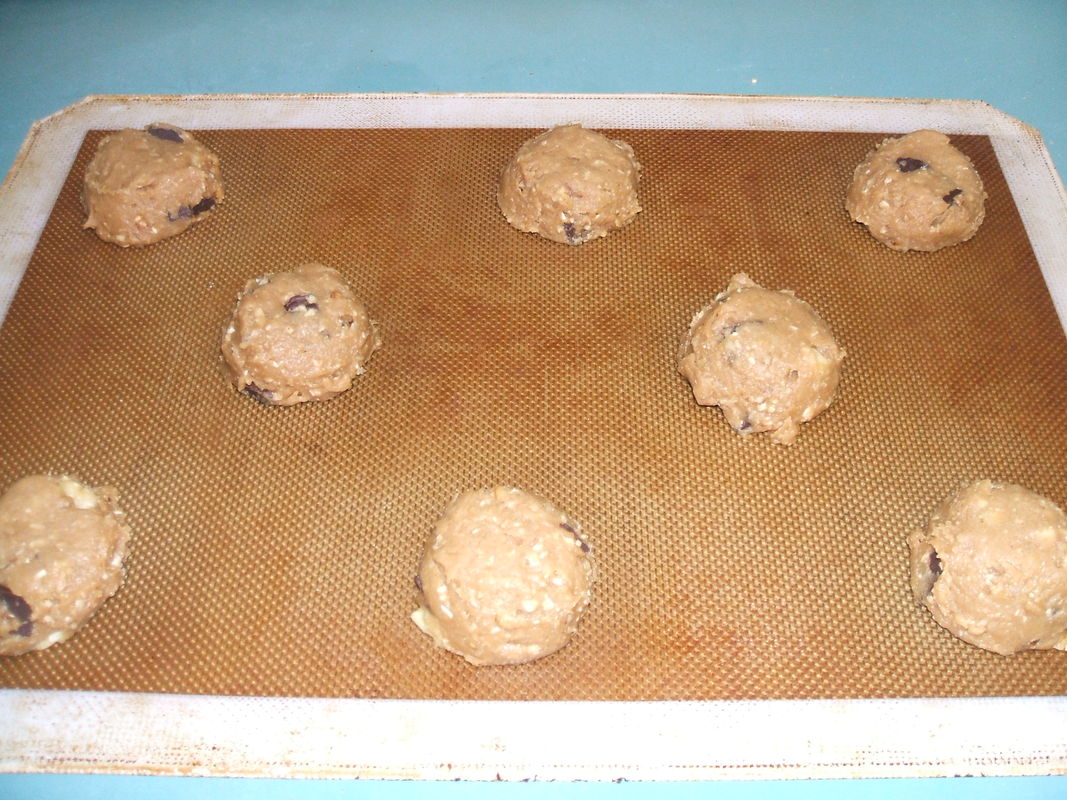
Bake on sil pad spacing about 2 inches apart. If you want a thicker cookie bake without pressing down. Typically peanut butter cookies are pressed with a fork twice at perpendicular angles leaving a crisscross design. Bake 14 minutes, let them cool on the sil pad 3 minutes to finish baking before removing to a cooling rack.
Bake 350 Degrees
Time 14 minutes
Makes about 2 dozen
Dry Ingredients
2 1/2 c. + 2T. Soft White Flour (330g)
1/2 tsp. Baking Soda
1 tsp. Baking Powder
1/2 tsp. Salt
In Mixer
2 Sticks Butter (226g)
1 c. Dark Brown Sugar (200g)
1 c. Sugar (200g)
1 c. Crunchy Peanut Butter (256g)
2 Large Eggs
2 tsp. Vanilla
1. c. Roasted Salted Peanuts (141g) Ground in a food processor to resemble bread crumbs.
Instructions
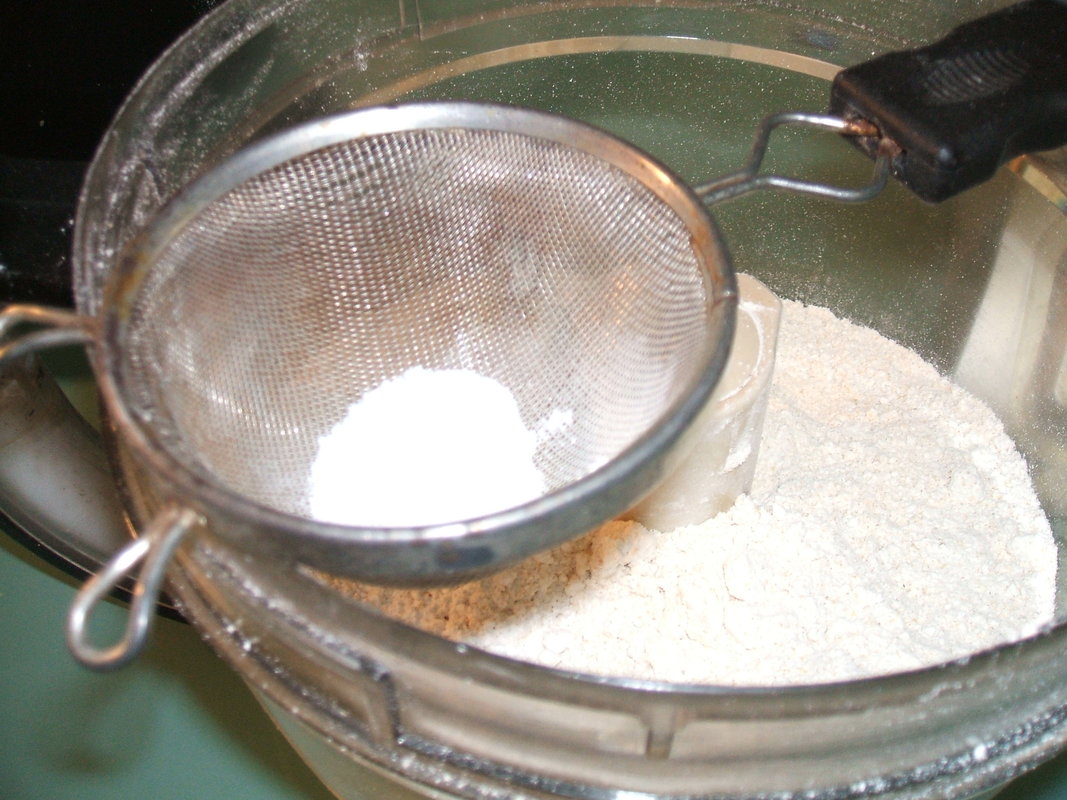
- Mix dry ingredients in a bowl, set aside
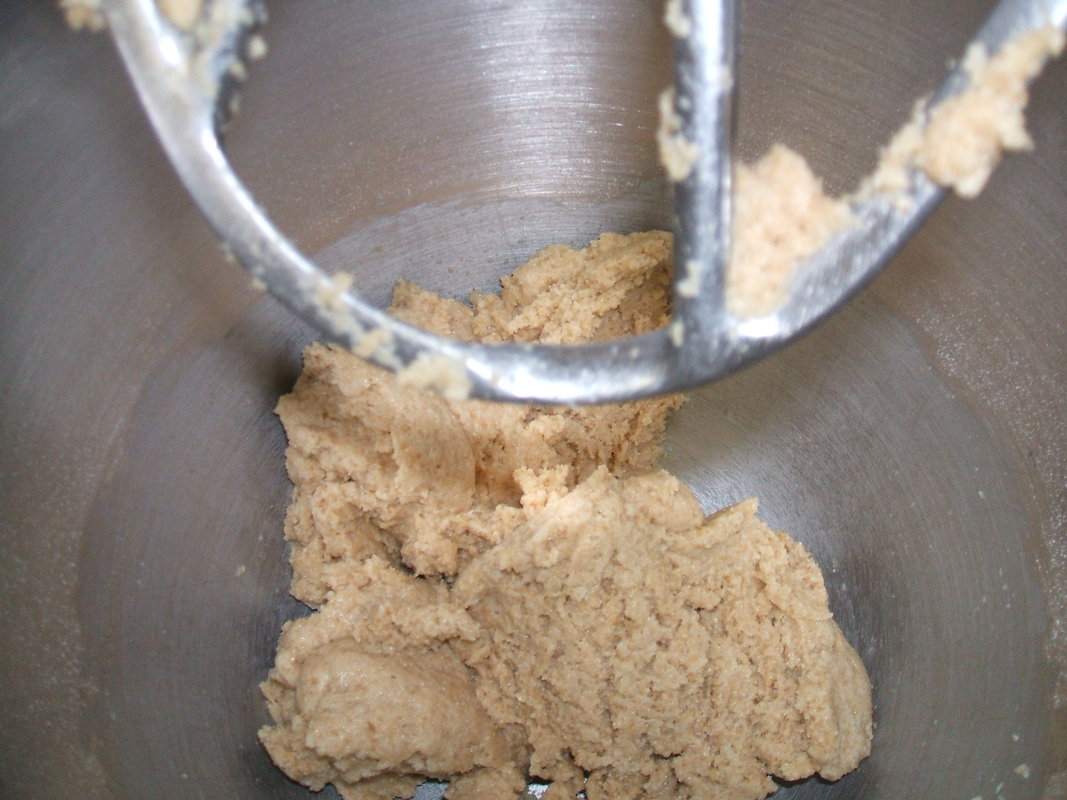
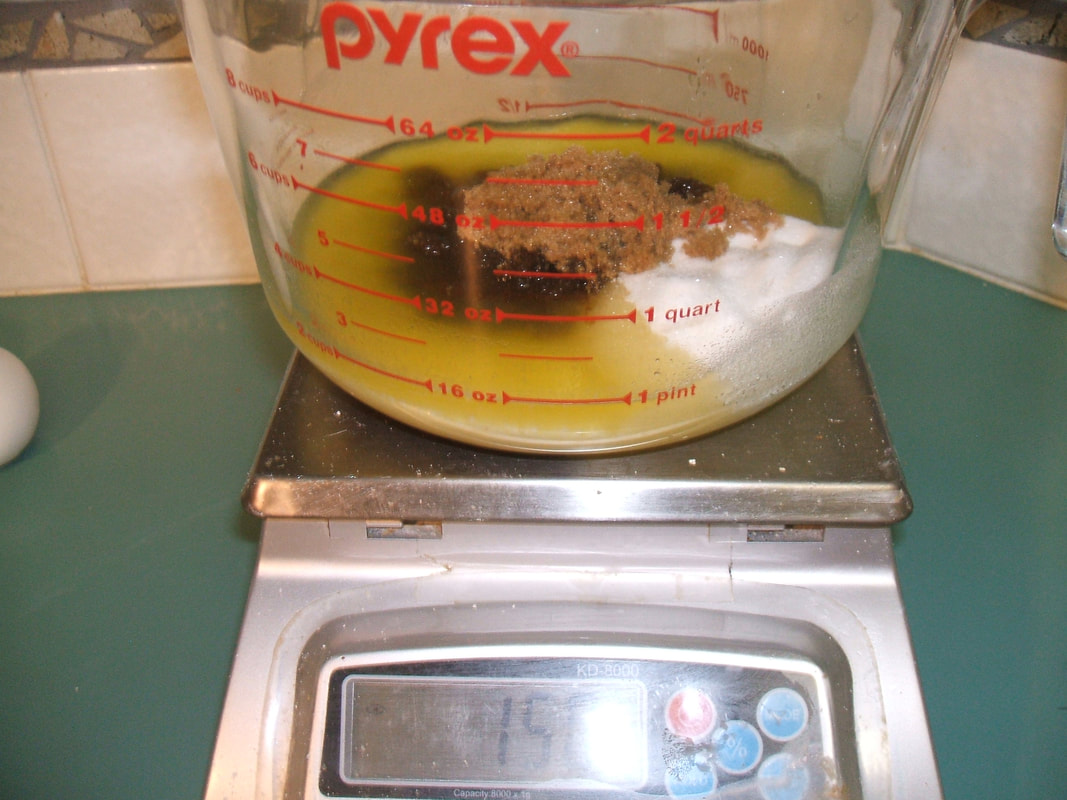
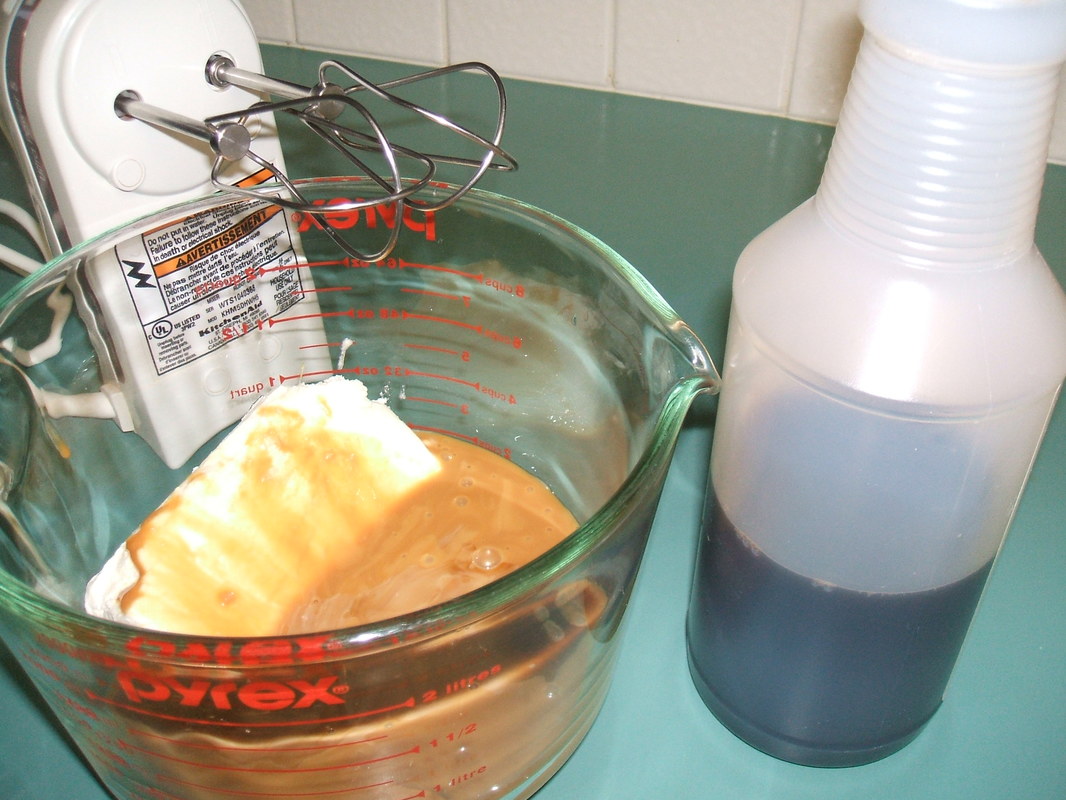
- Cream butter, sugars, until light and fluffy (How to Cream Sugar)
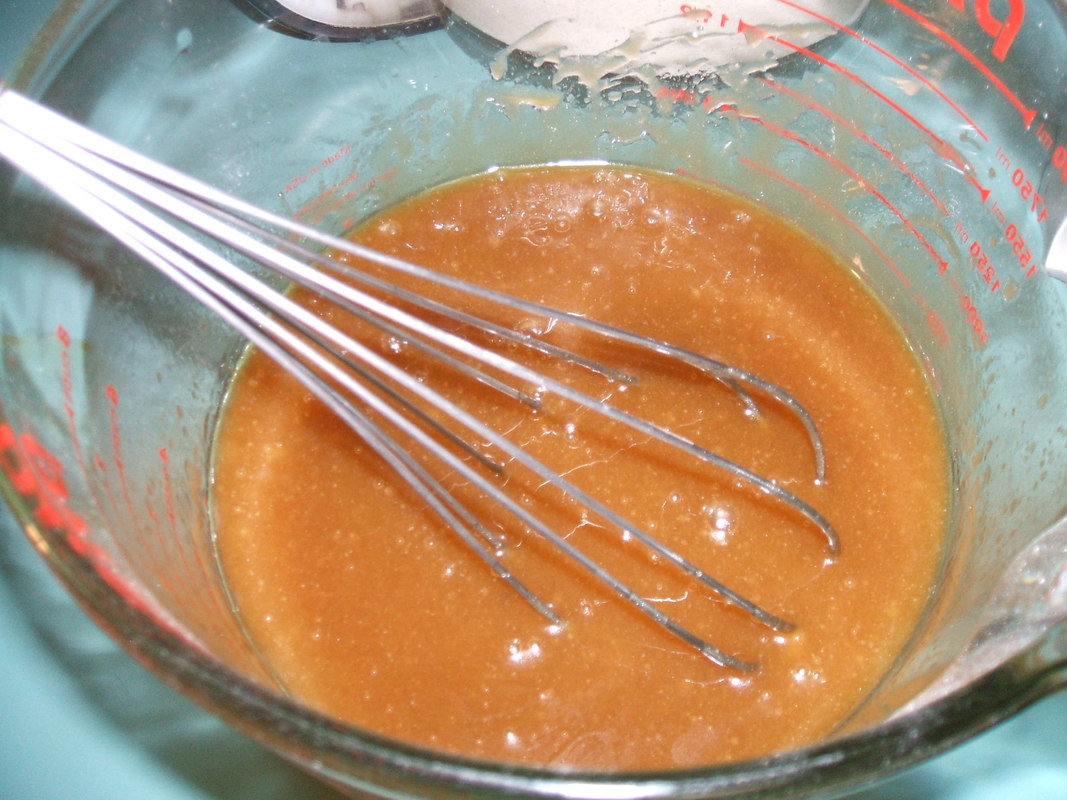
- Add peanut butter and mix well
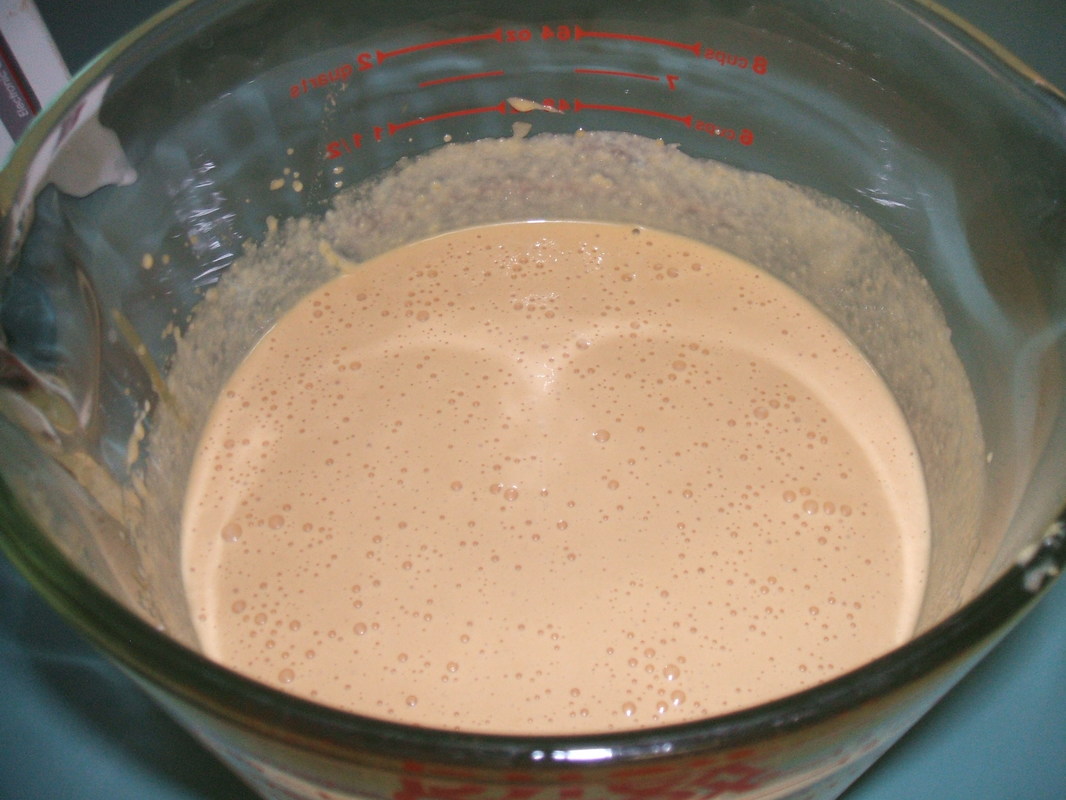
- Add eggs, one at a time mixing well after each
- Add vanilla and beat until light and fluffy
- On low speed add half the dry ingredients and mix, then add the rest beat until mixed well
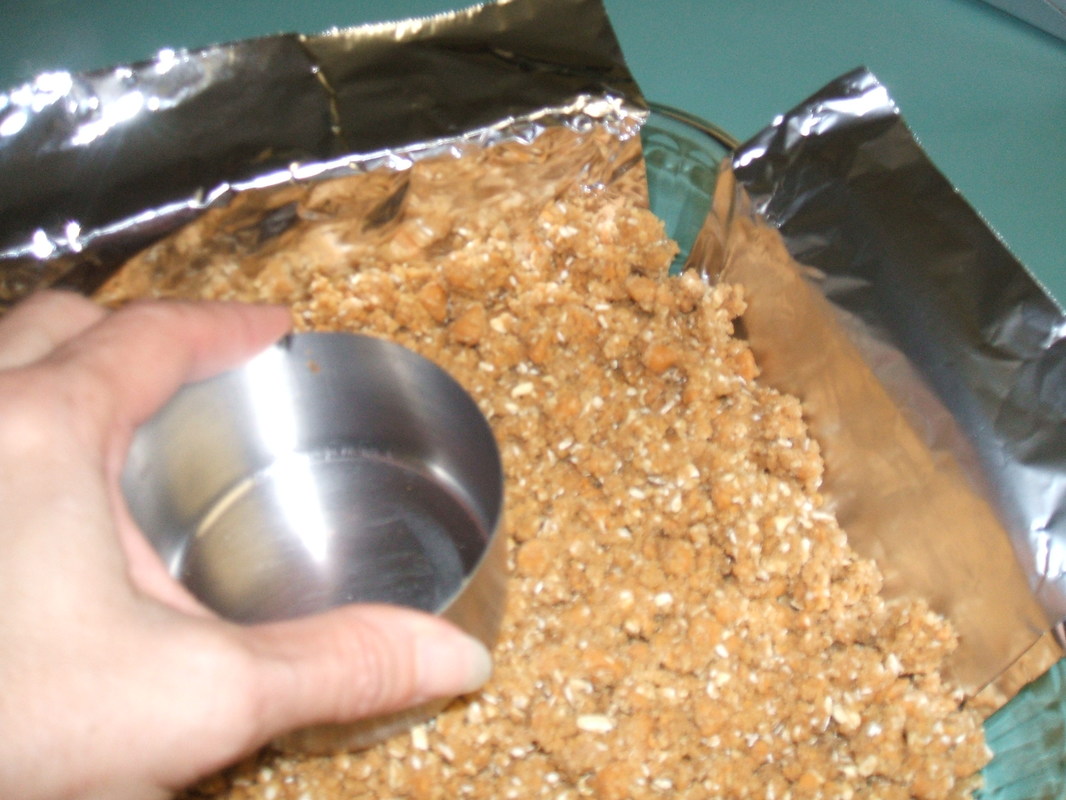
- Stir in the processed salted peanuts
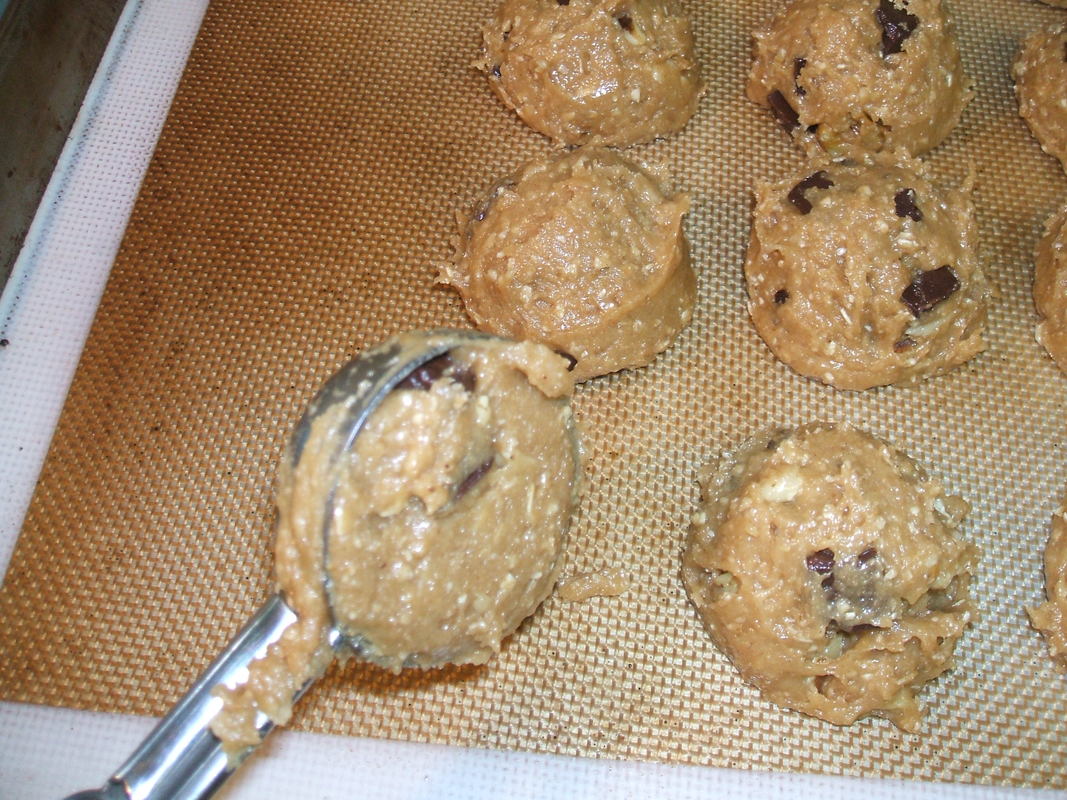
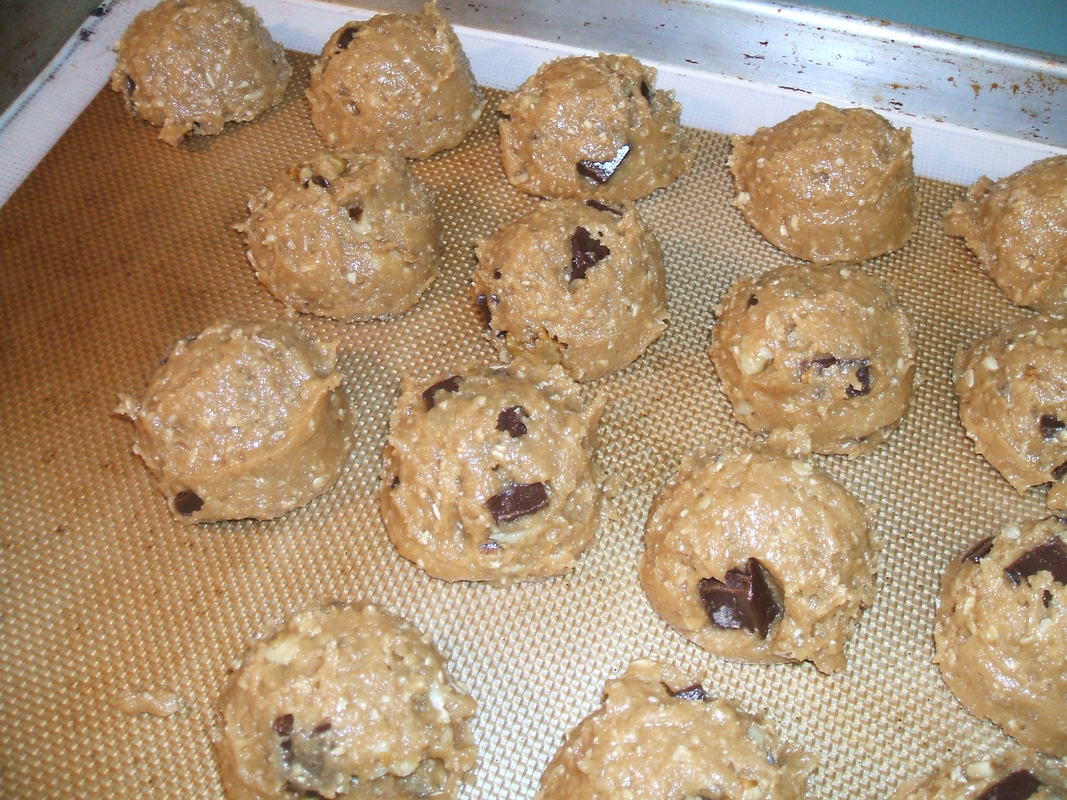
- Refrigerate for 15 minutes
- Scoop onto sheet spacing close together and place into the refrigerator for 2 hours
Bake on sil pad spacing about 2 inches apart. If you want a thicker cookie bake without pressing down. Typically peanut butter cookies are pressed with a fork twice at perpendicular angles leaving a crisscross design. Bake 14 minutes, let them cool on the sil pad 3 minutes to finish baking before removing to a cooling rack.


 RSS Feed
